user79
Well-known member
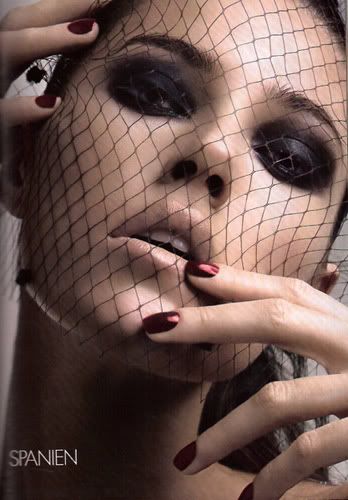
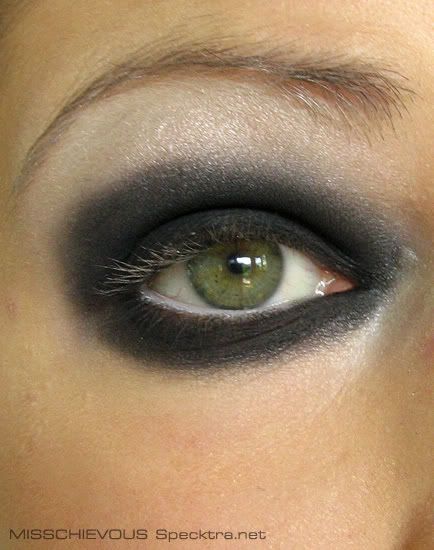
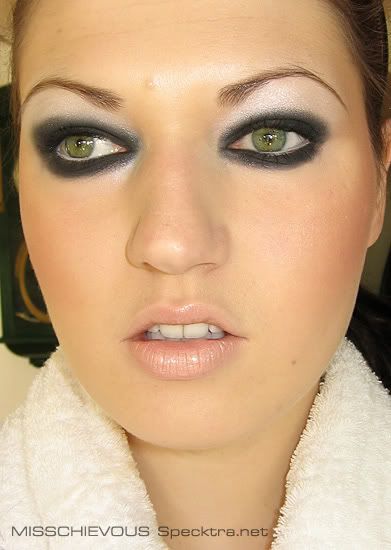
The look that inspired my tutorial:
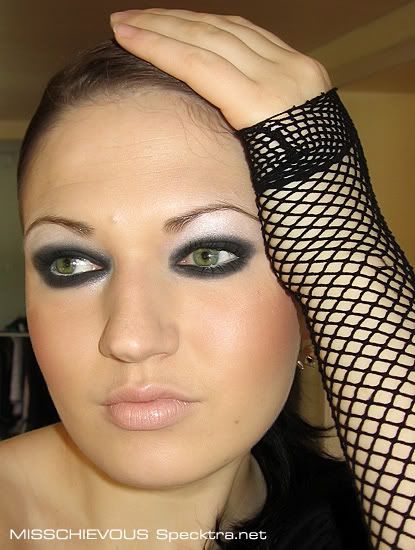
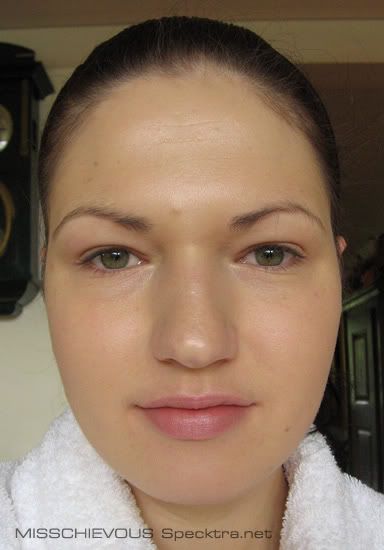
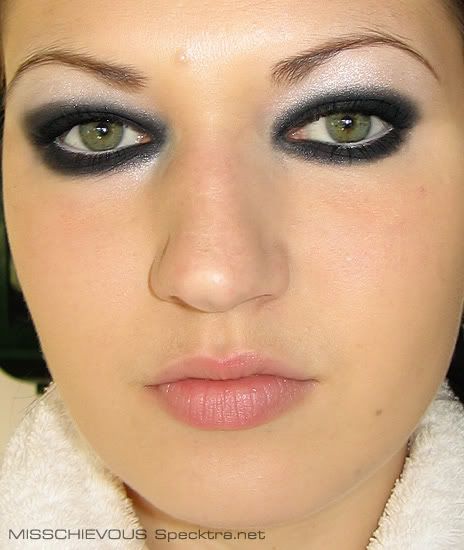
And here's my finished version that I'll be demonstrating:
Products I used:
- Revlon Skinlights fluid in Fairly Light (can be subbed with MAC Strobe cream)
- Bare Minerals foundation
- Margaret Astor concealer
- MAC Paint in Untitled
- MAC pigment in White
- MAC Fluidliner in Blacktrack
- MAC e/s in Carbon
- L'Oreal Voluminous Waterproof mascara
- MAC Blushbaby blush
- MAC MSF in Shimpagne
- MAC Liplacquer in Babied
- Revlon brown e/s & Sebastian Molding Mud
- Cover Girl Loose Powder
- Rimmel white kohl eyeliner
Brushes & Tools:
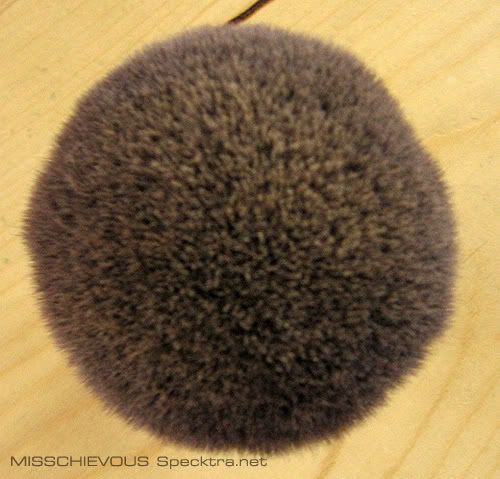
- MAC 182 kabuki
- MAC 187 skunk
- small lid brush
- small angled brush
- medium angled brush
- Maybelline eyelash curler
- makeup sponge
- large fluffy powder brush
- small & firm blush brush
Let's get started!
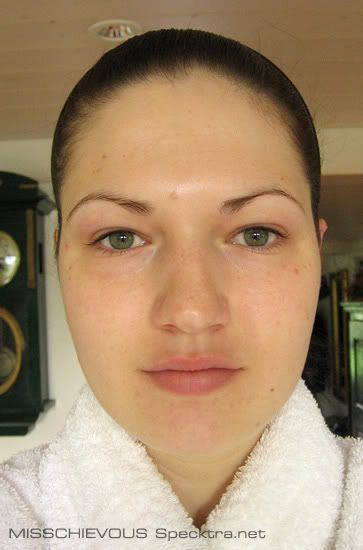
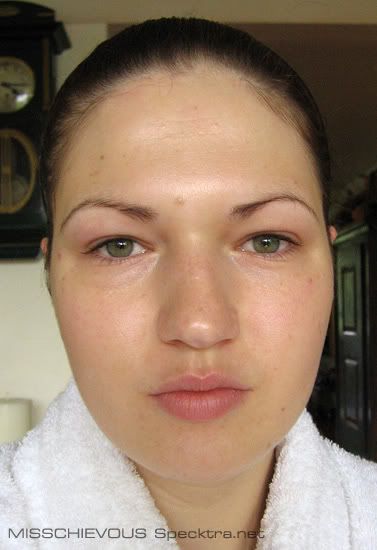
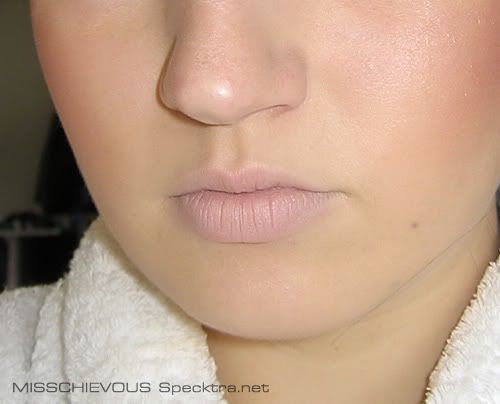
1. Start off with a cleansed, moisturized face. Apply lipbalm of choice on your lips to hydrate.
(My skin is looking bad right now, I have a mild allergic reaction & puffy eyes, yuck!)
2. Get a bit of the Revlon Skinlights fluid on the back of your hand. Alternately, use MAC Strobe cream.
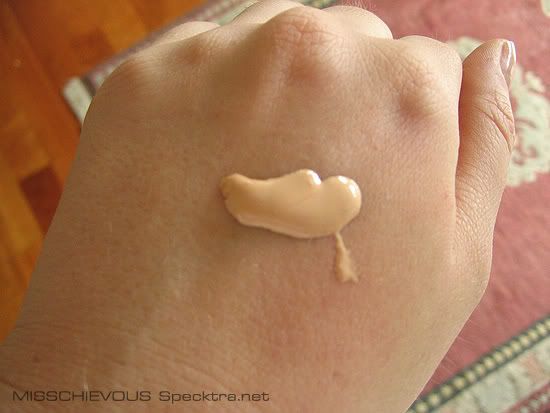
3. Dab it all over your face using a finger, lightly, focusing especially on the cheekbone area.
4. Blend with a damp makeup sponge.
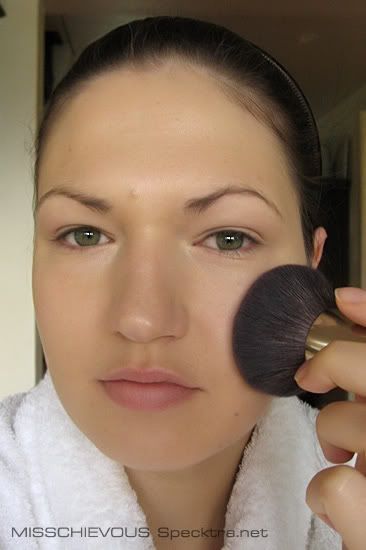
5. Dab your kabuki brush in the mineral makeup foundation, and swirl it around in the lid of the container so that the powder is very evenly distributed on your brush.
6. Buff the foundation all over your face. Don't forget the sides of your nose, beside the eyes, nose bridge and down your neck so that there are no harsh lines.
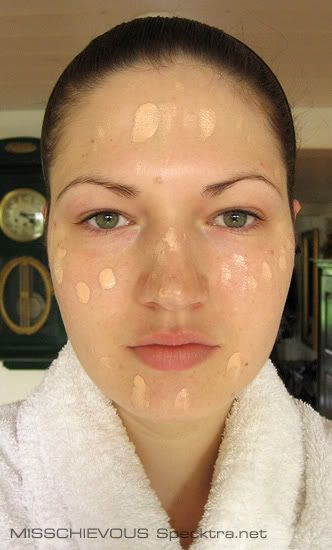
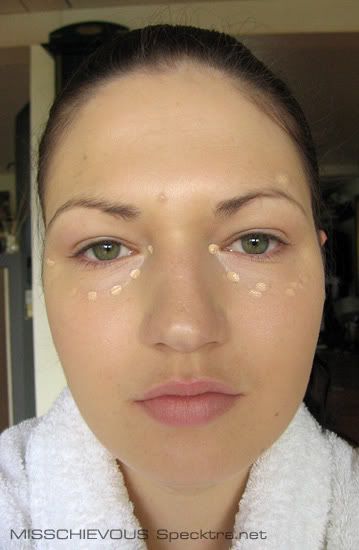
7. Dot concealer where needed and pat in lightly using a finger or a concealer brush.
8. Buff in circular motions to blend everything together.
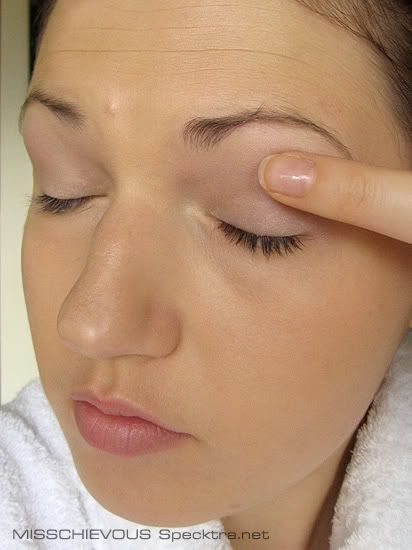
9. Apply the Paint on your eyelids, using your fingers or a brush, whatever you prefer. I use my finger and just pat and smooth it on lightly.
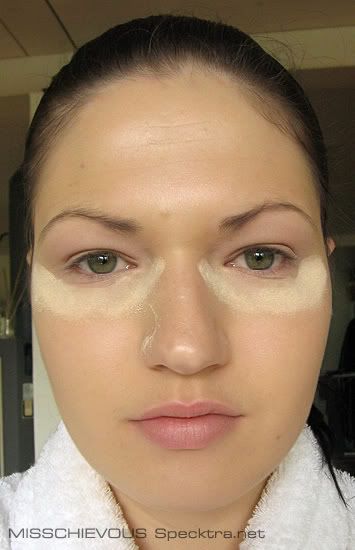
10. Using a brush, apply some loose powder underneath your eye circles. This is to catch any fall-out from the e/s we'll be using later on. No need to use anything expensive, I use a drugstore Cover Girl brand. It will be swept away later.
11. ***I missed a pic for this.*** Use a medium lid brush to apply the White pigment on the browbone area, just underneath your eyebrows down to about the crease. This will be the highlight. I sometimes extend the highlight to just ABOVE the outer corner of the eyebrows.
11. Using a small angled brush, apply the Blacktrack Fluidline in an oval shape around your eyes. Try to do this as neatly as possible. The oval should mirror your approximate eye shape.
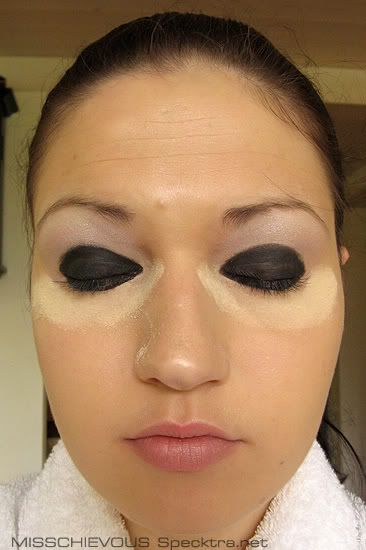
12. Do the same on the bottom lid, it should look something like this when you're finished.
13. Now, take a small lid brush and load it up with Carbon e/s. Gently tap off the excess (but not too much) and completely cover the base you have created with the fluidline, top and bottom lid. It should be a solid black colour now. Gently use the side of the brush to go over the outside lines of the fluidline, but don't blend it TOO much with the white pigment. The trick to a successful "panda eye" is the stark contrast, it shouldn't be overly blended.
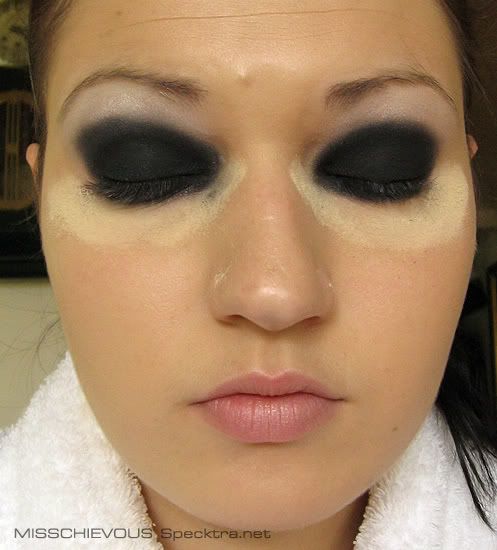
14. It should look like this now. Don't worry if you have some spillage, that's what the loose powder is for.
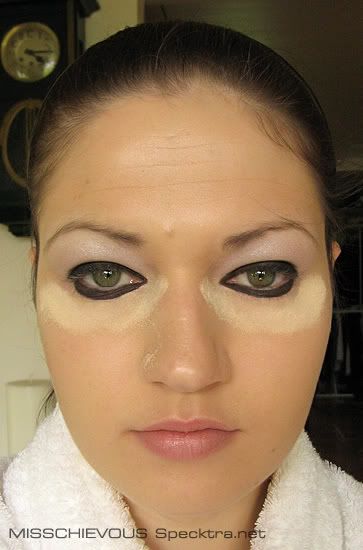
15. Use a moistened q-tip cotton swab to remove any of the black powder that may have falled onto your waterline. I usually moisten the swab with a bit of saliva by swirling it on my tongue, this is the only way that it absolutely does not irritate my eyes. Water can sting! Then, apply the white eyeliner to your waterline. It should be white, not grey.
16. Brush away the loose powder with a large fluffy powder brush. I just use a cheap drugstore one. If there's any black stuff left, put some more loose powder on it and try to sweep it away again, if it's still there, use a dry cotton swab to remove it and recover it with a bit of the foundation, or powder, or something.
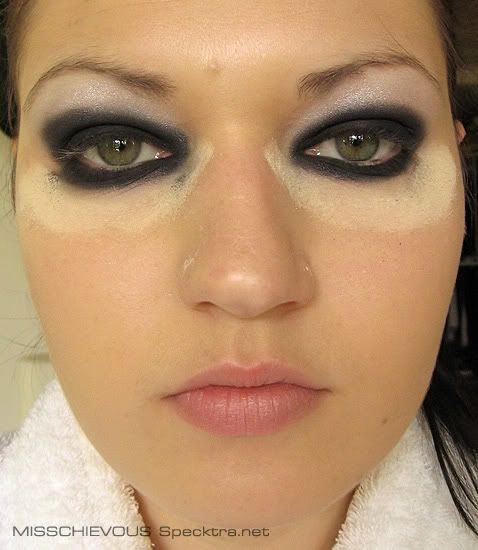
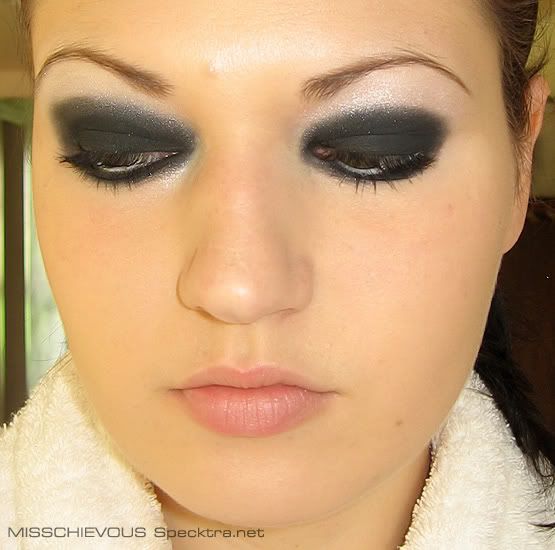
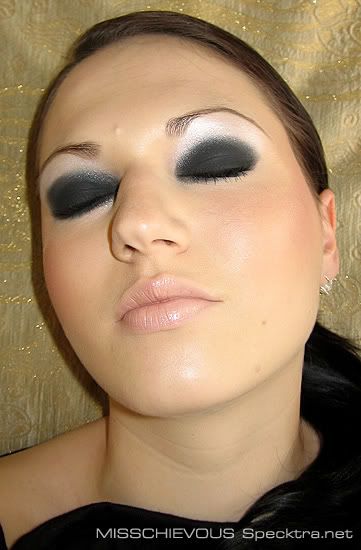
17. Curl your eyelashes and apply a thick coat of mascara, top & bottom lashes. This is the finished eye look.
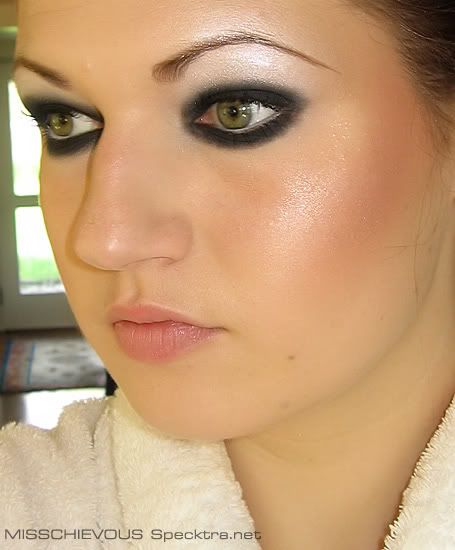
18. Use a your firm blush brush to apply Blushbaby blush in a relatively straight line going from just under your cheekbones to the hairline. I apply this rather intensely and don't blend it at all. It will look like a line. Then, take your 187 and go over the Blushbaby and highlight the cheekbones with the MSF in Shimpagne. It will look more blended, but don't overblend because we want the look of a contour, not a big splotch of colour randomly on the cheek.
19. Dab a bit of concealer onto your lips and pat it in to the surrounding lip area. This is to "white out" naturally pigmented lips.
20. Apply the Babied Liplacquer.
And we're DONE!! Whooo hooo!
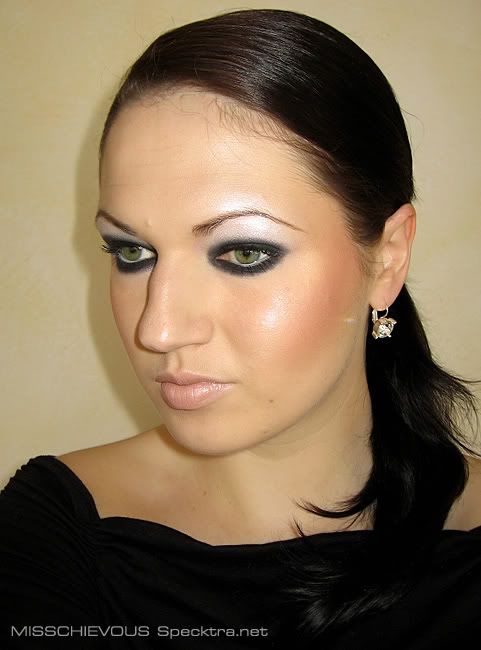

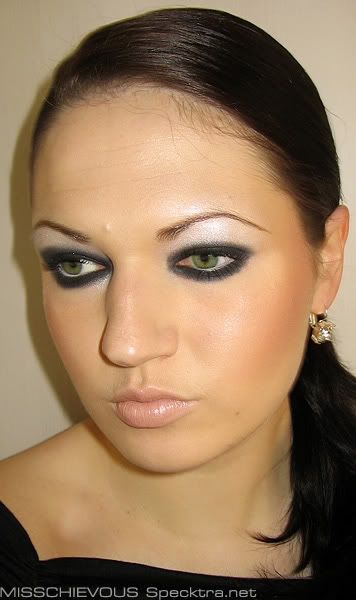
And here's my finished version that I'll be demonstrating:
Products I used:
- Revlon Skinlights fluid in Fairly Light (can be subbed with MAC Strobe cream)
- Bare Minerals foundation
- Margaret Astor concealer
- MAC Paint in Untitled
- MAC pigment in White
- MAC Fluidliner in Blacktrack
- MAC e/s in Carbon
- L'Oreal Voluminous Waterproof mascara
- MAC Blushbaby blush
- MAC MSF in Shimpagne
- MAC Liplacquer in Babied
- Revlon brown e/s & Sebastian Molding Mud
- Cover Girl Loose Powder
- Rimmel white kohl eyeliner
Brushes & Tools:
- MAC 182 kabuki
- MAC 187 skunk
- small lid brush
- small angled brush
- medium angled brush
- Maybelline eyelash curler
- makeup sponge
- large fluffy powder brush
- small & firm blush brush
Let's get started!
1. Start off with a cleansed, moisturized face. Apply lipbalm of choice on your lips to hydrate.
(My skin is looking bad right now, I have a mild allergic reaction & puffy eyes, yuck!)
2. Get a bit of the Revlon Skinlights fluid on the back of your hand. Alternately, use MAC Strobe cream.
3. Dab it all over your face using a finger, lightly, focusing especially on the cheekbone area.
4. Blend with a damp makeup sponge.
5. Dab your kabuki brush in the mineral makeup foundation, and swirl it around in the lid of the container so that the powder is very evenly distributed on your brush.
6. Buff the foundation all over your face. Don't forget the sides of your nose, beside the eyes, nose bridge and down your neck so that there are no harsh lines.
7. Dot concealer where needed and pat in lightly using a finger or a concealer brush.
8. Buff in circular motions to blend everything together.
9. Apply the Paint on your eyelids, using your fingers or a brush, whatever you prefer. I use my finger and just pat and smooth it on lightly.
10. Using a brush, apply some loose powder underneath your eye circles. This is to catch any fall-out from the e/s we'll be using later on. No need to use anything expensive, I use a drugstore Cover Girl brand. It will be swept away later.
11. ***I missed a pic for this.*** Use a medium lid brush to apply the White pigment on the browbone area, just underneath your eyebrows down to about the crease. This will be the highlight. I sometimes extend the highlight to just ABOVE the outer corner of the eyebrows.
11. Using a small angled brush, apply the Blacktrack Fluidline in an oval shape around your eyes. Try to do this as neatly as possible. The oval should mirror your approximate eye shape.
12. Do the same on the bottom lid, it should look something like this when you're finished.
13. Now, take a small lid brush and load it up with Carbon e/s. Gently tap off the excess (but not too much) and completely cover the base you have created with the fluidline, top and bottom lid. It should be a solid black colour now. Gently use the side of the brush to go over the outside lines of the fluidline, but don't blend it TOO much with the white pigment. The trick to a successful "panda eye" is the stark contrast, it shouldn't be overly blended.
14. It should look like this now. Don't worry if you have some spillage, that's what the loose powder is for.
15. Use a moistened q-tip cotton swab to remove any of the black powder that may have falled onto your waterline. I usually moisten the swab with a bit of saliva by swirling it on my tongue, this is the only way that it absolutely does not irritate my eyes. Water can sting! Then, apply the white eyeliner to your waterline. It should be white, not grey.
16. Brush away the loose powder with a large fluffy powder brush. I just use a cheap drugstore one. If there's any black stuff left, put some more loose powder on it and try to sweep it away again, if it's still there, use a dry cotton swab to remove it and recover it with a bit of the foundation, or powder, or something.
17. Curl your eyelashes and apply a thick coat of mascara, top & bottom lashes. This is the finished eye look.
18. Use a your firm blush brush to apply Blushbaby blush in a relatively straight line going from just under your cheekbones to the hairline. I apply this rather intensely and don't blend it at all. It will look like a line. Then, take your 187 and go over the Blushbaby and highlight the cheekbones with the MSF in Shimpagne. It will look more blended, but don't overblend because we want the look of a contour, not a big splotch of colour randomly on the cheek.
19. Dab a bit of concealer onto your lips and pat it in to the surrounding lip area. This is to "white out" naturally pigmented lips.
20. Apply the Babied Liplacquer.
And we're DONE!! Whooo hooo!


