fingie
Well-known member
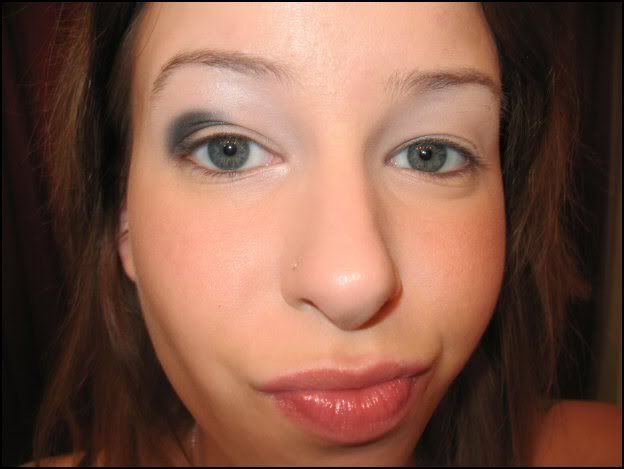
This my first tutorial, so please be kind..and I'd love to hear CC.
Excuse the eyebrows and weird faces..I'm a dork. Oh, and if my lips look wonky, it's because I had my retainers in for most of the pics.
I learned this technique from MAC Pro Artist Konstantine at a demo a few weeks back. Pretty much the approach to "Spring" foundation is to use a super blendable concealer (like MACs moistureblend) to hide imperfections and then just go over with a natural MSF to even out skin a little. Obviously this may not work for all skin types, but I've been using it since my daughter lost my 188 a few days ago. (I just can't bring myself to apply SFF with anything else!)
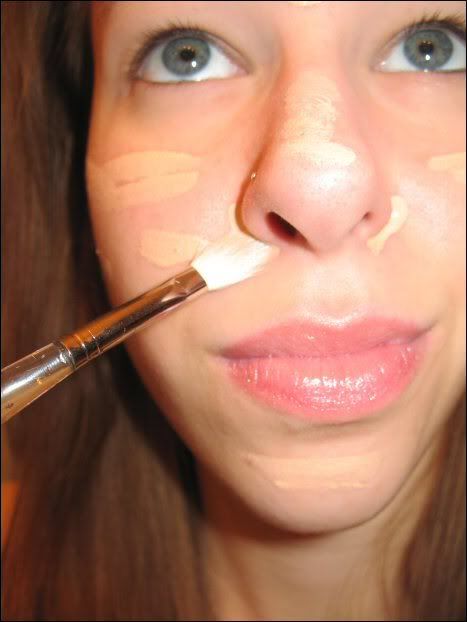
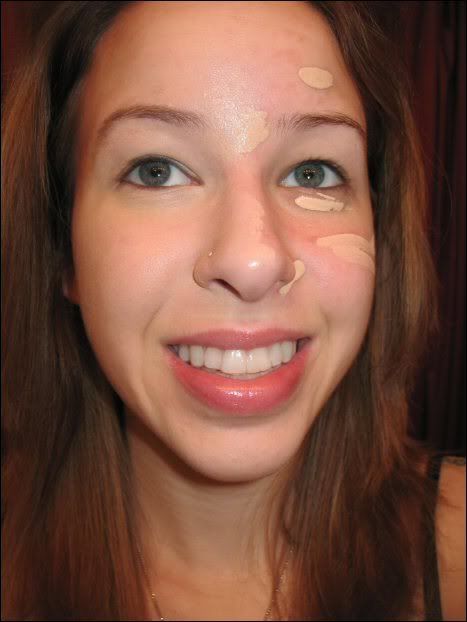
Start with clean//moisturized skin..apply spot concealer to areas needed. I did undereyes, around//on my nose, some acne marks and on my cheeks which are naturally red.
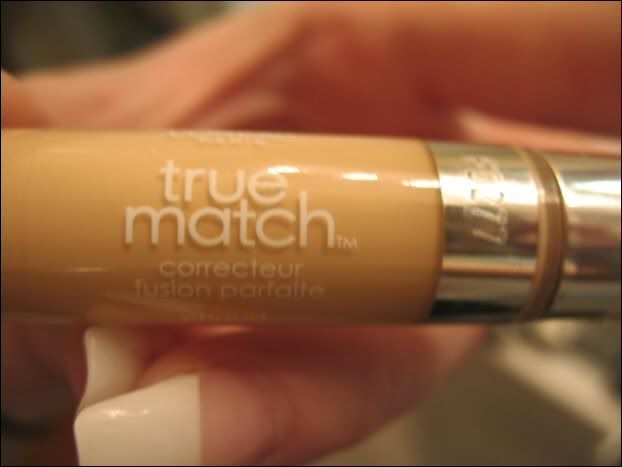
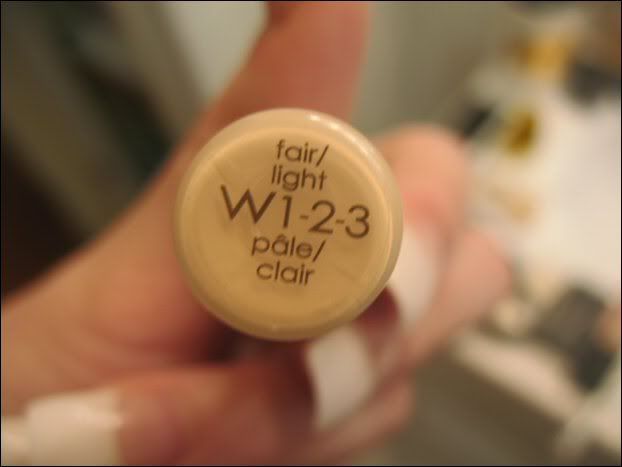
I lost my moistureblend, so I used this instead:
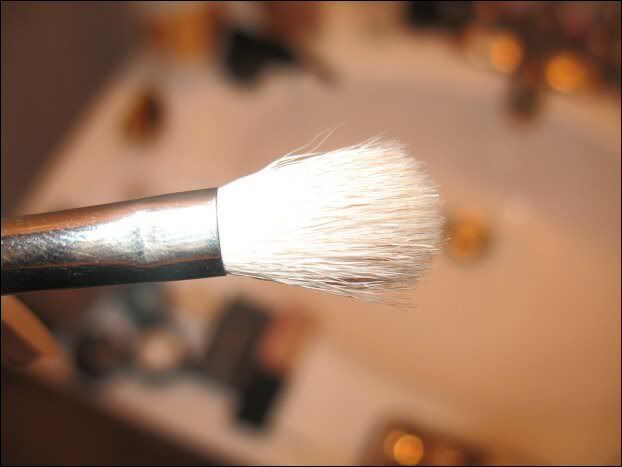
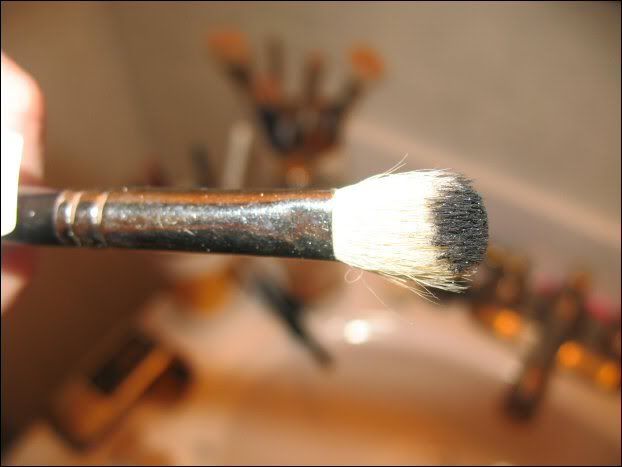
I then take this 217-wannabe paintbrush from Michael's and blend.
like this.
half-way done
all done!
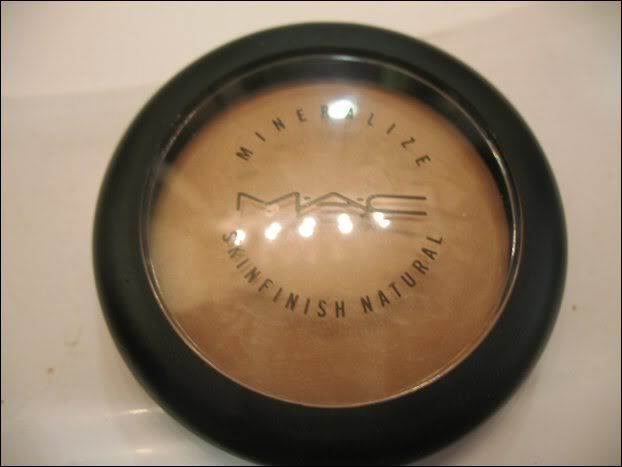
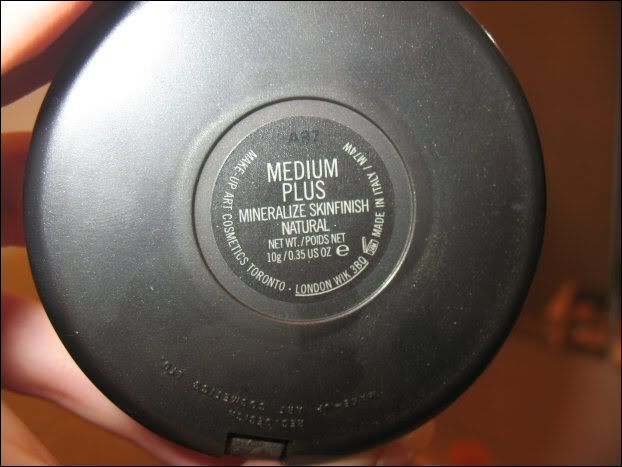
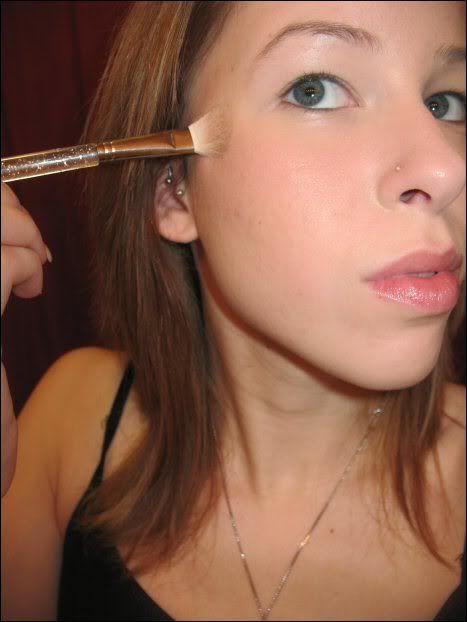
I then take my MSF natural
and this brush (another paintbrush)
and I apply all over my face, kind of blotting it on VS. rubbing (I don't want to "rub" the concealer off, ya know?)
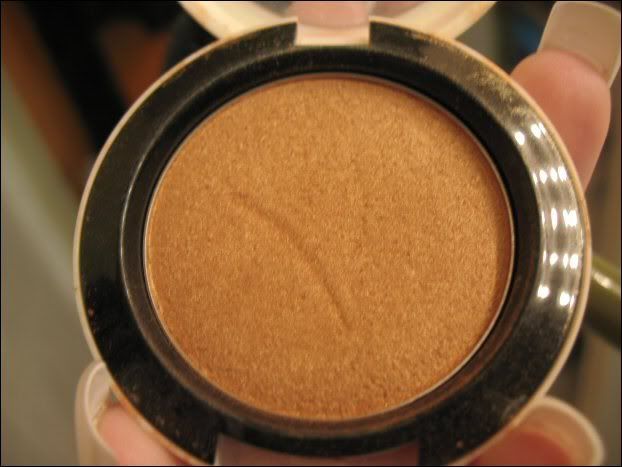
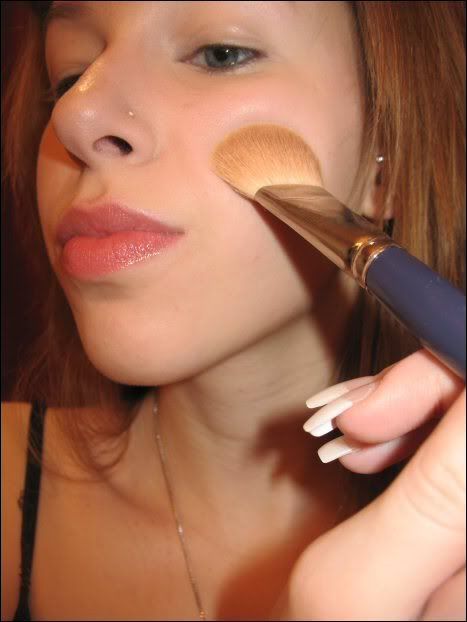
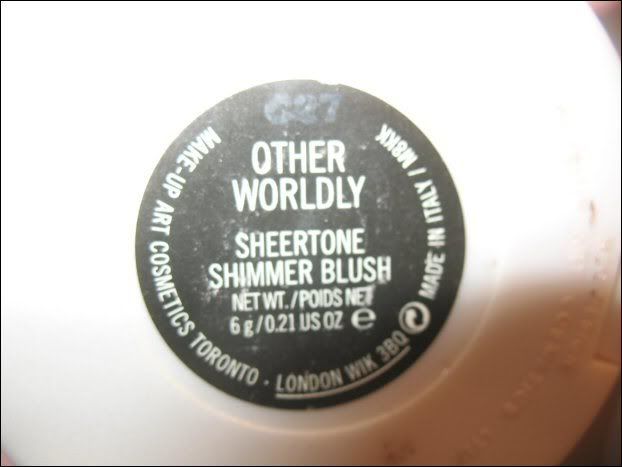
I then take my blush
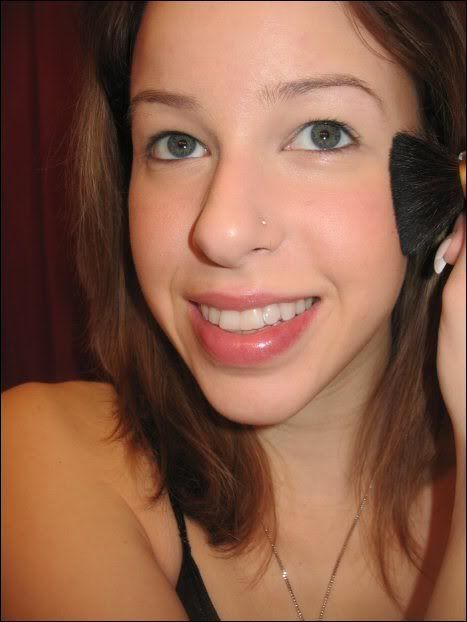
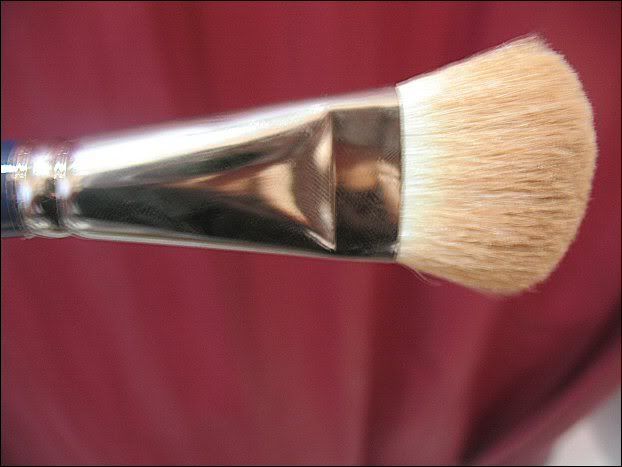
and apply with my fluffy brush
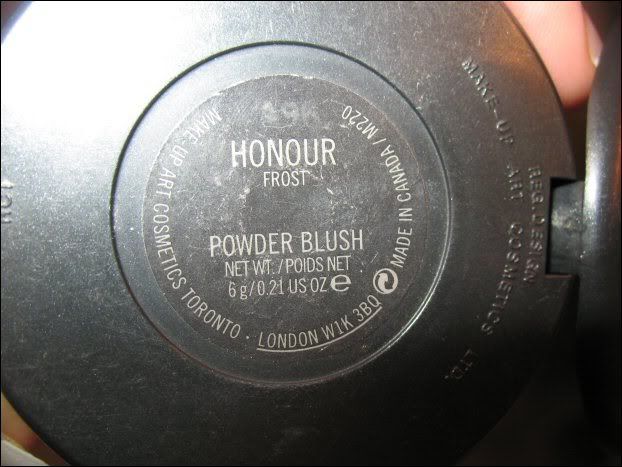
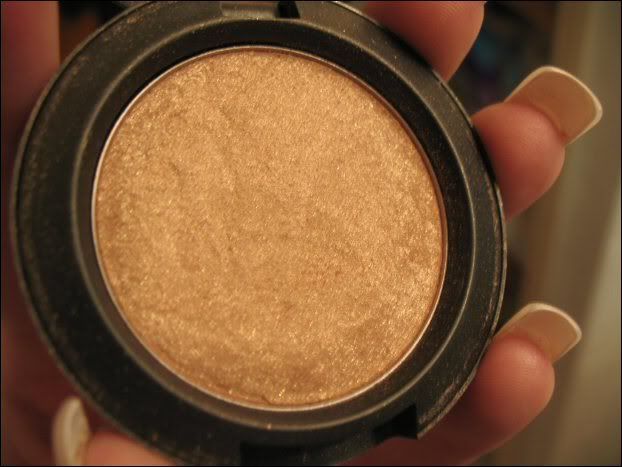
Then I apply my highlight color, Honour, by dragging the brush back from the apples of my cheeks almost to my hairline

like so. I didnt want too much color on the cheeks because I wasn't sure how dark I was going to go on the eyes yet. haha
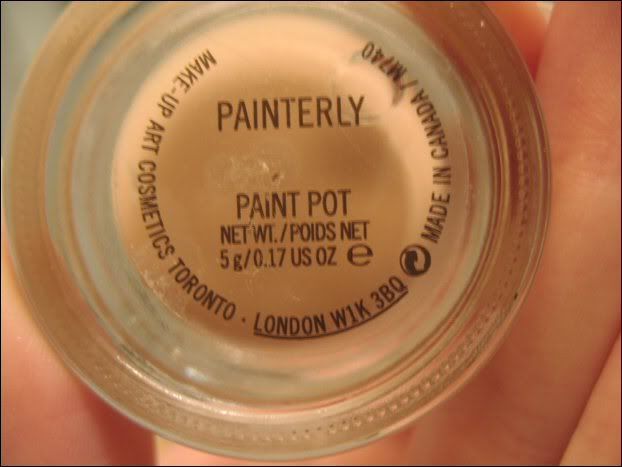
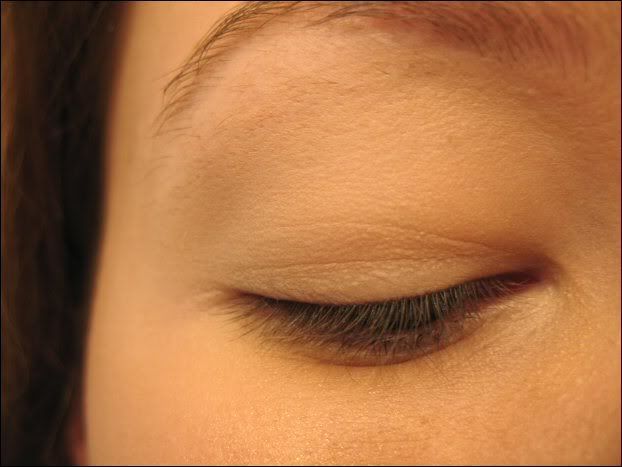
Then I apply Painterly paintpot from lid to browbone
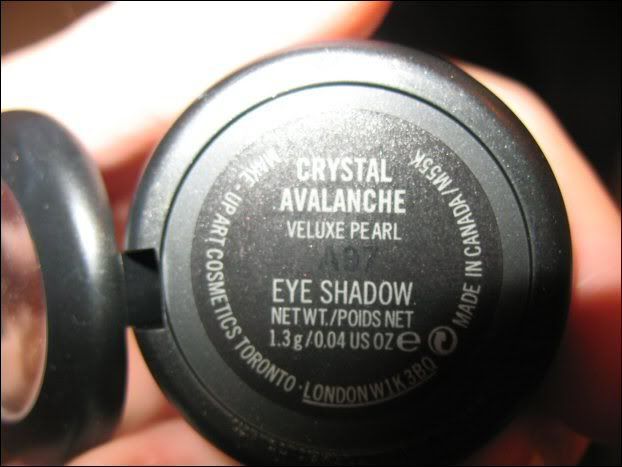
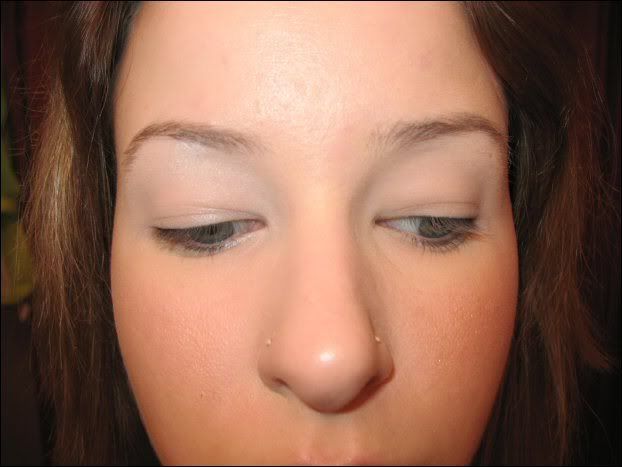
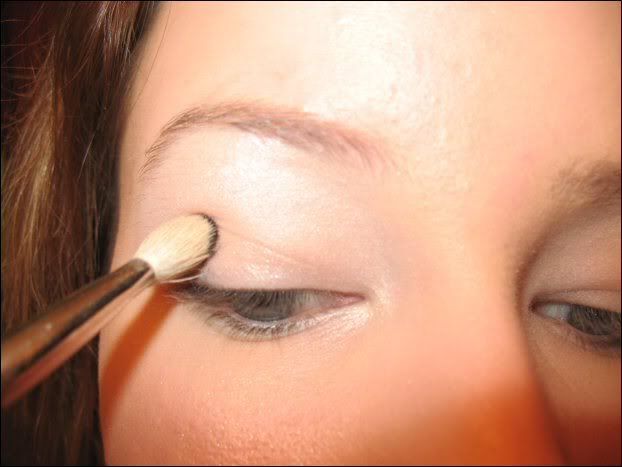
Then I apply Crystal Avalanche as a highlight from my inner corner up on to my browbone with my 217 (in the pic above you can see I hadn't done my left eye's//your right's highlight yet)

In this shape
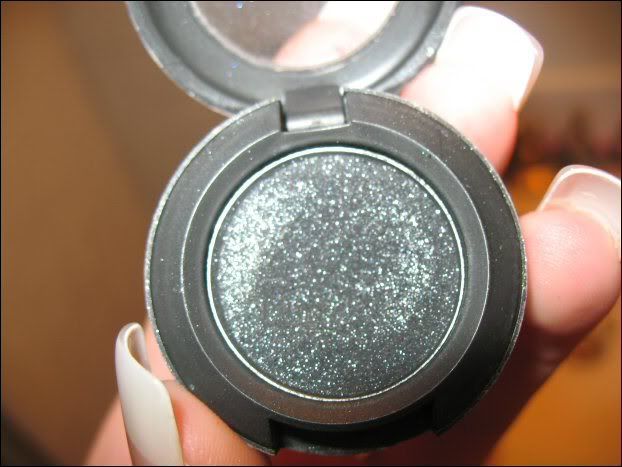
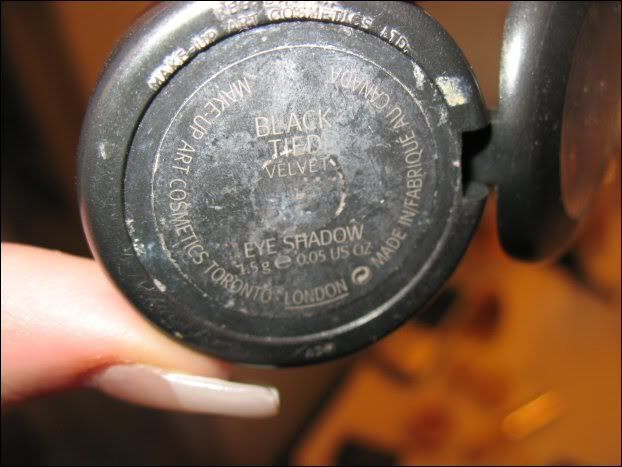
Then I load up my brush (still the 217) with my crease color, in this case, Black Tied.
The reason I do my crease color next is because everytime I do lid and then crease, I feel like I waste so much time because I just have to reapply the lid color anyways after blending.
So I put BT in my crease like that

Then I blend. I do a mix of "traditional" blending by dragging the brush back and forth but also do a bit of blotting too (I never realized how much I "blot" my products on until this tut..). I like that I can control the variances (thats a word, right? lol) in color depth that way. In this pic you can see the difference between blended, unblended. It doesn't have to be perfect because you can always clean it up later.

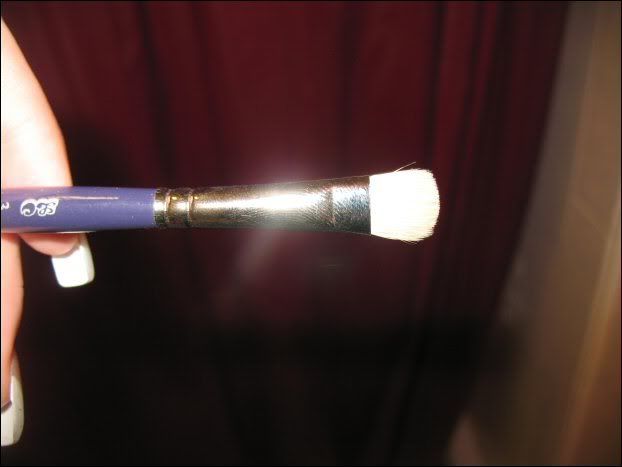
Then I take a shorter, stiffer brush (another paintbrush)
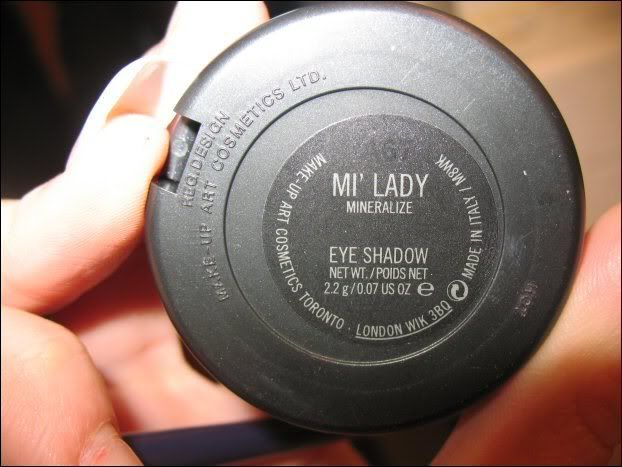
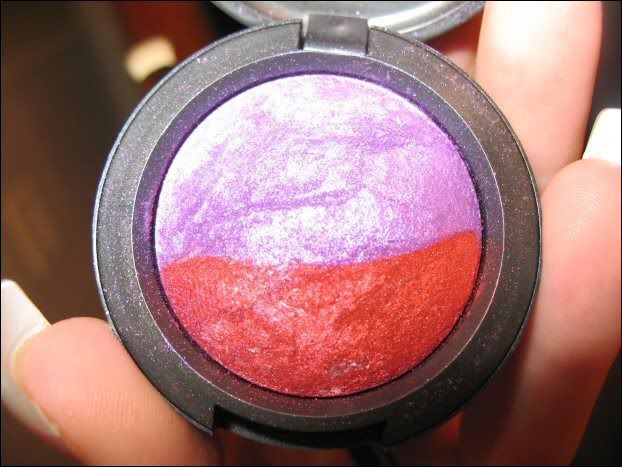
and I load up some purple from the Mi'Lady duo
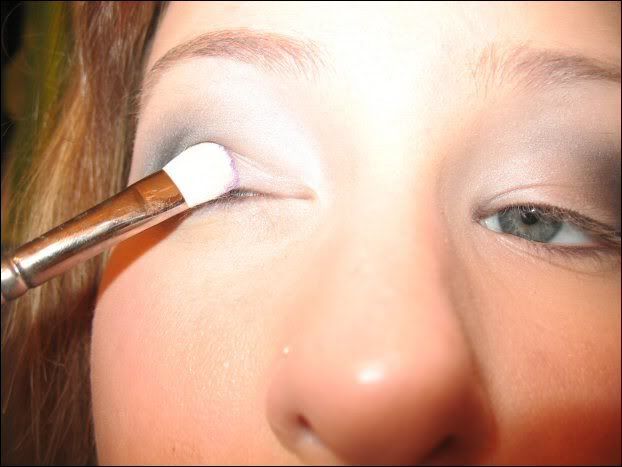
I apply it over the lid and over the Black Tied.
If you want the crease to be more "true black" than the purpley, you can always go over it with some more black tied. I liked that by doing the black with purple over it, it gave me a dark purple looking shadow VS the regular purple with black in the crease. (I hope that makes sense)
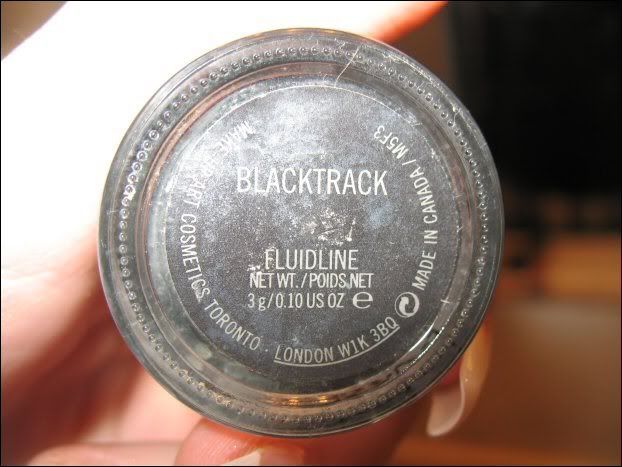

Then I apply some blacktrack with my 231 (loooove this brush for fluidline--its so precise! ...and a bit stained)
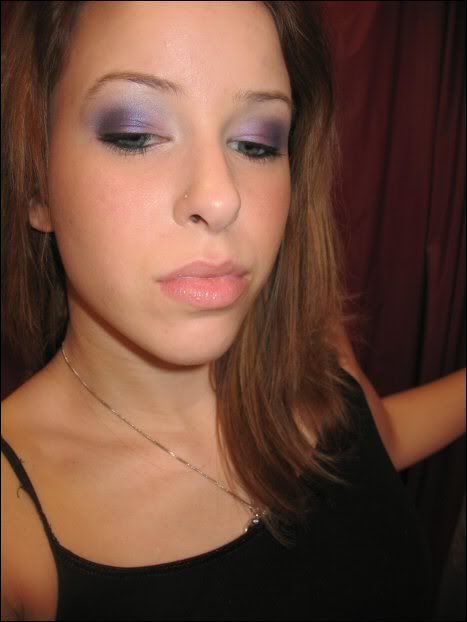
After that, I clean up any blending..add some more highlight//crease color if needed, spray some Fix+, curl my lashes, add mascara & some Wildly Lush plushglass...
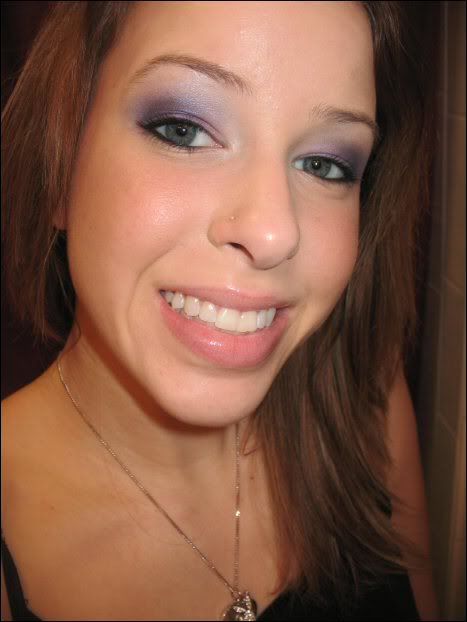
and then I start the camwhoring!
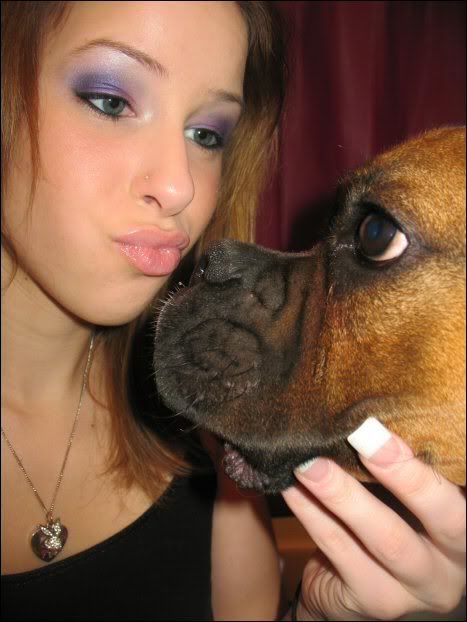 With my 10month old Boxer, Dozer (lol at me looking crosseyed)

Oh, and I did remember to do my brows after I took the pics--Dozer distracted me when he came into the bathroom

I hope this was okay for a first time tutorial, and like I said--CC is encouraged!
Excuse the eyebrows and weird faces..I'm a dork. Oh, and if my lips look wonky, it's because I had my retainers in for most of the pics.
I learned this technique from MAC Pro Artist Konstantine at a demo a few weeks back. Pretty much the approach to "Spring" foundation is to use a super blendable concealer (like MACs moistureblend) to hide imperfections and then just go over with a natural MSF to even out skin a little. Obviously this may not work for all skin types, but I've been using it since my daughter lost my 188 a few days ago. (I just can't bring myself to apply SFF with anything else!)
Start with clean//moisturized skin..apply spot concealer to areas needed. I did undereyes, around//on my nose, some acne marks and on my cheeks which are naturally red.
I lost my moistureblend, so I used this instead:
I then take this 217-wannabe paintbrush from Michael's and blend.
like this.
half-way done
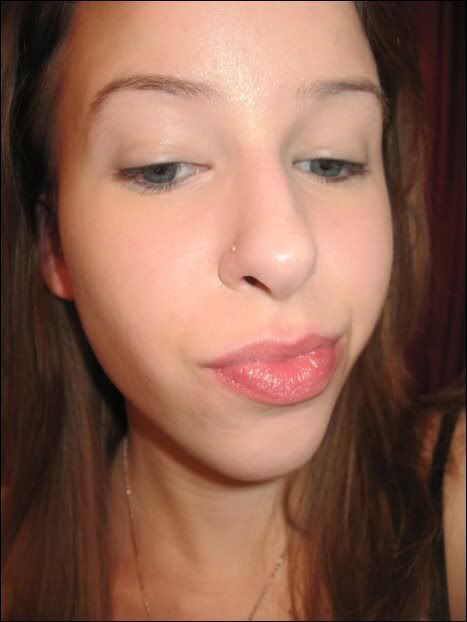
all done!
I then take my MSF natural
and this brush (another paintbrush)
and I apply all over my face, kind of blotting it on VS. rubbing (I don't want to "rub" the concealer off, ya know?)
I then take my blush
and apply with my fluffy brush
Then I apply my highlight color, Honour, by dragging the brush back from the apples of my cheeks almost to my hairline
like so. I didnt want too much color on the cheeks because I wasn't sure how dark I was going to go on the eyes yet. haha
Then I apply Painterly paintpot from lid to browbone
Then I apply Crystal Avalanche as a highlight from my inner corner up on to my browbone with my 217 (in the pic above you can see I hadn't done my left eye's//your right's highlight yet)
In this shape
Then I load up my brush (still the 217) with my crease color, in this case, Black Tied.
The reason I do my crease color next is because everytime I do lid and then crease, I feel like I waste so much time because I just have to reapply the lid color anyways after blending.
So I put BT in my crease like that
Then I blend. I do a mix of "traditional" blending by dragging the brush back and forth but also do a bit of blotting too (I never realized how much I "blot" my products on until this tut..). I like that I can control the variances (thats a word, right? lol) in color depth that way. In this pic you can see the difference between blended, unblended. It doesn't have to be perfect because you can always clean it up later.
Then I take a shorter, stiffer brush (another paintbrush)
and I load up some purple from the Mi'Lady duo
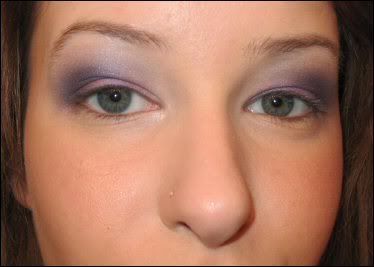
I apply it over the lid and over the Black Tied.
If you want the crease to be more "true black" than the purpley, you can always go over it with some more black tied. I liked that by doing the black with purple over it, it gave me a dark purple looking shadow VS the regular purple with black in the crease. (I hope that makes sense)
Then I apply some blacktrack with my 231 (loooove this brush for fluidline--its so precise! ...and a bit stained)
After that, I clean up any blending..add some more highlight//crease color if needed, spray some Fix+, curl my lashes, add mascara & some Wildly Lush plushglass...
and then I start the camwhoring!
Oh, and I did remember to do my brows after I took the pics--Dozer distracted me when he came into the bathroom
I hope this was okay for a first time tutorial, and like I said--CC is encouraged!


