LeeanneMarie
Well-known member
My first tutorial! I didn't realize how much work these things are, sheesh! I started off doing a FOTD at 1 in the morning but it turned into this. I did this instead of working on my Stanford application.... *sigh* but I can't procrastinate forever.
I took way too many pictures but overall I'm happy with it. This is a basic look that you could wear everyday. It's perfect for beginners, especially the eyes. Contouring is always optional but I did it in this tutorial because I wanted to use my new duo from Sculpt and Shape

I apologize in advance for all of the random glitter on my face! I was playing with pigments before I did this tutorial and I guess I didnt get it all off
 I also apologize for the disgusting eyebrows. I have an appointment this week though, I haven't been in a looooong time.
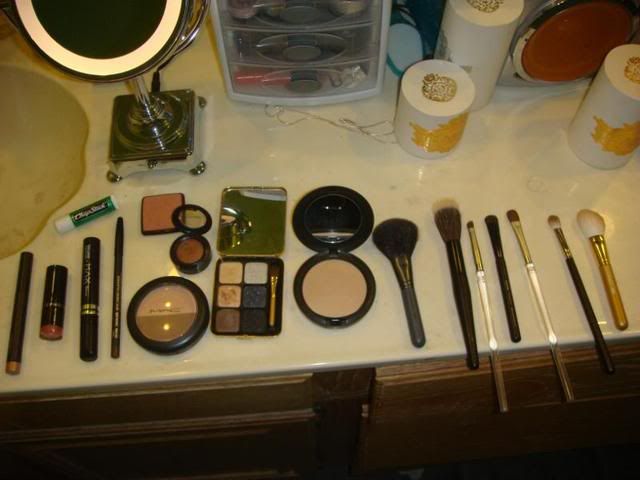
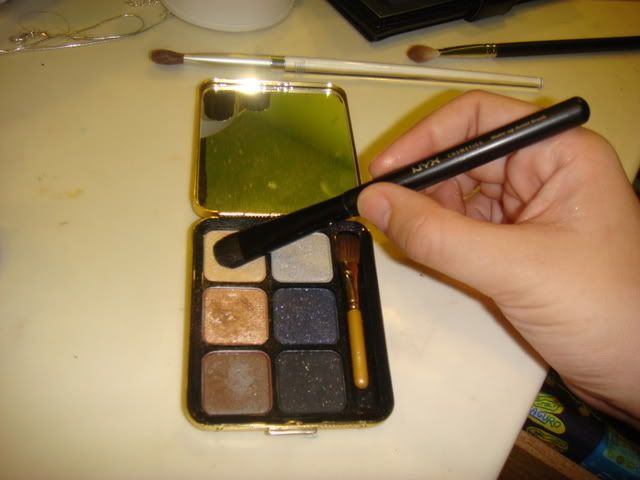
I didn't realize I used this much stuff but here it is:
EYES
MAC Shadestick in shimmersand
MAC Eye Kohl in Teddy
Sable eyeshadow
Creme Royal and Honeylust eyeshadows (from the metallic eyes pallette)
MAX factor volume coture mascara
FACE
Accentuate/Sculpt duo from Sculpt and Shape
Rimmel blush in Apricot (I love this!)
LIPS
Chapstick in spearment (a classic I can't live without)
Sephora gloss lipstick in No. 79
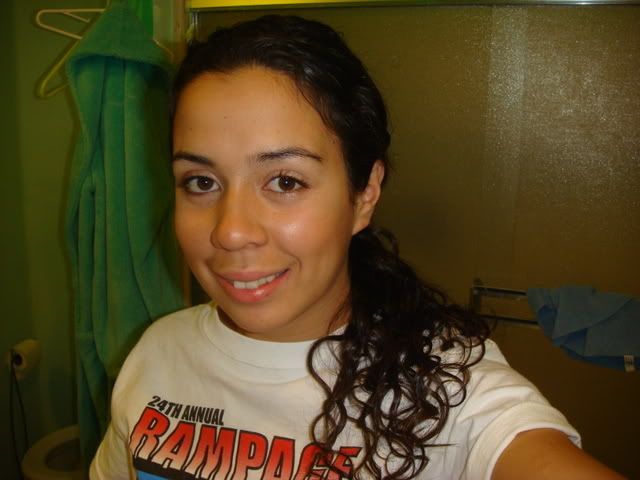
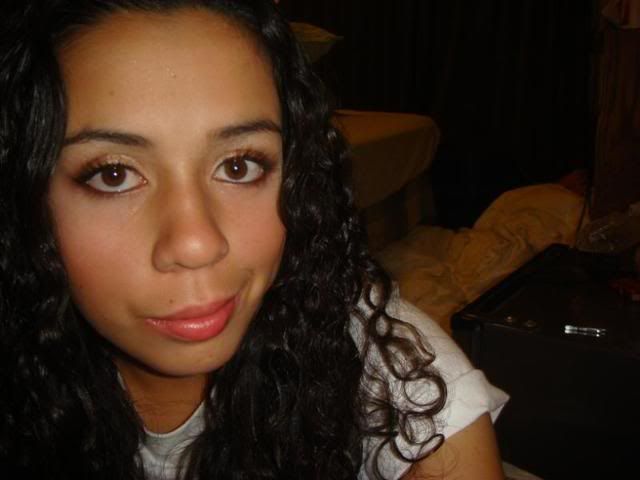
Start with a clean face...
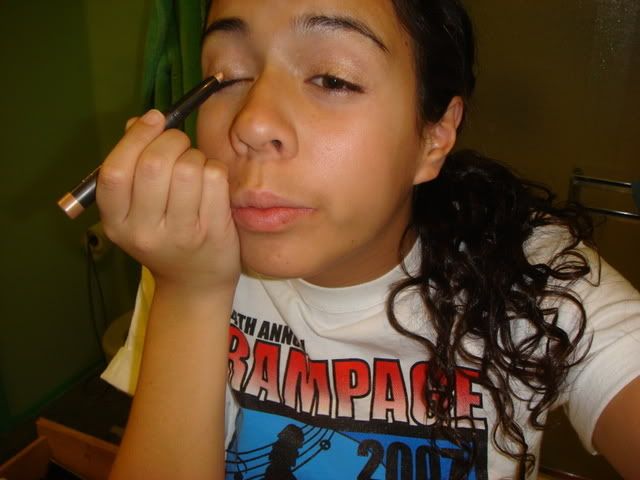
apply shimmersand shadestick as a base over the eyelid and crease. I like to leave the browbone alone because I like my hilighters to be subtle. Blend out any harsh lines with your ring finger
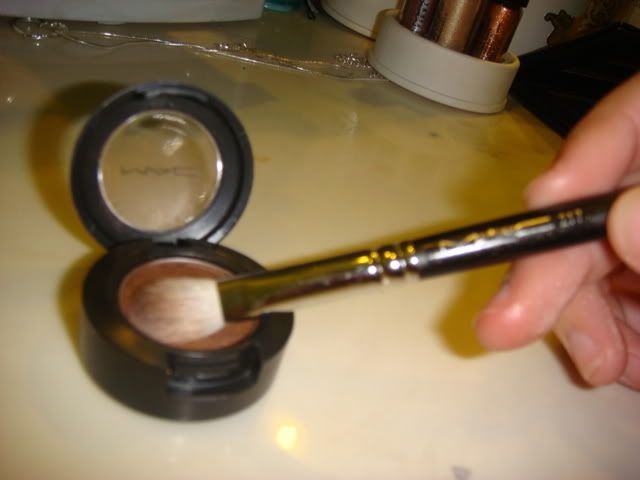
Grab some Sable on your 217 brush
Apply in the crease and a little on the lid, blending as you go.
Other side...

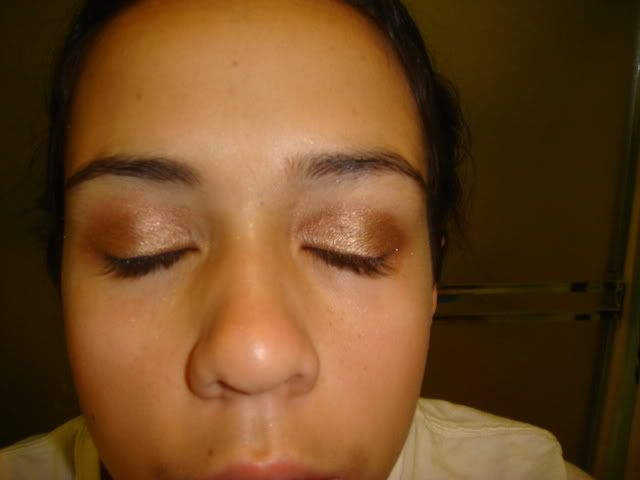
This is what you have so far.
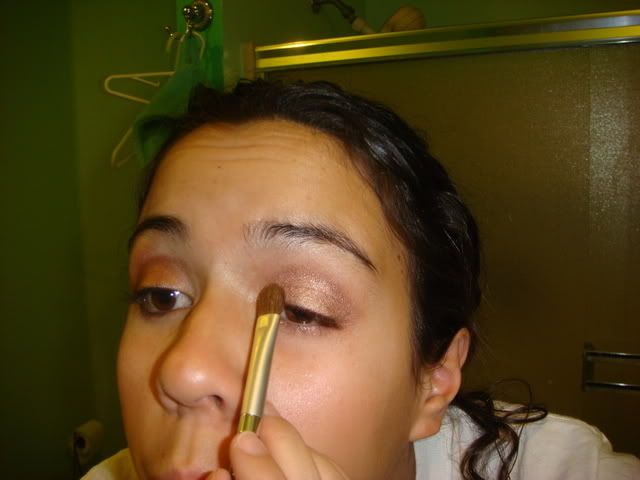
Using any ol lid eyeshadow brush (this is from the costco brush set) pick up some honeylust. Watch out for fallout!
Apply to the naked part of your eyelid, blending slightly into Sable.
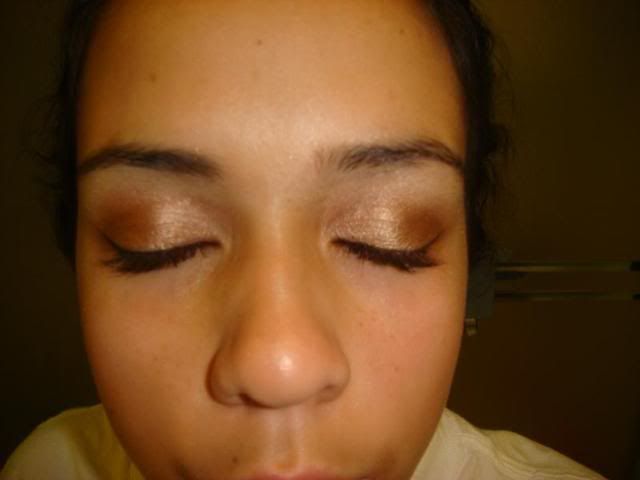
This is what it should look like.
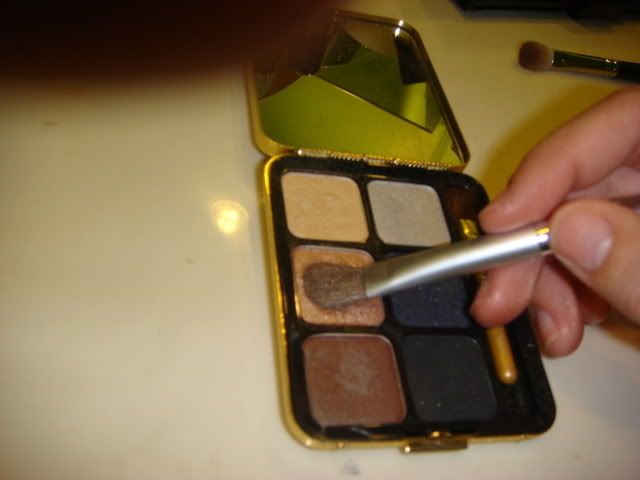
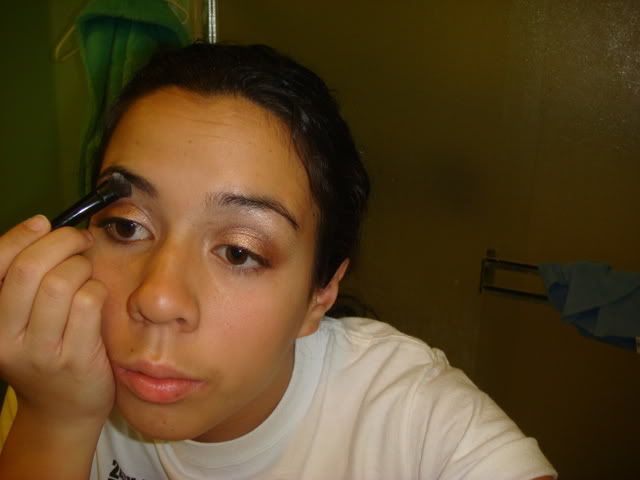
Grab some creme royal with your favorite highlighting brush...
Apply it on the browbone.
Also apply some in the inner corner (tear duct) of your eye.
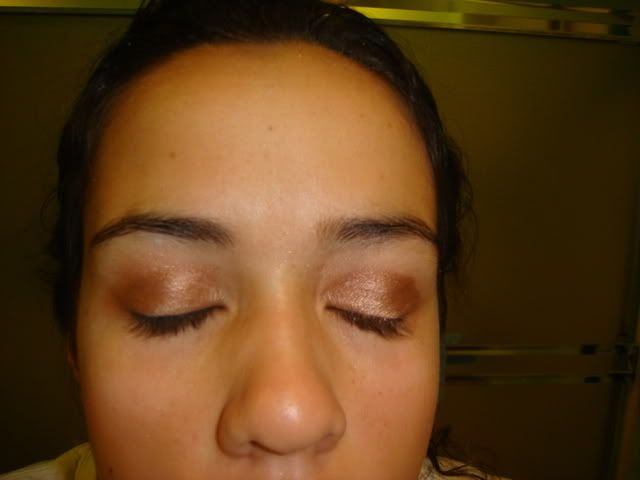
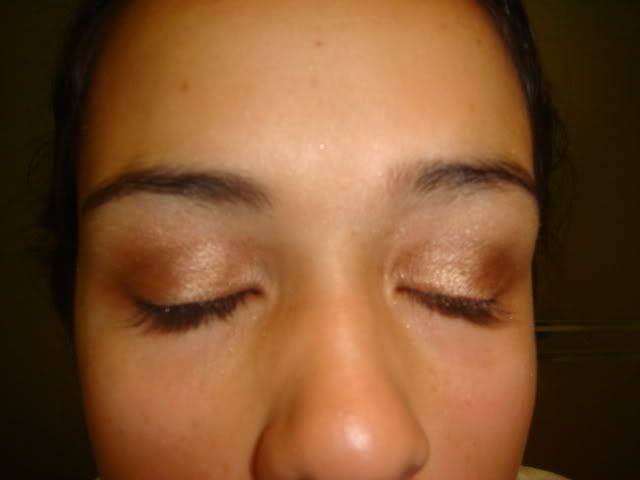
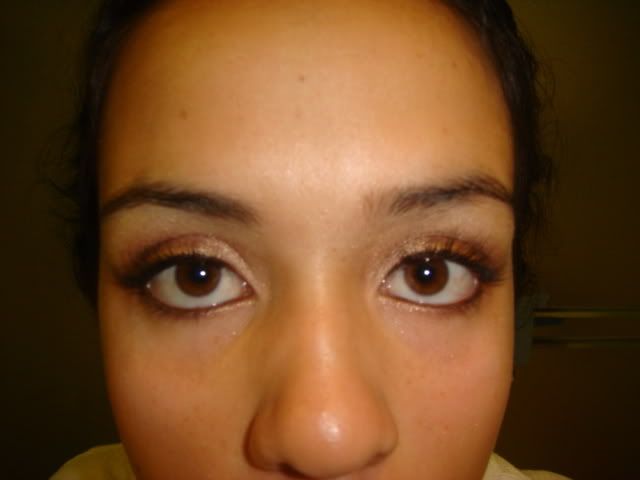
This is what you have thus far...
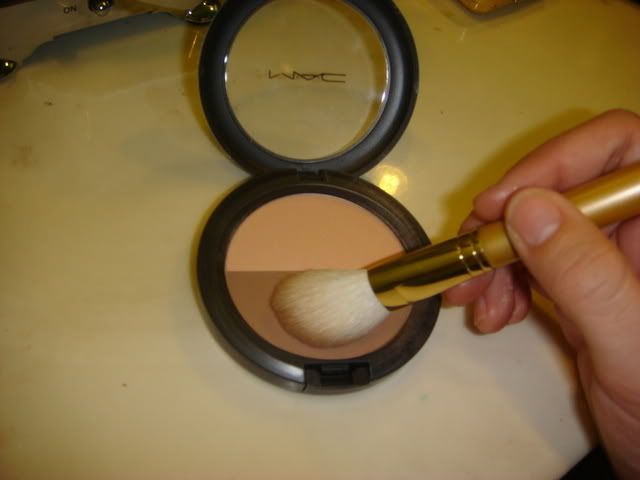
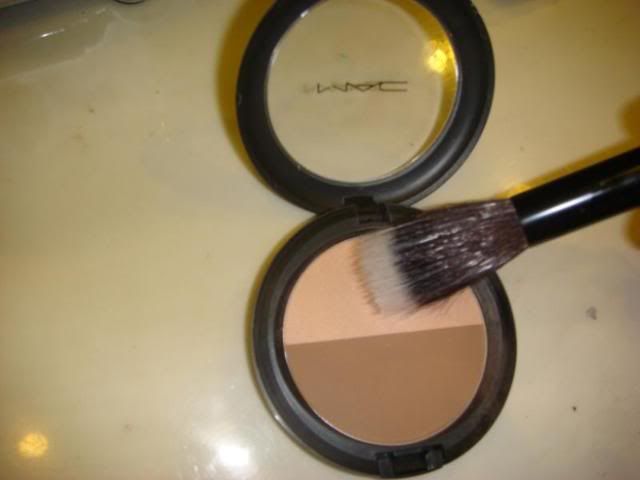
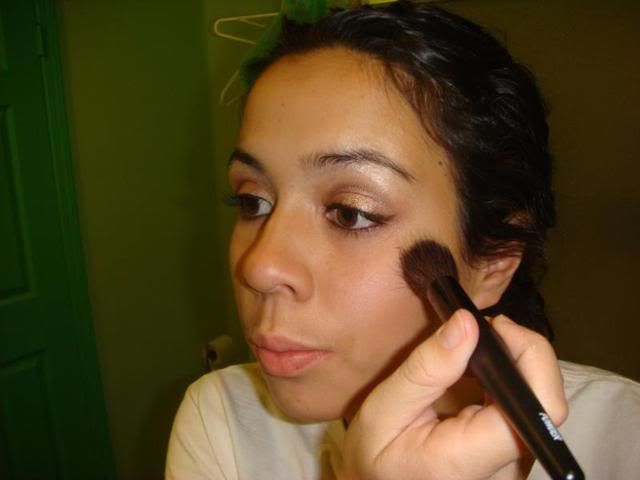
Now its time to contour! This is optional. Grab some of the darker color with your 168 or an equivalent.
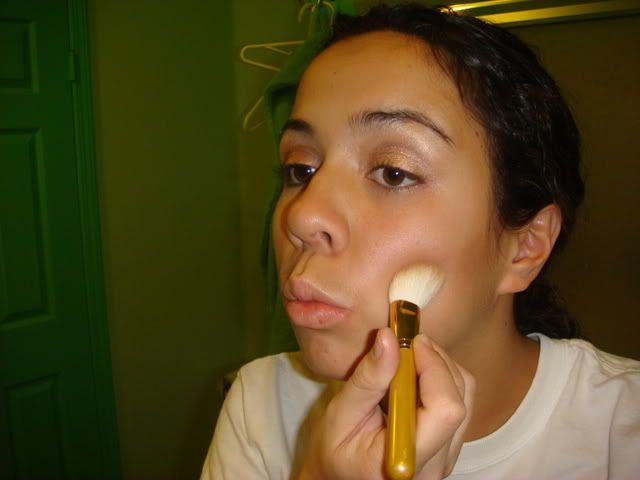
Sweep it just below your cheekbones. You have to make the standard kissy face... it helps I swear!

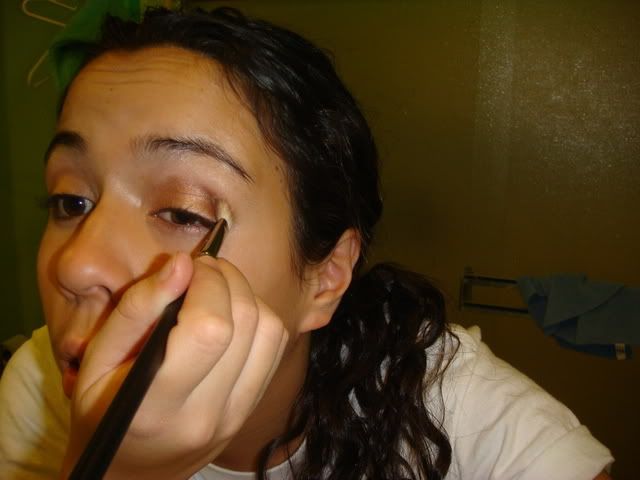
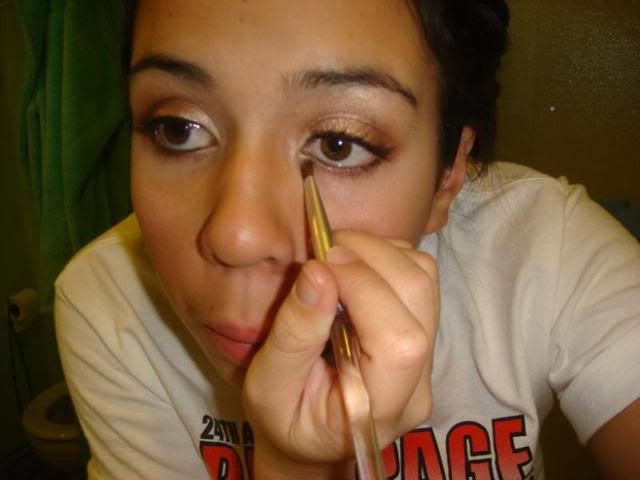
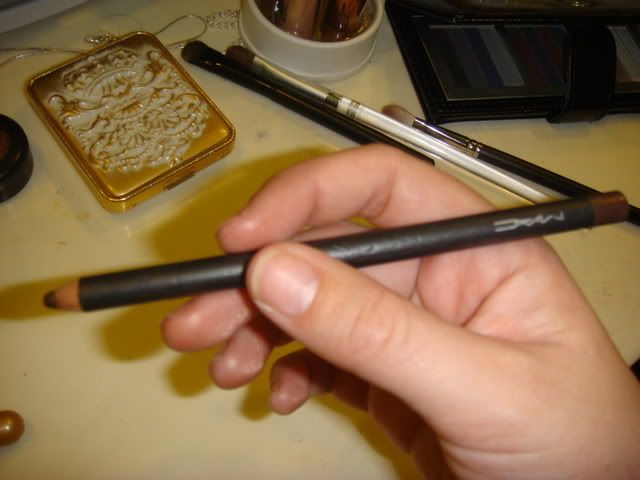
Oops! at this point I realized I forgot to line my eyes so lets go back and do that with the Teddy Eye Kohl.
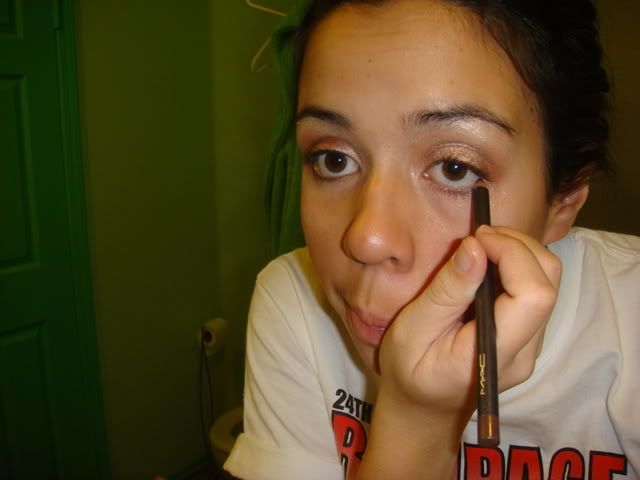
Apply on the waterline, almost to the very inner corner but not quite.
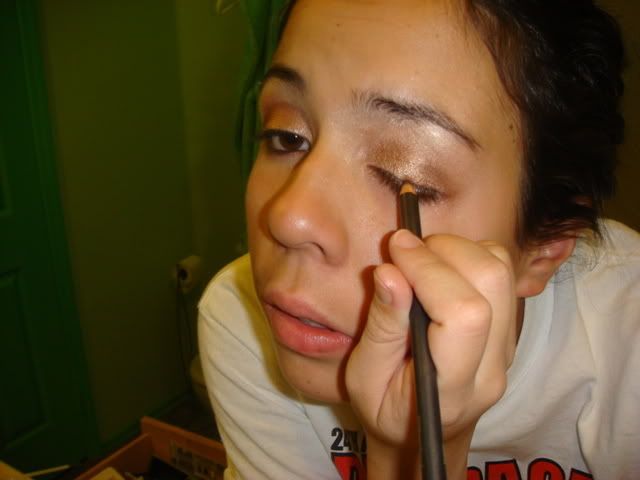
Apply Teddy on the upper lash line, making a wing at the end and connecting it with the lower lash line. (ignore the fact that I look like I'm dying in this picture... lol)
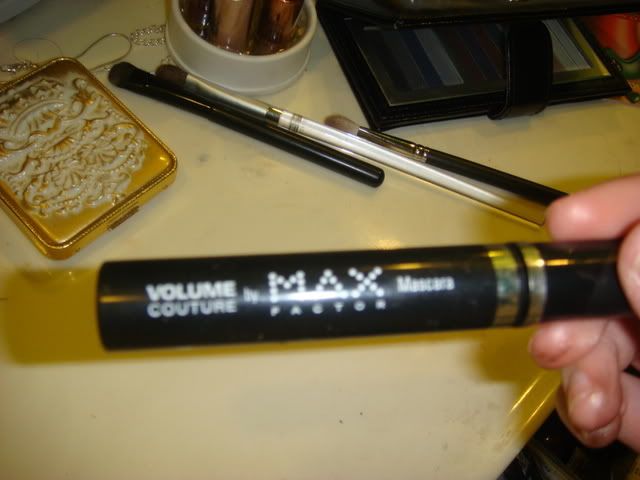
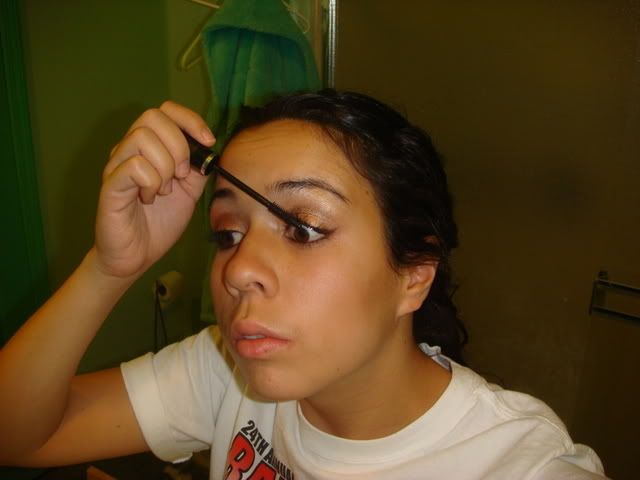
Mascara time! I used MAX factor Volume Couture.
Apply. Don't forget those tiny little inner lashes!
Yay, the eyes are done!
Ok, now to finish our face. Lets highlight using Accentuate.
Apply this with your favorite highlighting brush (this is a cheap version of the 188 from the Flirt! line). Make a "C" shape around your eye from the temple to the top of your cheekbones.
Grab some Rimmel blush in Apricot with your 129.
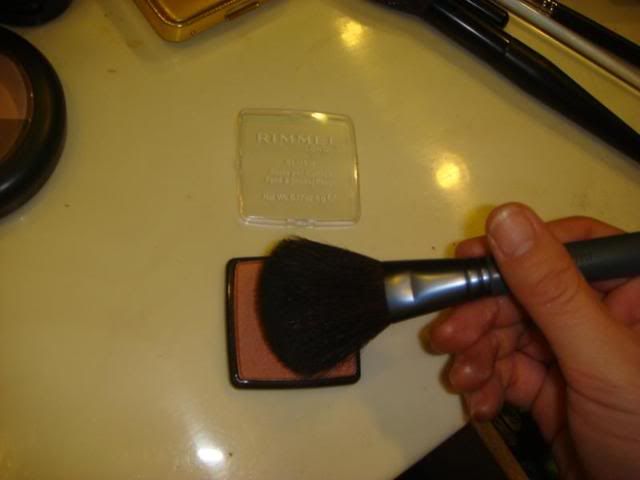
Smile big, and then pat the color on to the apples of your cheeks, dragging the brush out to your temples after you do so.

If you have an oily T-Zone like me, apply your blot powder.
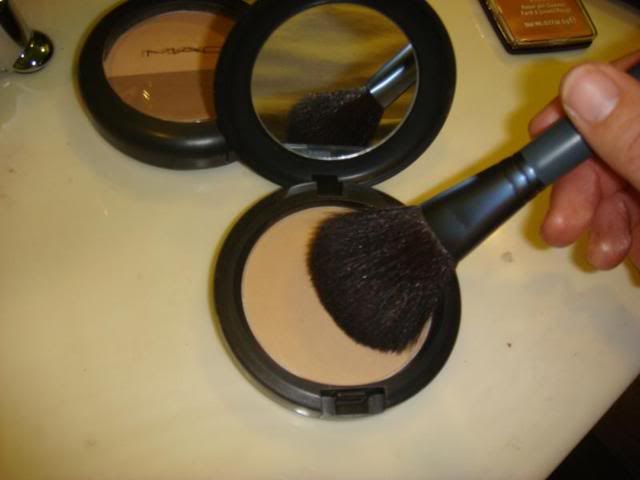
Skip this step if you don't need it.

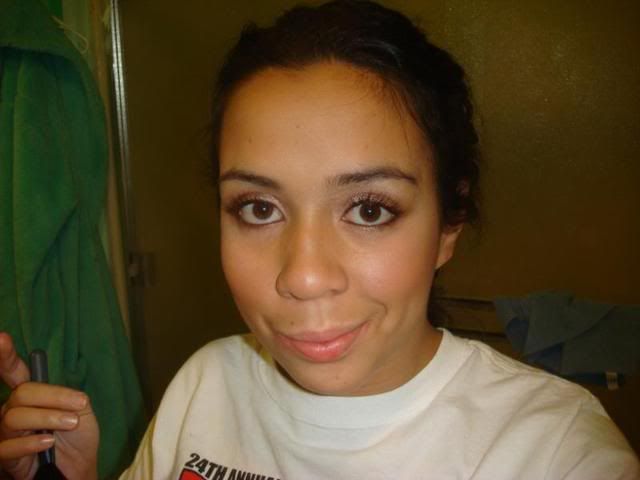
Yay, the face is done!
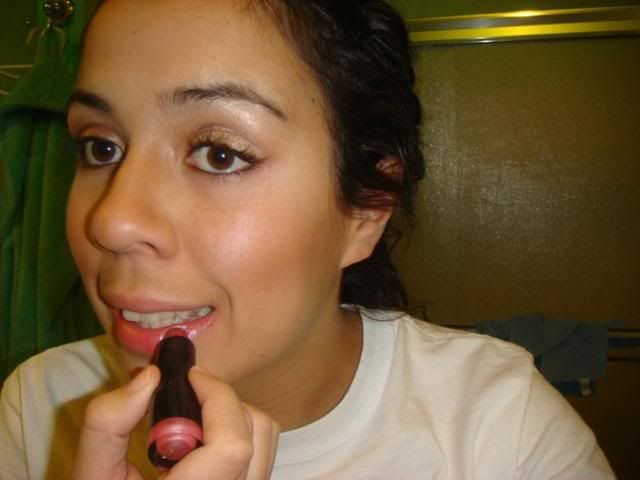
I always like to apply chapstick before I apply any other lip product. It makes application smoother, ESPECIALLY with lip liners! Otherwise they tug and apply unevenly.
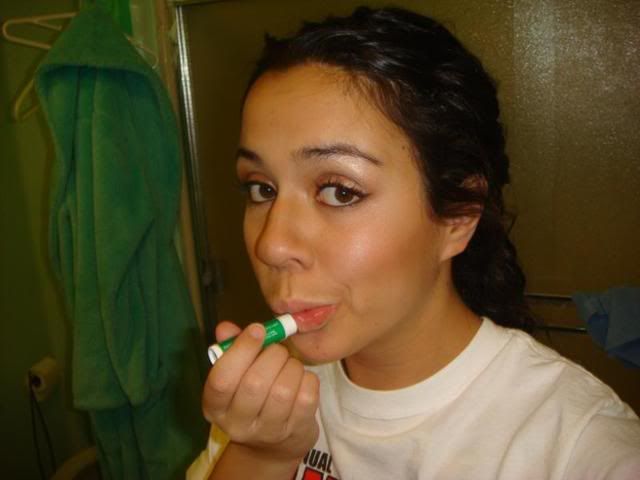
We're going to keep the lips simple today. Grab your Sephora gloss lipstick in No. 79. If you don't have one of these, GET ONE! They are so great, especially on the go! I can't rave about this enough.
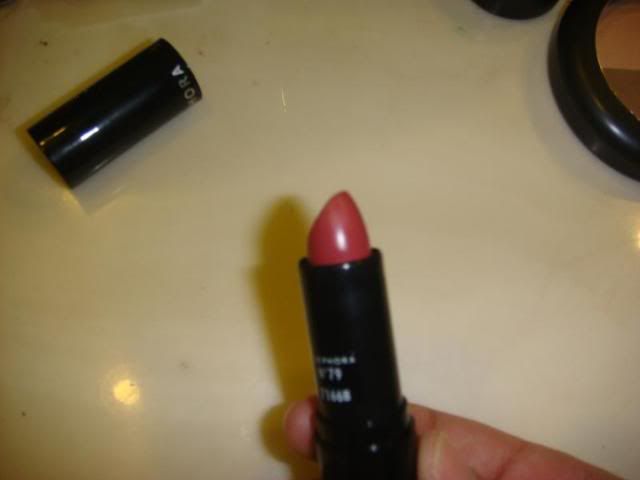
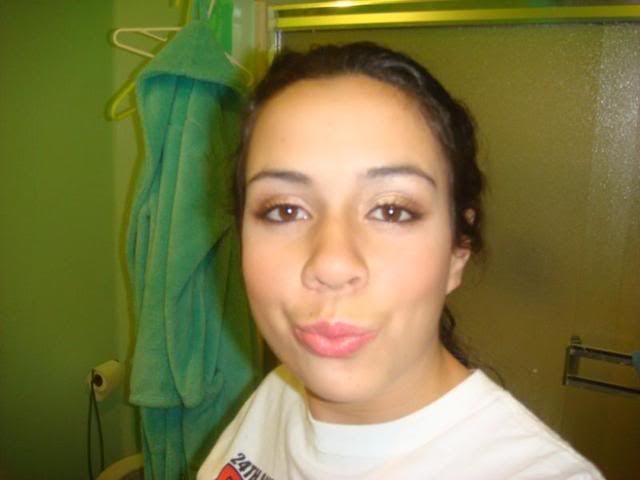
Apply the gloss lipstick. If I were using a regular cream lipstick I would apply a lipliner before this step but after applying chapstick.
And you're all done!
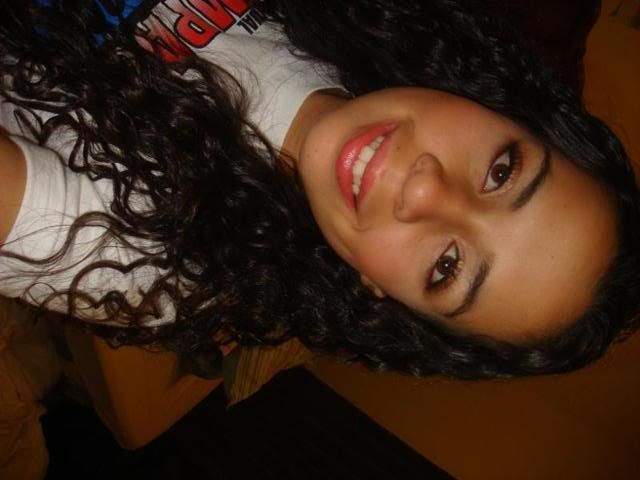
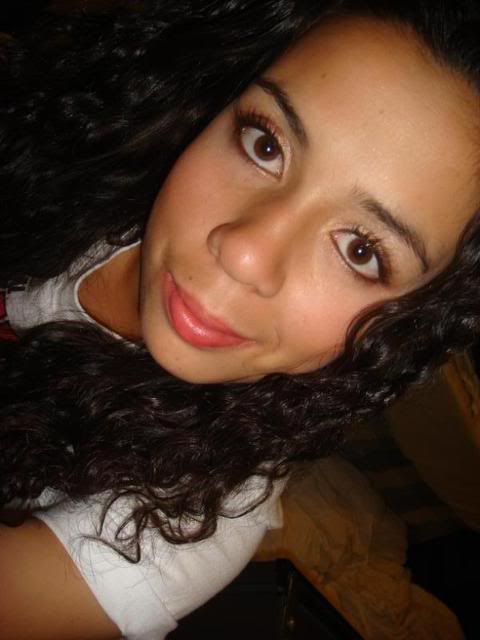
Thanks so much for looking! I hoped I helped someone out.
I took way too many pictures but overall I'm happy with it. This is a basic look that you could wear everyday. It's perfect for beginners, especially the eyes. Contouring is always optional but I did it in this tutorial because I wanted to use my new duo from Sculpt and Shape
I apologize in advance for all of the random glitter on my face! I was playing with pigments before I did this tutorial and I guess I didnt get it all off
I didn't realize I used this much stuff but here it is:
EYES
MAC Shadestick in shimmersand
MAC Eye Kohl in Teddy
Sable eyeshadow
Creme Royal and Honeylust eyeshadows (from the metallic eyes pallette)
MAX factor volume coture mascara
FACE
Accentuate/Sculpt duo from Sculpt and Shape
Rimmel blush in Apricot (I love this!)
LIPS
Chapstick in spearment (a classic I can't live without)
Sephora gloss lipstick in No. 79
Start with a clean face...
apply shimmersand shadestick as a base over the eyelid and crease. I like to leave the browbone alone because I like my hilighters to be subtle. Blend out any harsh lines with your ring finger
Grab some Sable on your 217 brush
Apply in the crease and a little on the lid, blending as you go.
Other side...
This is what you have so far.
Using any ol lid eyeshadow brush (this is from the costco brush set) pick up some honeylust. Watch out for fallout!
Apply to the naked part of your eyelid, blending slightly into Sable.
This is what it should look like.
Grab some creme royal with your favorite highlighting brush...
Apply it on the browbone.
Also apply some in the inner corner (tear duct) of your eye.
This is what you have thus far...
Now its time to contour! This is optional. Grab some of the darker color with your 168 or an equivalent.
Sweep it just below your cheekbones. You have to make the standard kissy face... it helps I swear!
Oops! at this point I realized I forgot to line my eyes so lets go back and do that with the Teddy Eye Kohl.
Apply on the waterline, almost to the very inner corner but not quite.
Apply Teddy on the upper lash line, making a wing at the end and connecting it with the lower lash line. (ignore the fact that I look like I'm dying in this picture... lol)
Mascara time! I used MAX factor Volume Couture.
Apply. Don't forget those tiny little inner lashes!
Yay, the eyes are done!
Ok, now to finish our face. Lets highlight using Accentuate.
Apply this with your favorite highlighting brush (this is a cheap version of the 188 from the Flirt! line). Make a "C" shape around your eye from the temple to the top of your cheekbones.
Grab some Rimmel blush in Apricot with your 129.
Smile big, and then pat the color on to the apples of your cheeks, dragging the brush out to your temples after you do so.
If you have an oily T-Zone like me, apply your blot powder.
Skip this step if you don't need it.
Yay, the face is done!
I always like to apply chapstick before I apply any other lip product. It makes application smoother, ESPECIALLY with lip liners! Otherwise they tug and apply unevenly.
We're going to keep the lips simple today. Grab your Sephora gloss lipstick in No. 79. If you don't have one of these, GET ONE! They are so great, especially on the go! I can't rave about this enough.
Apply the gloss lipstick. If I were using a regular cream lipstick I would apply a lipliner before this step but after applying chapstick.
And you're all done!
Thanks so much for looking! I hoped I helped someone out.


")