Purity
Well-known member
This tutorial is for juicygirl

I have to start making my tutorials during daytime, I hate taking pictures with flash!

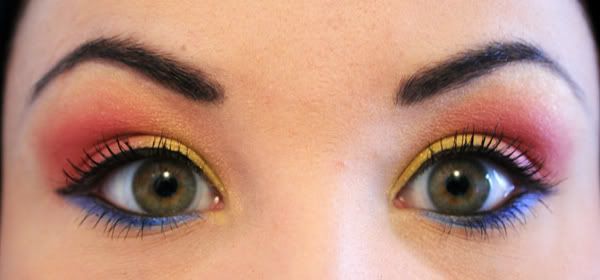
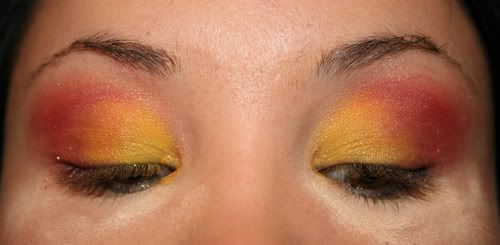
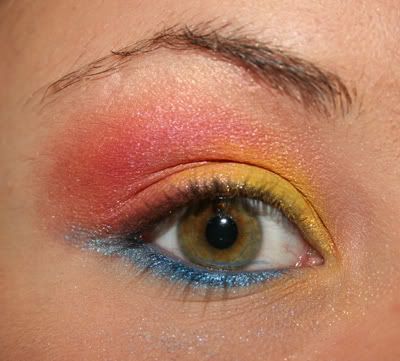
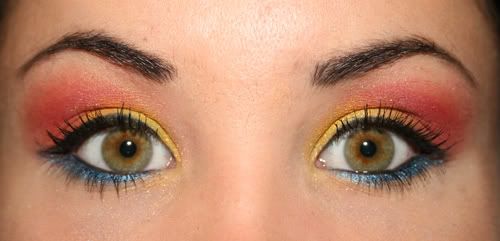
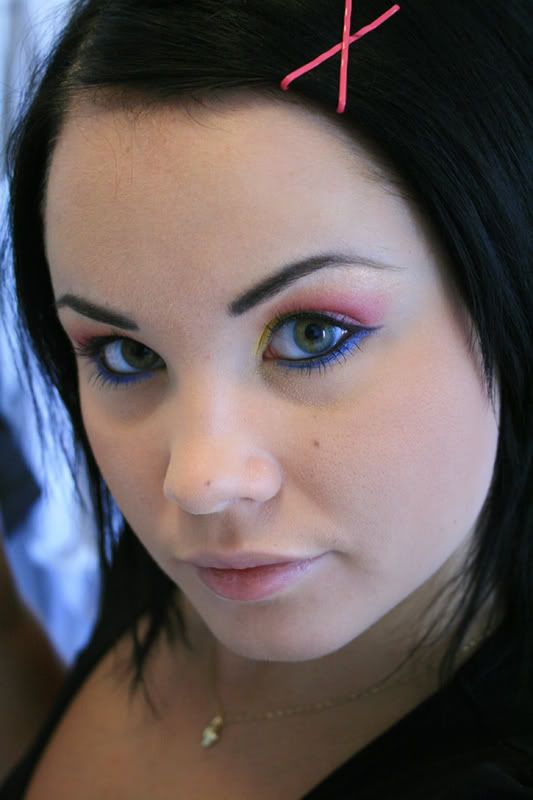
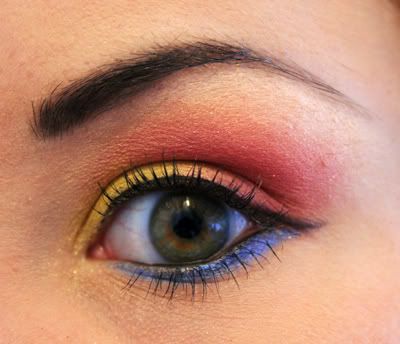
So, this is the look we're going for:
Face products used:
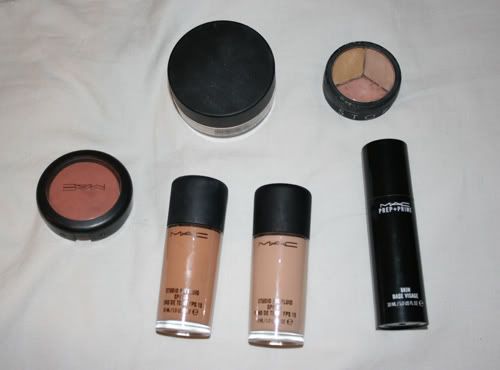
MAC loose blot powder in medium, Make up store cover all mix concealer, MAC sheertone blush in gingerly, MAC studio fix fluid foundation in NW35 and NW20, MAC prep + prime.
Eye products used:
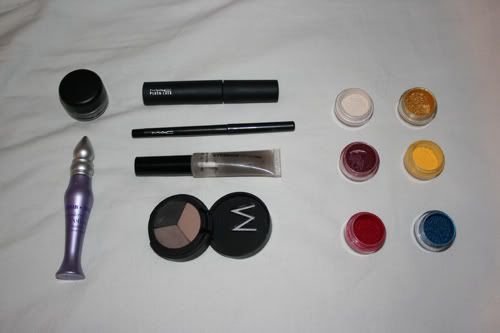
MAC blacktrack fluidline, MAC plush lash mascara, MAC technakohl in graphblack, H&M brow fix, UDPP, Make up store tri brow, MAC pigments in vanilla, golden lemon, accent red, primary yellow, bright fuchsia and blue.
Brushes:
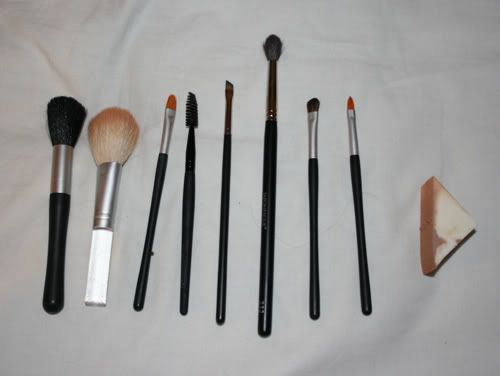
Japonesque powder/blush brush, H&M powder brush, Japonesque concealer brush, drug store lash brush, MAC #208, Japonesque #232, Japonesque eye shadow brush, Japonesque lip brush (won't be using this one though, I reused this picture from another tutorial), sponge.
Start with a clean, moisturised face
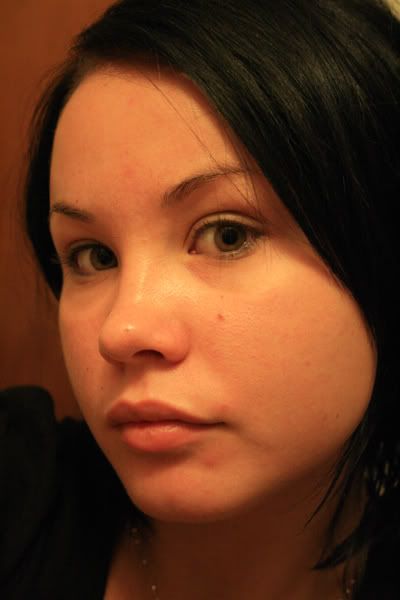
Apply primer, foundation (I use 50/50 of NW20 and NW35 mixed together, applied with a sponge) and concealer, set with loose powder. A detailed description on how I do this can be found in this tutorial.

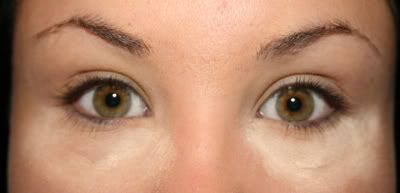
Apply UDPP to your lids and blend it to an even base with your fingers. Apply a layer of loose powder under your eyes with the Japonesque 232 brush to catch up any fallout from the eyeshadow and to set the concealer under your eyes.
Grab your eyeshadow brush and primary yellow pigment. Pick some up and work it into the brush by moving the brush in circular motions in the lid of the jar.
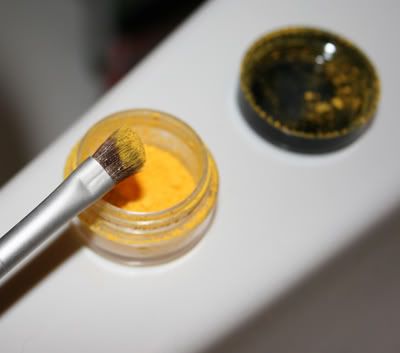
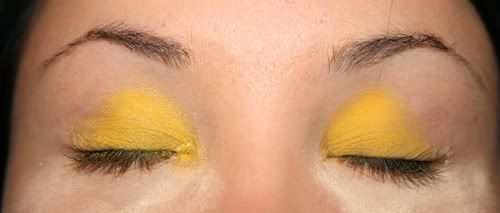
Apply primary yellow to the inner part of your lid.
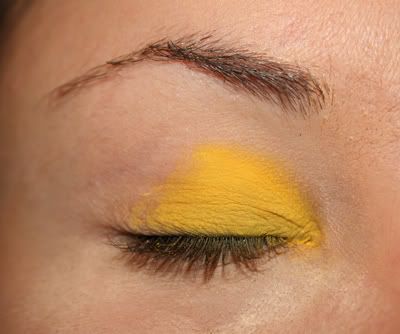
Now work some golden lemon into your brush.
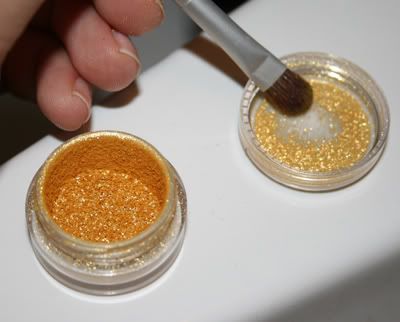
Apply golden lemon over primary yellow to make it sparkle a bit. Comparison between primary yellow with golden lemon over it to just primary yellow:
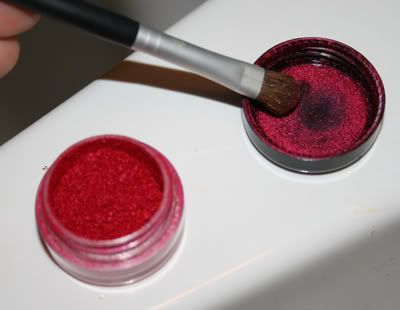
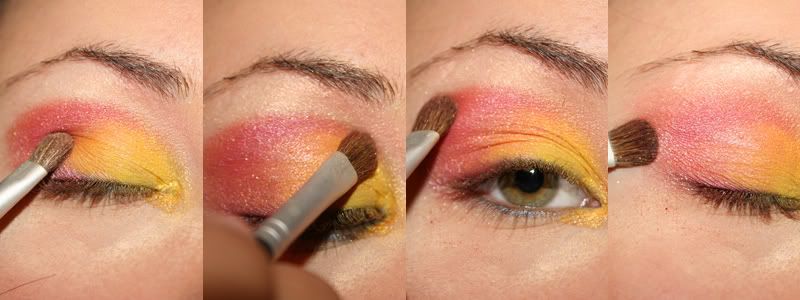
Pick up some accent red on your brush
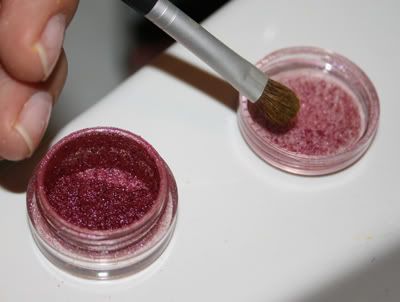
Apply it to the outer corner, middle of lid and crease. I applied two layers to make the colour come out brighter
Time for bright fuchsia. This pigment is really bright so you only need a tiny bit of it!
Apply bright fuchsia over accent red to make it more pink
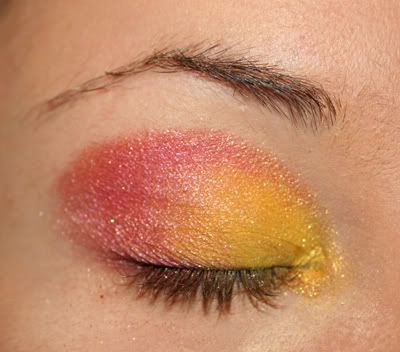
Highlighter time! Clean your brush really well or use another one, then pick up some vanilla on your brush.
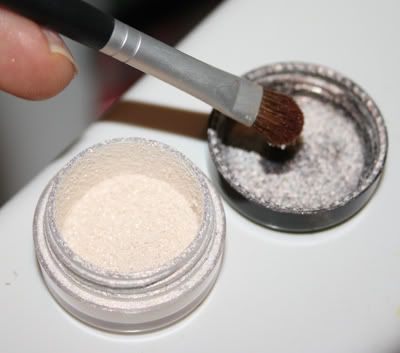
Apply to your brow bone and inner corner of your crease to highlight the area next to your nose
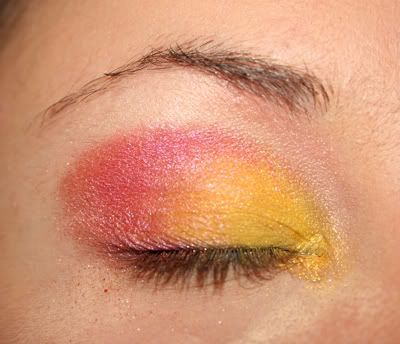
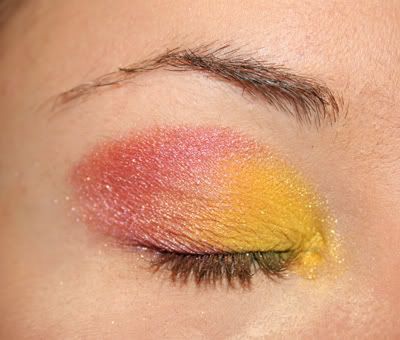
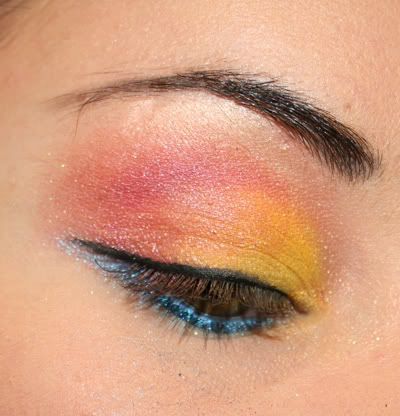
Time to blend! I start by blending the yellow and red/pink together. Step two is to blend the yellow into the highlighter to get rid of any harsh lines, then blend the pink into the highlighter, and lastly, blend the pink out towards your temples. I use a windshield wiper motion to blend, using the flat part of the brush when blending colours together on the lid and blending outwards toward the temples, and the pointy part of the brush when blending up into the highlighter.
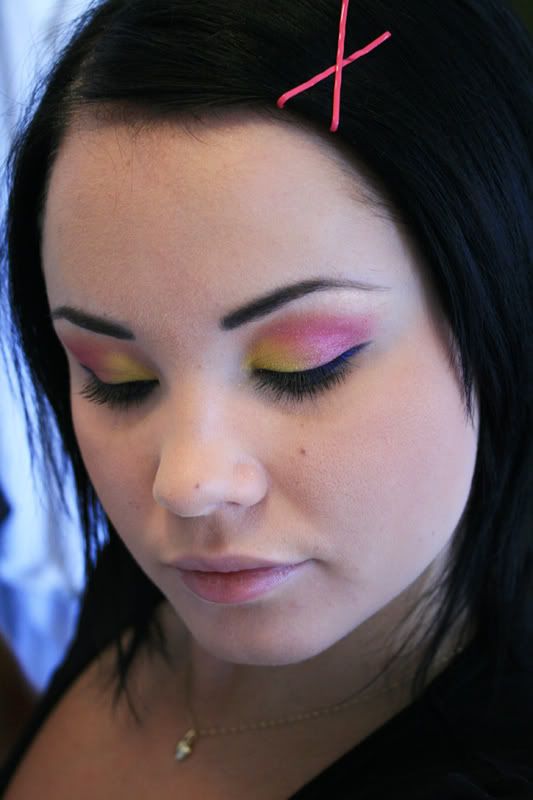
All done and blended! Now you can brush off that loose powder underneath the eyes and remove eventual yellow colour from the inner corner of your eye.
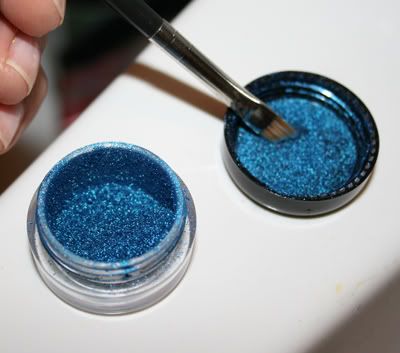
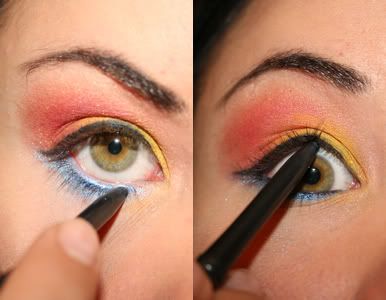
Rub some blue pigment into your flat angeled #208 brush
Apply as close to your lower lashline as possible. Make the outer half of the line by starting from the outer corner, and the inner half by starting from the inner corner. I apply 2 or 3 layers like this to make the blue really bright. Make sure to extend the line a bit outside the outer corner of your eye, since it will meet up with the top lid eyeliner.
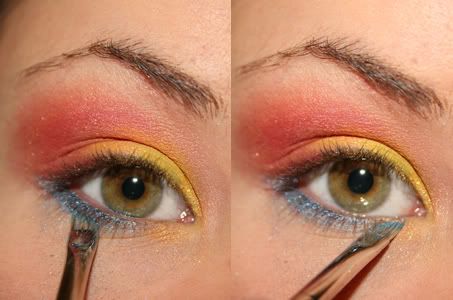
Now you should have something like this. Brush off the blue fallout with a soft powder brush. And don't do like me and put pigment on your eye...
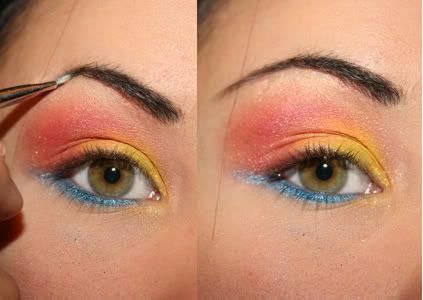
Wipe off that #208 brush and pick up some brow colour, I use a mix of the darker and middle colour

Fill in your brows, starting with the thicker part of the brow. Draw a line along the top of your brow and one along the bottom of your brow, and fill in between the two lines. Then fill in the thinner part of the brow. Set your brows with brow fix and the drug store lash brush.
Pick up some blacktrack fluidline on your #208 brush (can you tell I like my 208?)
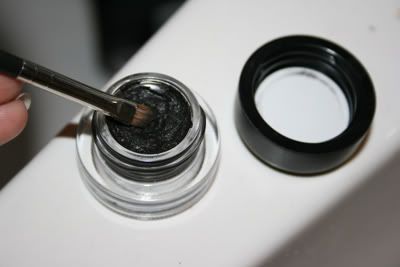
Line the top lashline with the fluidline as close to your lashes as possible. I start at the inner corner of my eye and line it almost the entire way out, then I make the little wing by starting from the outer corner and work my way inwards.
Grab your technakohl and line your upper and lower waterline. I use a q-tip to wipe off any eye-goo from the lower waterline before applying, it makes it go on much smoother. It's a bit tricky to line the upper waterline if you're not used to touch your eyes, if you find it uncomfortable, it doesn't make a big difference if you skip this step.
Apply 2 layers of plush lash mascara to both the lower and upper lashes
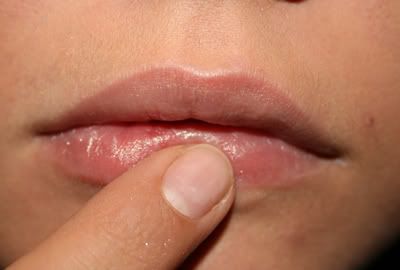
Apply some moisturizing clear lip stuff, I use the body shop lip butter.
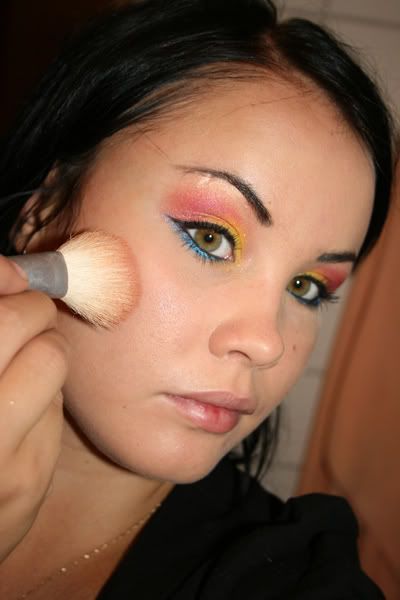
Apply some blush to the apples of your cheeks and the chin bone, blend well. Don't go overboard on this step since the eyes are in focus, we only want to give the cheeks a bit of glow.
And you're done!
I have to start making my tutorials during daytime, I hate taking pictures with flash!
So, this is the look we're going for:
Face products used:
MAC loose blot powder in medium, Make up store cover all mix concealer, MAC sheertone blush in gingerly, MAC studio fix fluid foundation in NW35 and NW20, MAC prep + prime.
Eye products used:
MAC blacktrack fluidline, MAC plush lash mascara, MAC technakohl in graphblack, H&M brow fix, UDPP, Make up store tri brow, MAC pigments in vanilla, golden lemon, accent red, primary yellow, bright fuchsia and blue.
Brushes:
Japonesque powder/blush brush, H&M powder brush, Japonesque concealer brush, drug store lash brush, MAC #208, Japonesque #232, Japonesque eye shadow brush, Japonesque lip brush (won't be using this one though, I reused this picture from another tutorial), sponge.
Start with a clean, moisturised face
Apply primer, foundation (I use 50/50 of NW20 and NW35 mixed together, applied with a sponge) and concealer, set with loose powder. A detailed description on how I do this can be found in this tutorial.
Apply UDPP to your lids and blend it to an even base with your fingers. Apply a layer of loose powder under your eyes with the Japonesque 232 brush to catch up any fallout from the eyeshadow and to set the concealer under your eyes.
Grab your eyeshadow brush and primary yellow pigment. Pick some up and work it into the brush by moving the brush in circular motions in the lid of the jar.
Apply primary yellow to the inner part of your lid.
Now work some golden lemon into your brush.
Apply golden lemon over primary yellow to make it sparkle a bit. Comparison between primary yellow with golden lemon over it to just primary yellow:
Pick up some accent red on your brush
Apply it to the outer corner, middle of lid and crease. I applied two layers to make the colour come out brighter
Time for bright fuchsia. This pigment is really bright so you only need a tiny bit of it!
Apply bright fuchsia over accent red to make it more pink
Highlighter time! Clean your brush really well or use another one, then pick up some vanilla on your brush.
Apply to your brow bone and inner corner of your crease to highlight the area next to your nose
Time to blend! I start by blending the yellow and red/pink together. Step two is to blend the yellow into the highlighter to get rid of any harsh lines, then blend the pink into the highlighter, and lastly, blend the pink out towards your temples. I use a windshield wiper motion to blend, using the flat part of the brush when blending colours together on the lid and blending outwards toward the temples, and the pointy part of the brush when blending up into the highlighter.
All done and blended! Now you can brush off that loose powder underneath the eyes and remove eventual yellow colour from the inner corner of your eye.
Rub some blue pigment into your flat angeled #208 brush
Apply as close to your lower lashline as possible. Make the outer half of the line by starting from the outer corner, and the inner half by starting from the inner corner. I apply 2 or 3 layers like this to make the blue really bright. Make sure to extend the line a bit outside the outer corner of your eye, since it will meet up with the top lid eyeliner.
Now you should have something like this. Brush off the blue fallout with a soft powder brush. And don't do like me and put pigment on your eye...
Wipe off that #208 brush and pick up some brow colour, I use a mix of the darker and middle colour
Fill in your brows, starting with the thicker part of the brow. Draw a line along the top of your brow and one along the bottom of your brow, and fill in between the two lines. Then fill in the thinner part of the brow. Set your brows with brow fix and the drug store lash brush.
Pick up some blacktrack fluidline on your #208 brush (can you tell I like my 208?)
Line the top lashline with the fluidline as close to your lashes as possible. I start at the inner corner of my eye and line it almost the entire way out, then I make the little wing by starting from the outer corner and work my way inwards.
Grab your technakohl and line your upper and lower waterline. I use a q-tip to wipe off any eye-goo from the lower waterline before applying, it makes it go on much smoother. It's a bit tricky to line the upper waterline if you're not used to touch your eyes, if you find it uncomfortable, it doesn't make a big difference if you skip this step.
Apply 2 layers of plush lash mascara to both the lower and upper lashes
Apply some moisturizing clear lip stuff, I use the body shop lip butter.
Apply some blush to the apples of your cheeks and the chin bone, blend well. Don't go overboard on this step since the eyes are in focus, we only want to give the cheeks a bit of glow.
And you're done!