User67
Well-known member
You guys have been asking me to do a tutorial & I have been promising to do you forever. So today I am home alone & had a lot of time on my hands so I decided to do one. This also includeds a mini brow tutorial. I can't believe I am gonna let you all see me without my brows! I must really be fond of you all
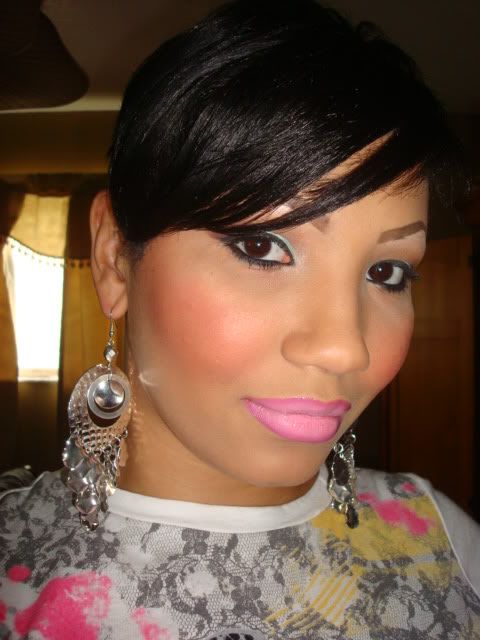
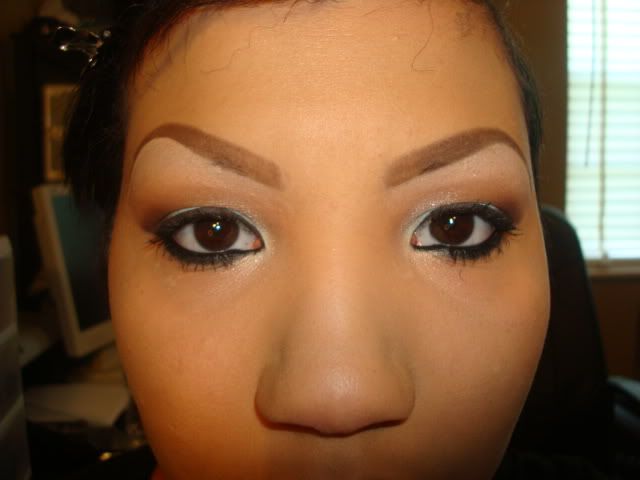
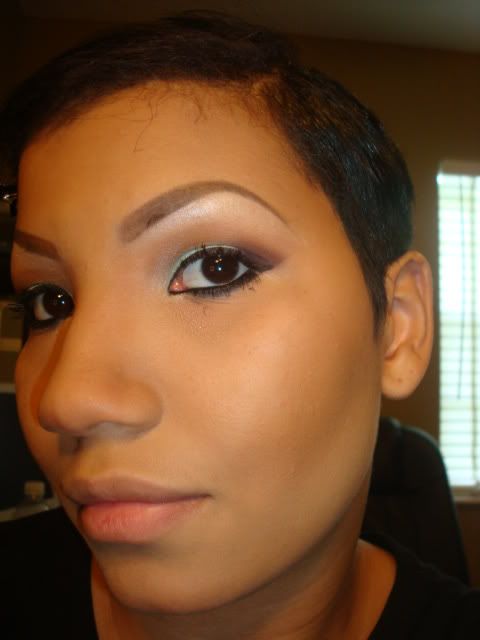
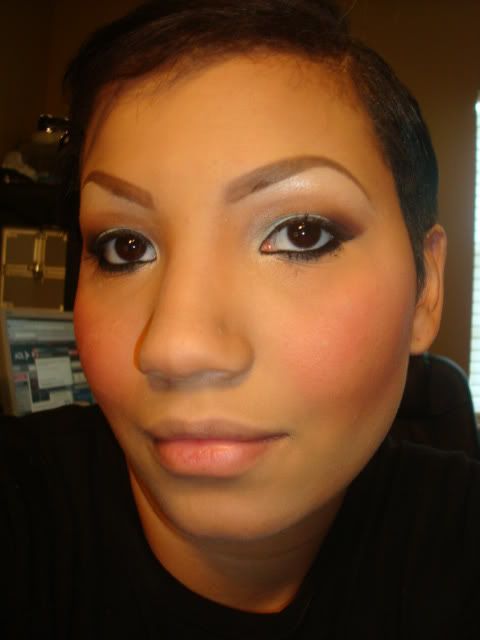
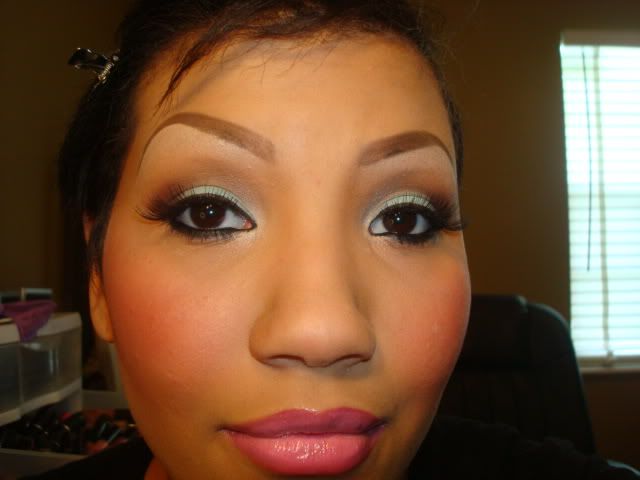
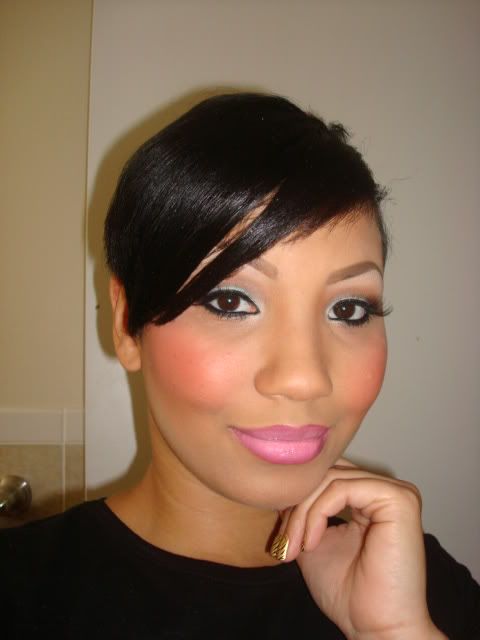
 This is the look we are going for
Here is a list of what I personally used. I know of course we don't all have the same exact products, so use whatever you have that can create a similar look. Also keep in mind that I use a ridiculous amount of brushes lol! You don't need to have all these to do this.
Face:
#109 brush
#275 brush
#129 brush
#187 brush
#168 brush
Prep + Prime SPF50 Primer
Fast Response eyecream
Studio Fix Fluid NC42
Studio Finish Concealer NW30
Medium Loose Blot powder
Matte Bronze
Prep + Prime Translucent powder
Fleur Power blush
Eyes:
#242 brush
#224 brush
#252 brush
#272 brush
#212 brush
#263 brush
Too Faced Shadow Insurance
Spiked Brow pencil
Blanc Type e/s
Soft Brown e/s
Sugarshot e/s
Aqua e/s
Cork e/s
Sketch e/s
Black Black Chromaline
Engraved e/s
Carbon e/s
L'Oreal Mascara
Ardell#118 lashes
Lips:
Magenta l/l
Saint Germain l/s
Culture Clash l/g
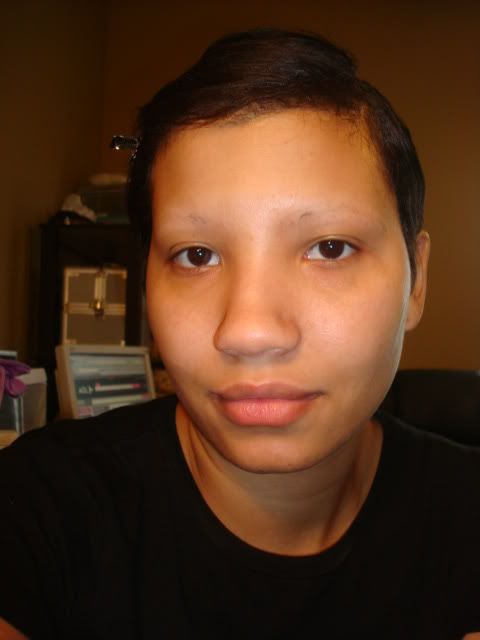
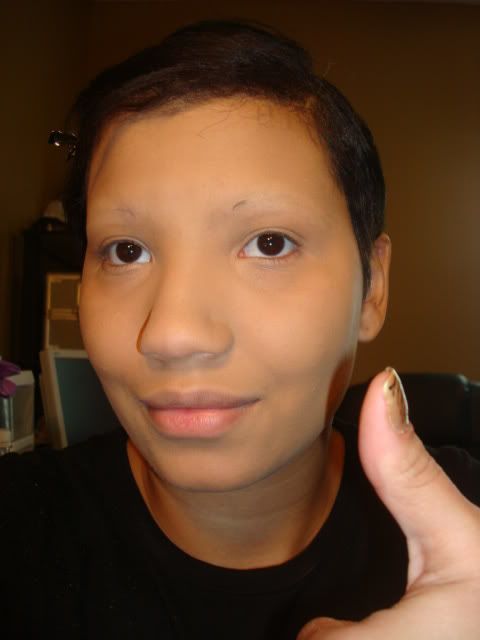
Start out with a clean moisturized face (warning I look like an alien with no brows lol!)
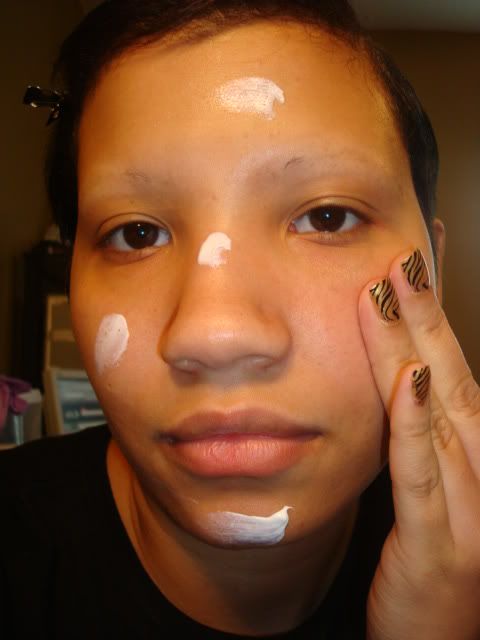
Prime your face.
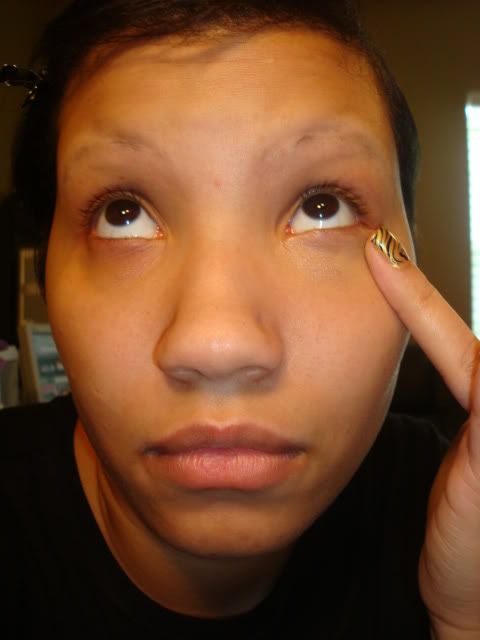
Add eyecream if needed, I'm using Fast Response all over the eye area.
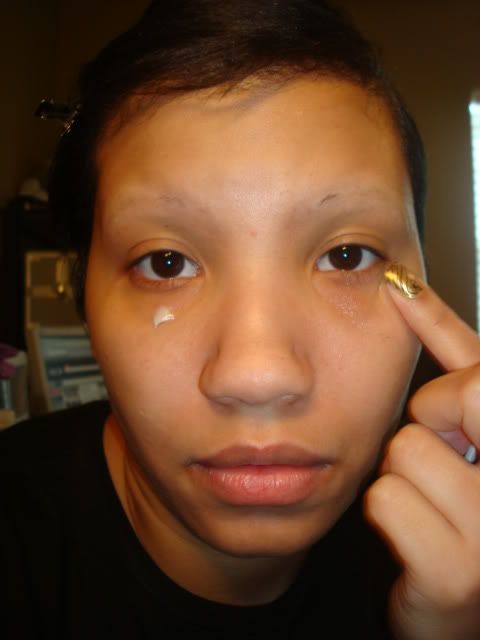
Add concealer under the eyes, I'm using Studio Finish in NW30, I just use my ring finger to blend it.
Now for foundation, I like to use a clean CD as a palette.
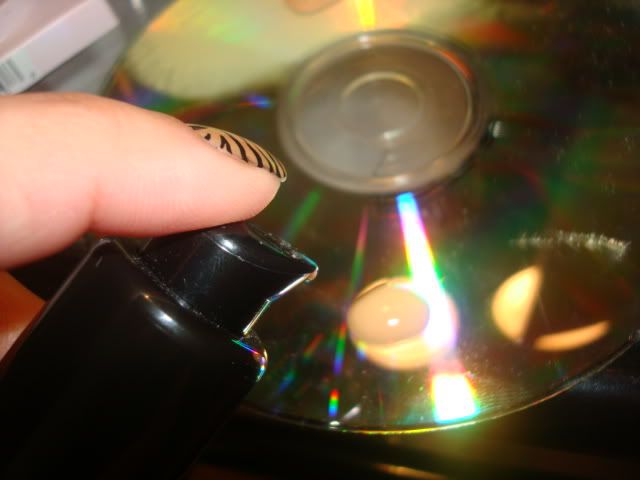
Pick some up on your #109 brush & stipple it on, then buff it into the skin using cirular motions.
Foundation is done.
Now pick up some loose blot powder on your #129 brush & set the foundation.
Done! Now for brows. (Thank God!)
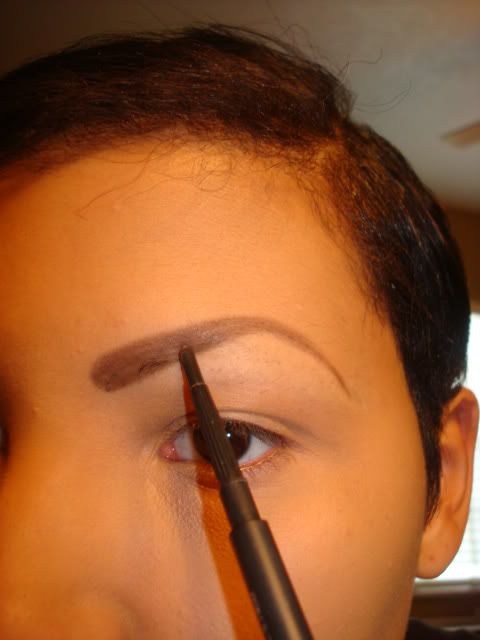
Take your brow pencil & draw on the basic shape you want.
Then start to form your inner corners by kind of making a round shape.
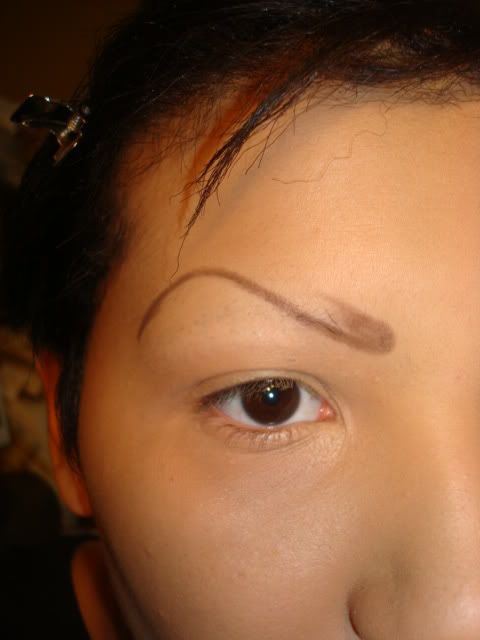
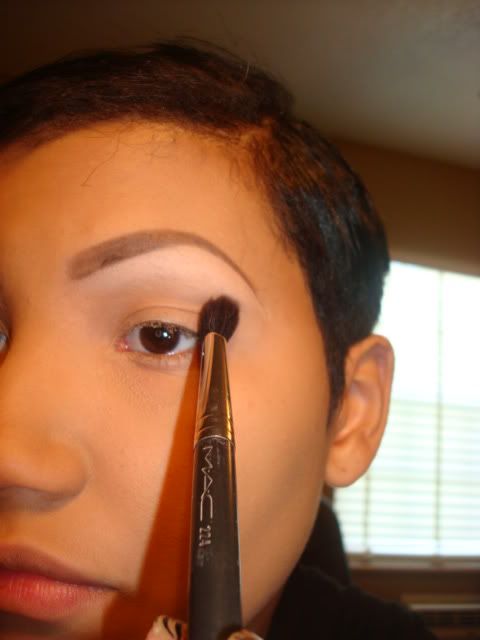
Now starting from the inner corners fill in the rest of the brows.
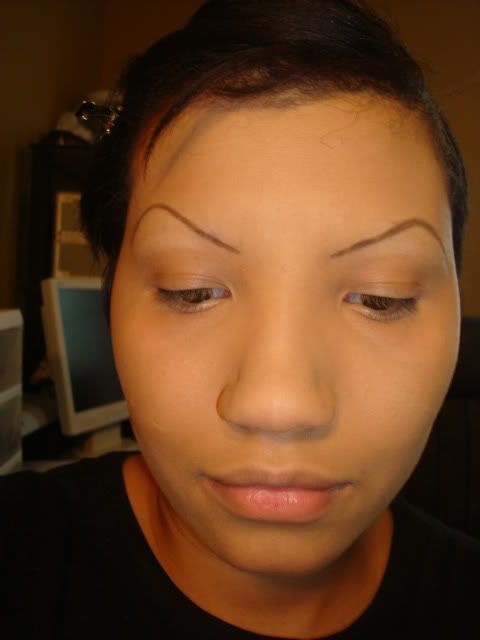
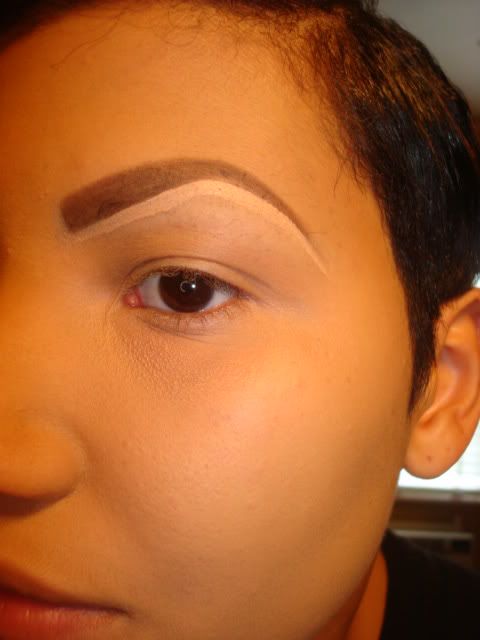
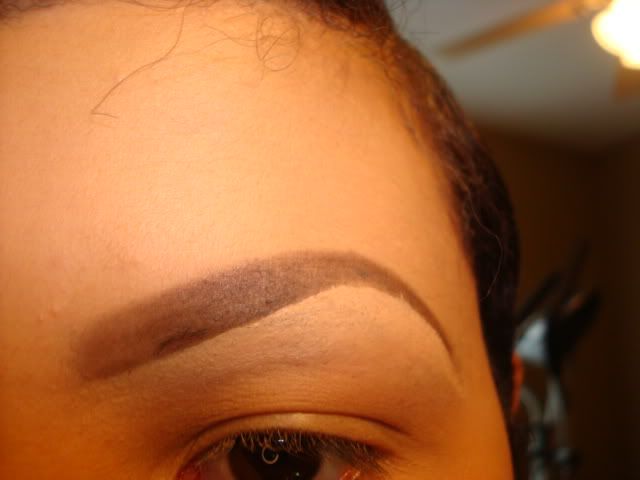
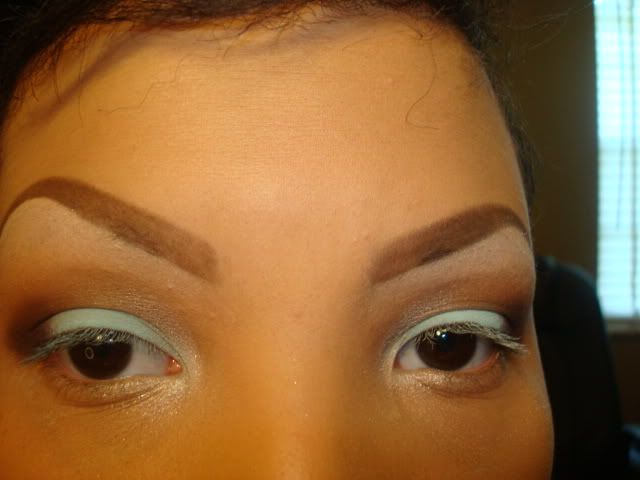
Okay, so now our brows are on.

Next take your #208 brush & some concealer in a lighter shade, I'm using Studio Finish NW25 & "carve out" & clean up the brows. I like my brows to be more of a square shape, so I will use concealer to shape the inner corners as well.
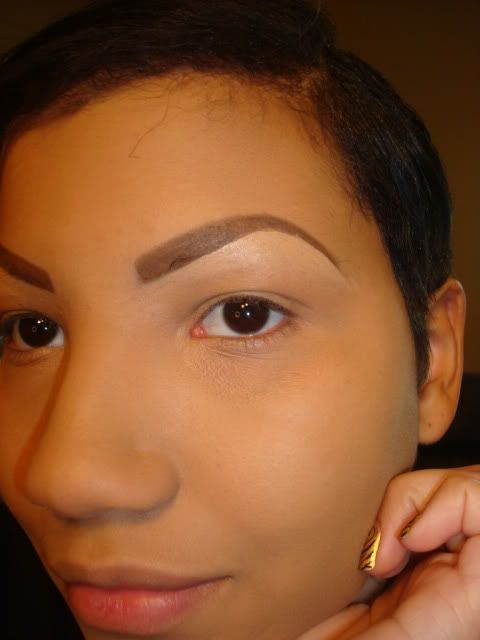
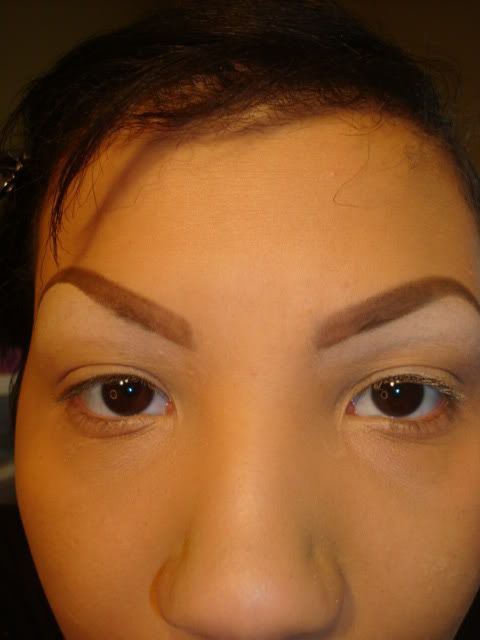
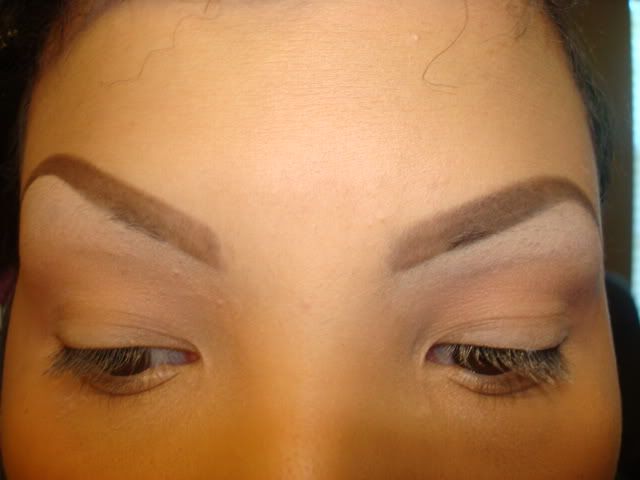
Now they are all nice, cleaned up & shaped.
Lastly take a brow brush & brush out the inner corners a bit, so that they fade & aren't so harsh.
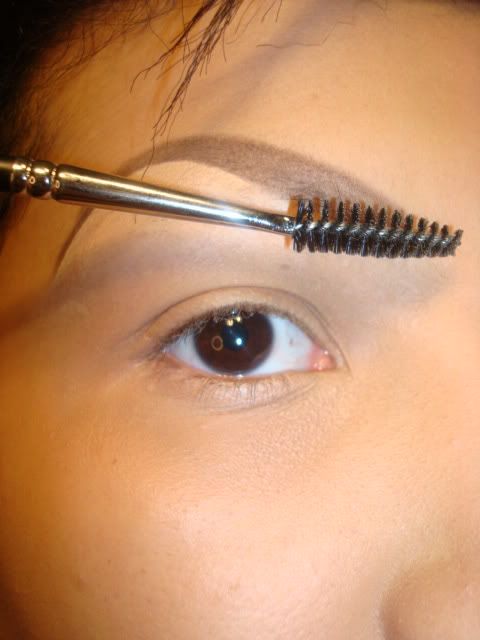
Brows are finished!
Next you want to prime your eyes, I'm using Too Faced Shadow Insurance.
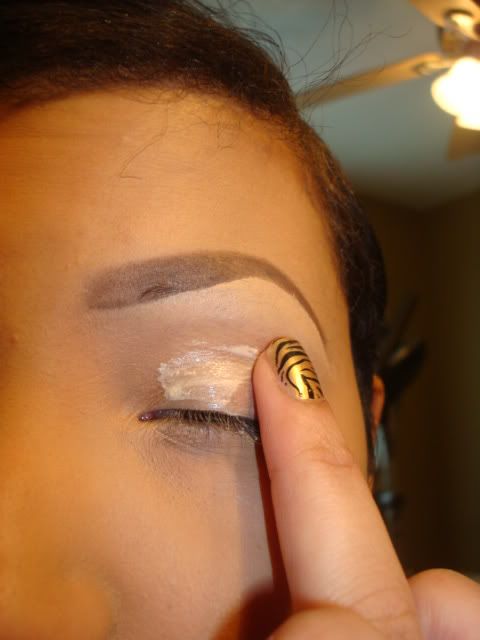
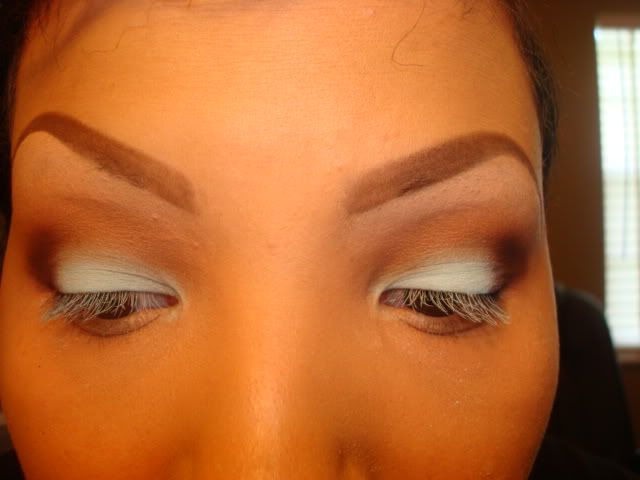
Take your #252 brush & add Blanc Type e/s to the brow bone.
This is how it should look.
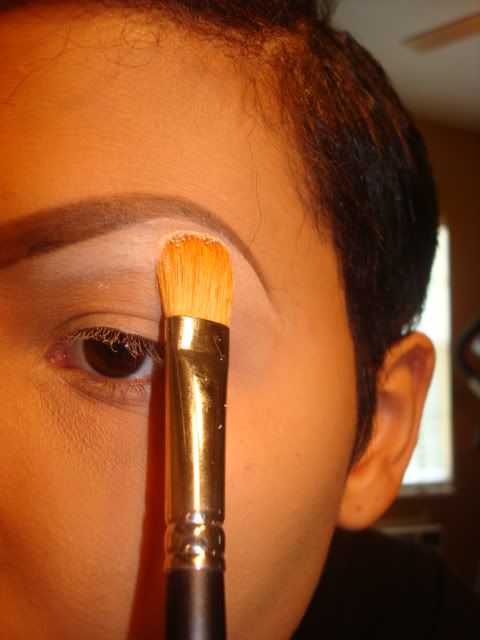
Then pick up some Soft Brown e/s on your #224 brush & blend that into the crease using windshield wiper & cirular motions.
This is how it should look.
Then take some Otherworldy p/p on your #242 brush & add that to the lid.

This is how it should look.
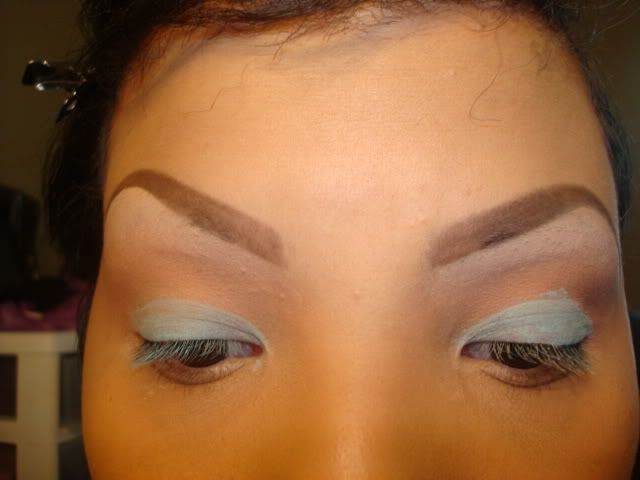
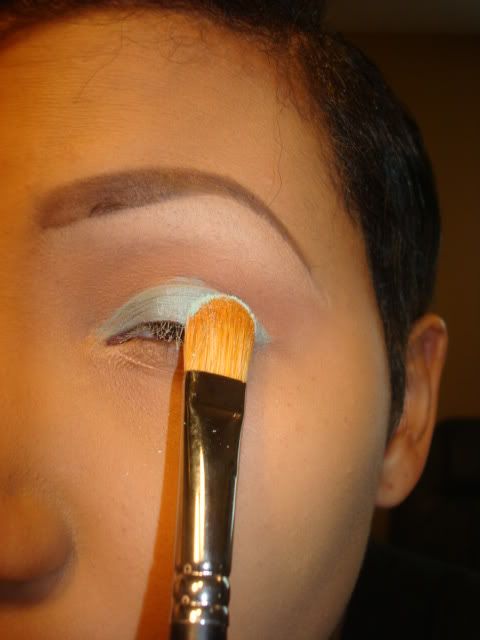
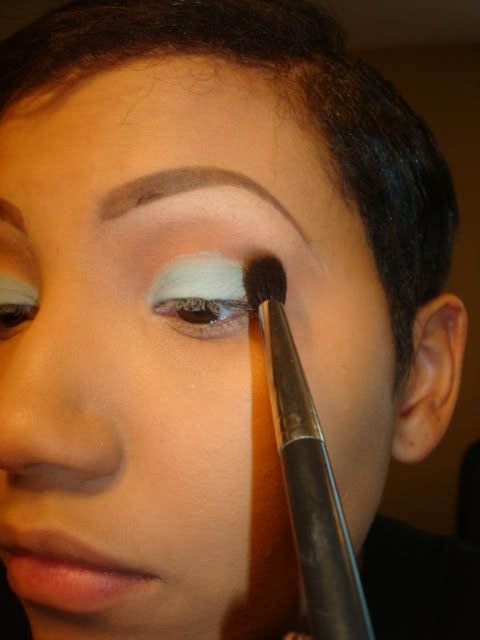
Then load up your #252 brush with Aqua e/s & pack that onto the lid.
This is how it should look.

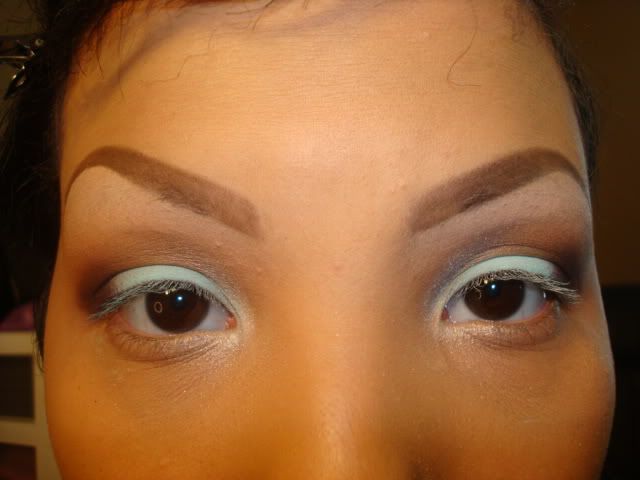
Then take your #224 brush again, pick up some Cork e/s & add that to the crease to add depth. Also add a little more Aqua to the lid because we lost some of the color during blending.
This is how it should look.

Now I take your #272 brush, pick up some Sketch e/s & add that to the outer corners.

This is how it should look.
Then take your trusted #224 brush & blend out any harsh lines. At this point I also take your #226 brush & add some Sugarshot e/s to the inner corners.

This is how it should look, we will clean up the edges later on.
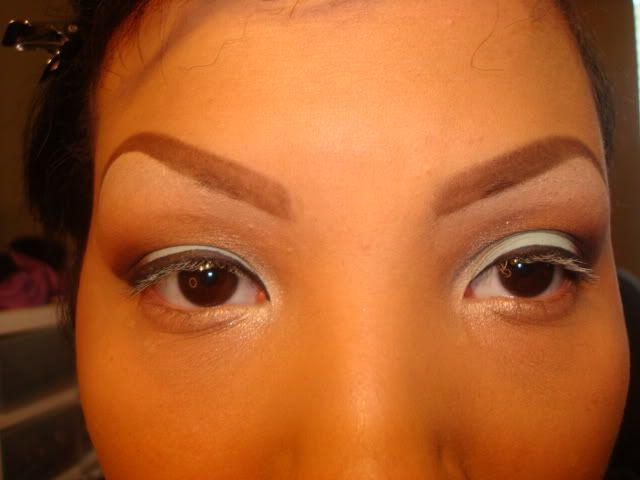
Now I take your #228 brush & add some Sugarshot e/s just along the bottom of your brows to really make them stand out & look even cleaner.
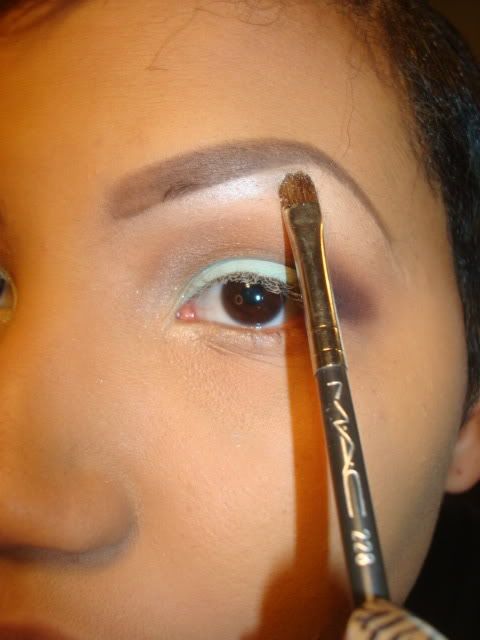
This is how it should look.
Then take a q-tip & dip it into my eye make-up remover & use it to clean up the outer corners.
To make them even cleaner looking, use the tip of a sponge, dip it into concealer & clean up once again. Some people don't care for sharp looking outer corners, I however love it!

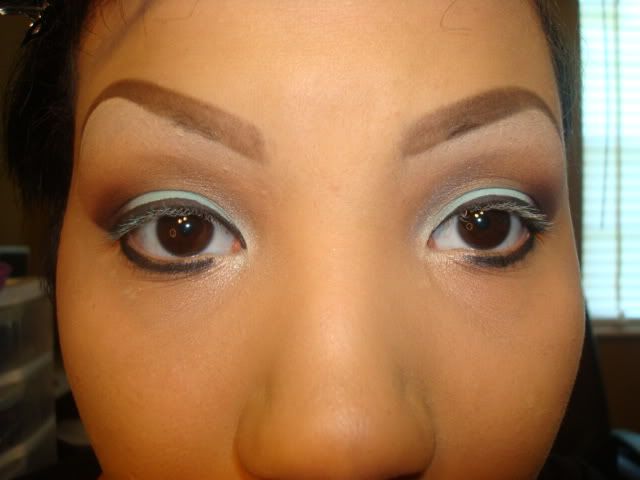
Then I take your #129 brush & use a little powder to set the concealer & brush away any fall out. Also take your Black Black Chromaline, a #263 brush & line along the top lashes.

This is how it should look
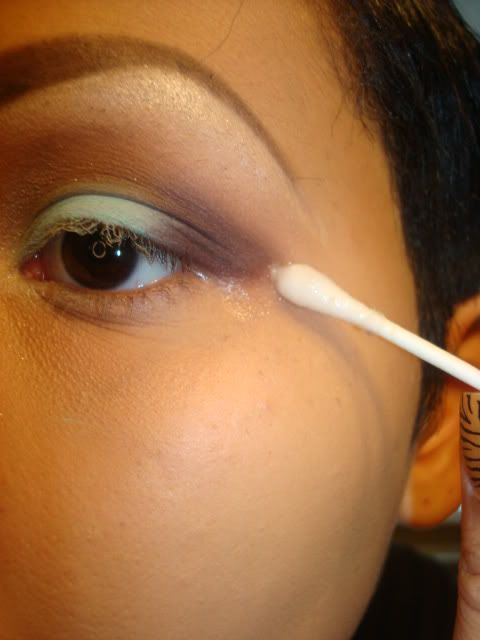
Then pick up some Carbon e/s on your #212 brush & add that along the lower lashes going in out about 3/4 of the way.
Then add Smolder e/l to the waterline & set that with the Cabon as well. Also add 2 coats of mascara to top & bottom lashes.
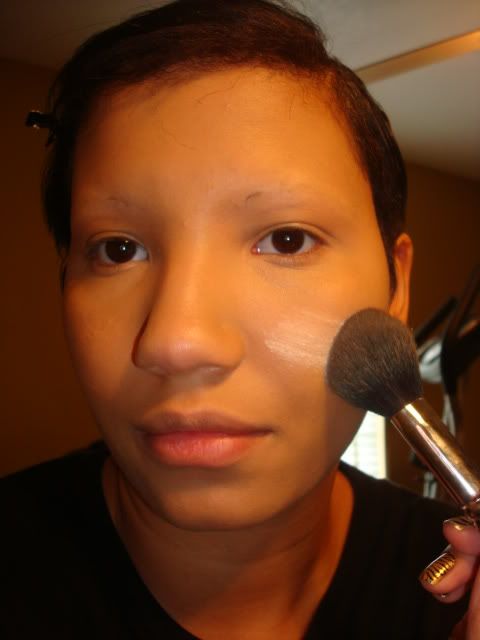
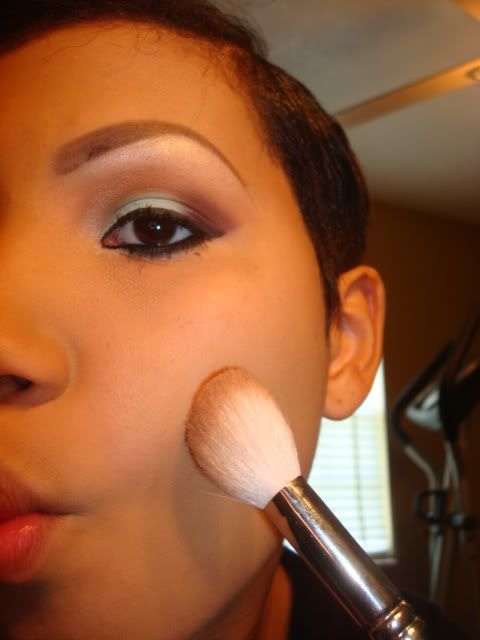
Now our eye make-up is basically done. So now we can finish our face & do our lips. Now I grab my #168 brush, pick up some matte bronzer & start my contouring. I do my cheeks...
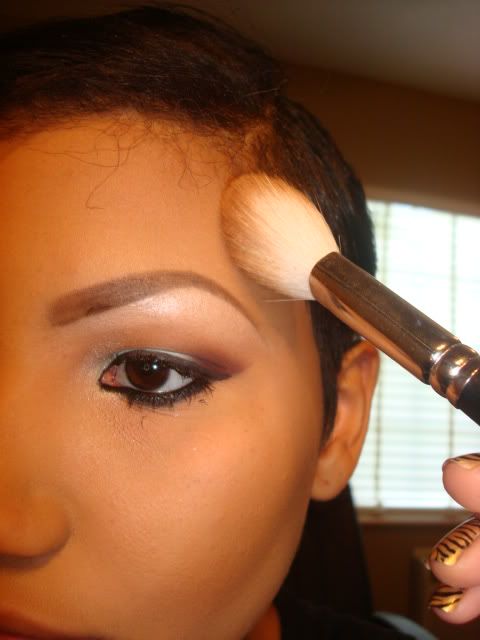
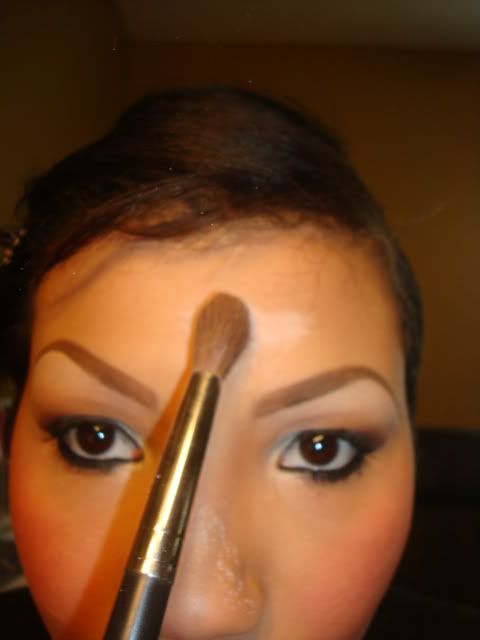
Along my forehead, jawline & hairline...
And I use my #217 to do my nose...
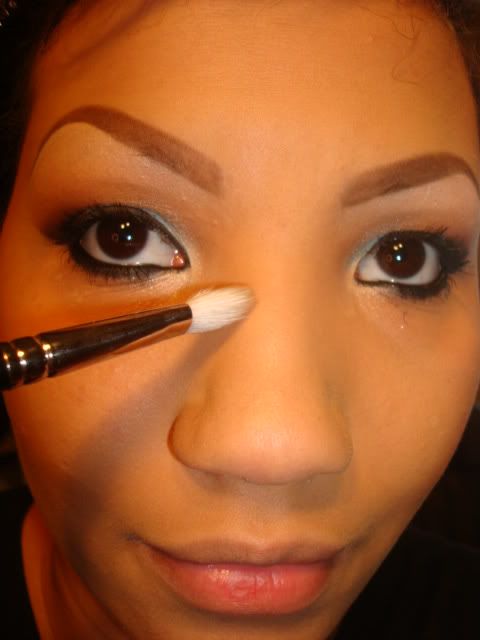
Contoured!
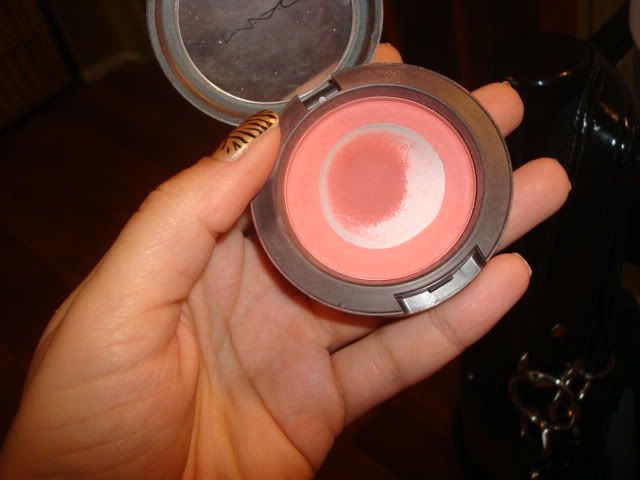
Do you guys think I need to replace this blush? I must use it a lot lol! It must be one of my favorites
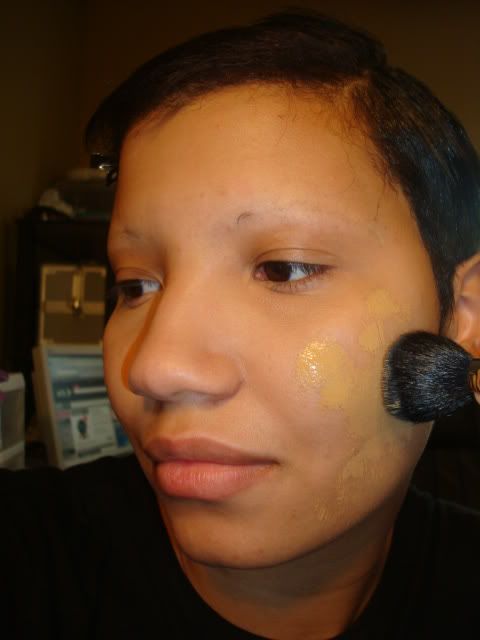
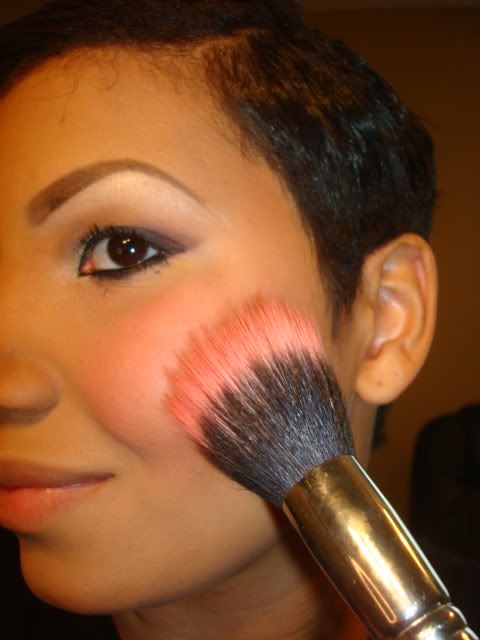
Adding my infamous Fleur Power blush to my cheeks using my #187 brush.
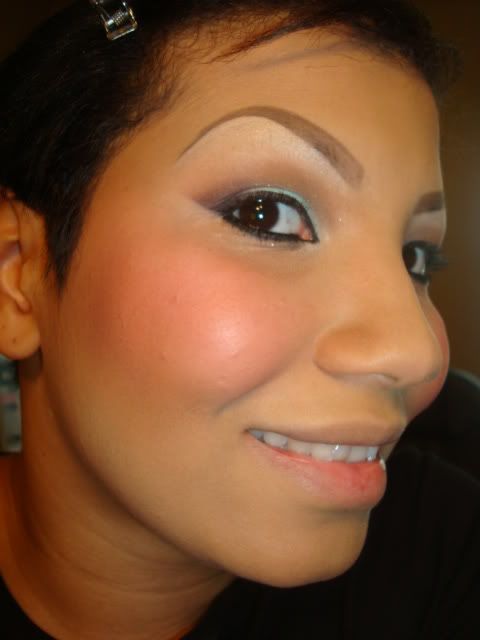
Yay!
Now I take my #225 brush & use it to add some Prep + Prime translucent powder to my forhead, nose, tops of my cheeks & chin as a subtle highlight.
Face make-up is done!
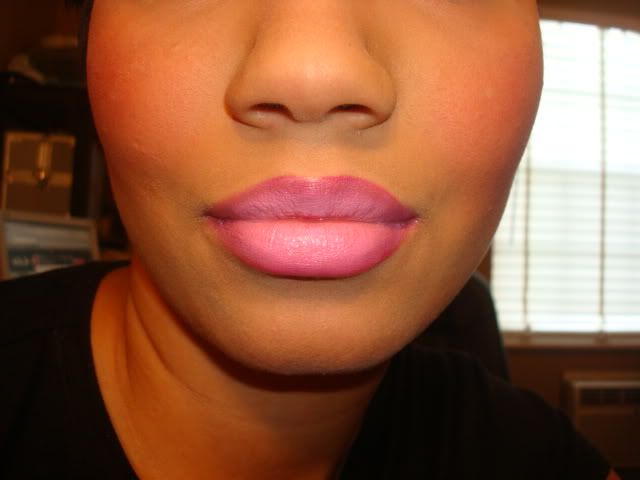
Now for lips! Line lips & slightly fill them in using Magenta l/l
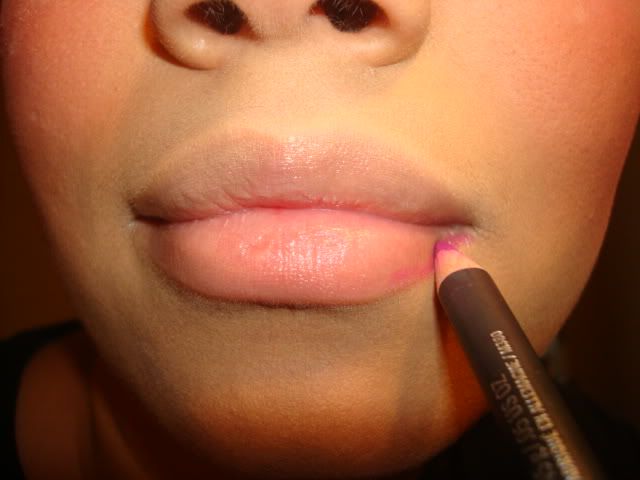
This is how it should look.
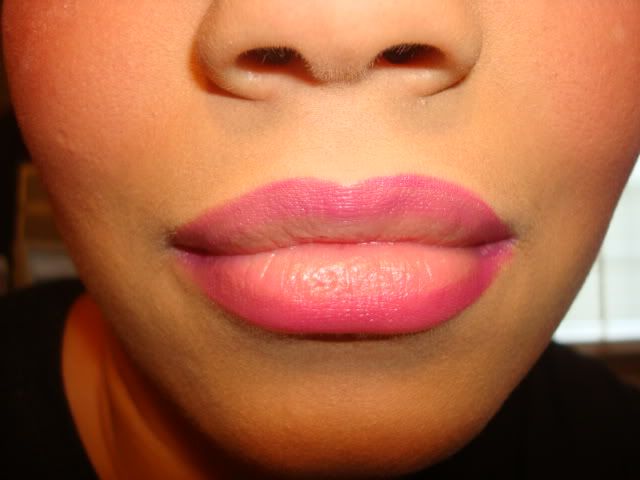
Now apply your Saint Germain l/s.
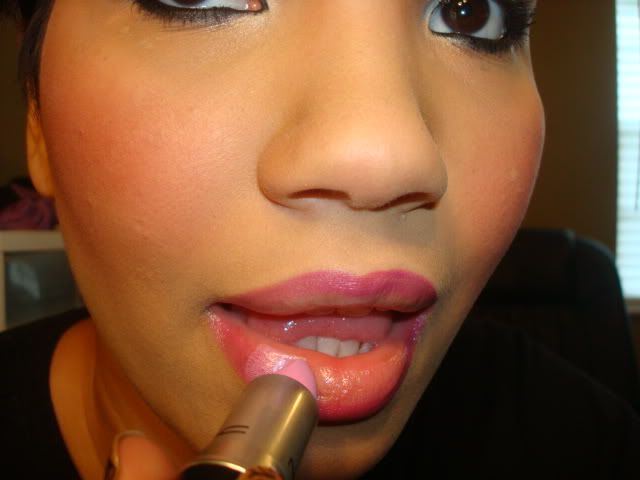
This is how it should look.
Add some Cultureclash l/g
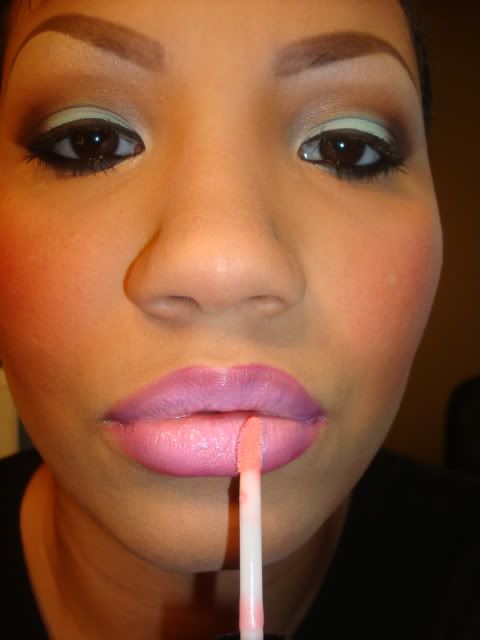
Lips are done!

And lastly to finish off the look I added a pair of flase lashes. I used Ardell#118.
We are done!
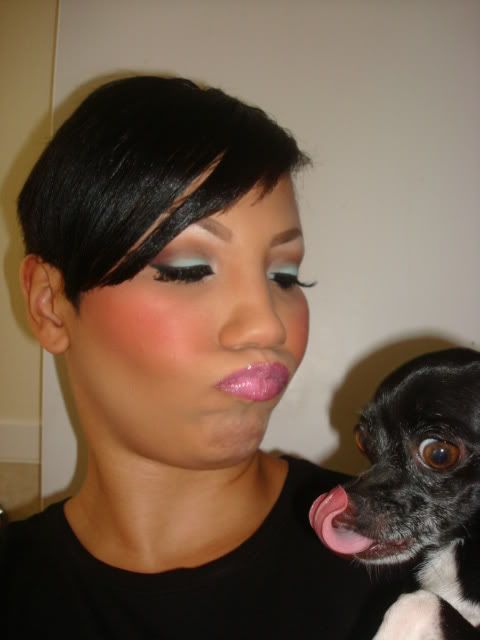
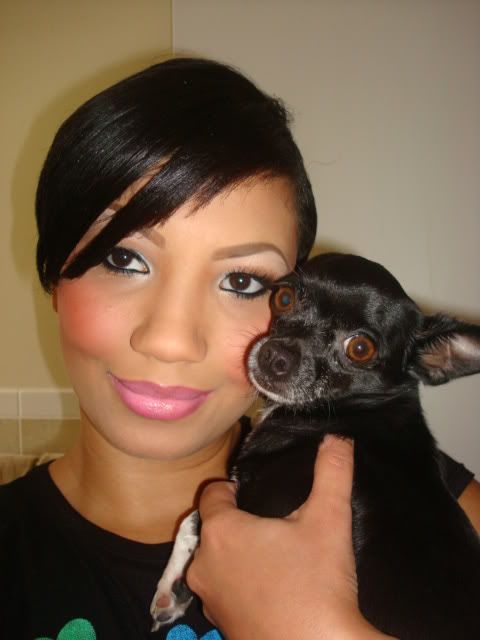
 Smile & take some silly pics with your dog!
Here is a list of what I personally used. I know of course we don't all have the same exact products, so use whatever you have that can create a similar look. Also keep in mind that I use a ridiculous amount of brushes lol! You don't need to have all these to do this.
Face:
#109 brush
#275 brush
#129 brush
#187 brush
#168 brush
Prep + Prime SPF50 Primer
Fast Response eyecream
Studio Fix Fluid NC42
Studio Finish Concealer NW30
Medium Loose Blot powder
Matte Bronze
Prep + Prime Translucent powder
Fleur Power blush
Eyes:
#242 brush
#224 brush
#252 brush
#272 brush
#212 brush
#263 brush
Too Faced Shadow Insurance
Spiked Brow pencil
Blanc Type e/s
Soft Brown e/s
Sugarshot e/s
Aqua e/s
Cork e/s
Sketch e/s
Black Black Chromaline
Engraved e/s
Carbon e/s
L'Oreal Mascara
Ardell#118 lashes
Lips:
Magenta l/l
Saint Germain l/s
Culture Clash l/g
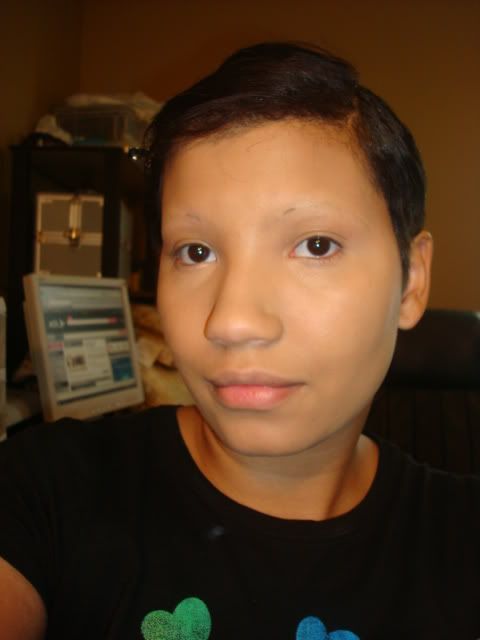
Start out with a clean moisturized face (warning I look like an alien with no brows lol!)
Prime your face.
Add eyecream if needed, I'm using Fast Response all over the eye area.
Add concealer under the eyes, I'm using Studio Finish in NW30, I just use my ring finger to blend it.
Now for foundation, I like to use a clean CD as a palette.
Pick some up on your #109 brush & stipple it on, then buff it into the skin using cirular motions.
Foundation is done.
Now pick up some loose blot powder on your #129 brush & set the foundation.
Done! Now for brows. (Thank God!)
Take your brow pencil & draw on the basic shape you want.
Then start to form your inner corners by kind of making a round shape.
Now starting from the inner corners fill in the rest of the brows.
Okay, so now our brows are on.
Next take your #208 brush & some concealer in a lighter shade, I'm using Studio Finish NW25 & "carve out" & clean up the brows. I like my brows to be more of a square shape, so I will use concealer to shape the inner corners as well.
Now they are all nice, cleaned up & shaped.
Lastly take a brow brush & brush out the inner corners a bit, so that they fade & aren't so harsh.
Brows are finished!
Next you want to prime your eyes, I'm using Too Faced Shadow Insurance.
Take your #252 brush & add Blanc Type e/s to the brow bone.
This is how it should look.
Then pick up some Soft Brown e/s on your #224 brush & blend that into the crease using windshield wiper & cirular motions.
This is how it should look.
Then take some Otherworldy p/p on your #242 brush & add that to the lid.
This is how it should look.
Then load up your #252 brush with Aqua e/s & pack that onto the lid.
This is how it should look.
Then take your #224 brush again, pick up some Cork e/s & add that to the crease to add depth. Also add a little more Aqua to the lid because we lost some of the color during blending.
This is how it should look.
Now I take your #272 brush, pick up some Sketch e/s & add that to the outer corners.
This is how it should look.
Then take your trusted #224 brush & blend out any harsh lines. At this point I also take your #226 brush & add some Sugarshot e/s to the inner corners.
This is how it should look, we will clean up the edges later on.
Now I take your #228 brush & add some Sugarshot e/s just along the bottom of your brows to really make them stand out & look even cleaner.
This is how it should look.
Then take a q-tip & dip it into my eye make-up remover & use it to clean up the outer corners.
To make them even cleaner looking, use the tip of a sponge, dip it into concealer & clean up once again. Some people don't care for sharp looking outer corners, I however love it!
Then I take your #129 brush & use a little powder to set the concealer & brush away any fall out. Also take your Black Black Chromaline, a #263 brush & line along the top lashes.
This is how it should look
Then pick up some Carbon e/s on your #212 brush & add that along the lower lashes going in out about 3/4 of the way.
Then add Smolder e/l to the waterline & set that with the Cabon as well. Also add 2 coats of mascara to top & bottom lashes.
Now our eye make-up is basically done. So now we can finish our face & do our lips. Now I grab my #168 brush, pick up some matte bronzer & start my contouring. I do my cheeks...
Along my forehead, jawline & hairline...
And I use my #217 to do my nose...
Contoured!
Do you guys think I need to replace this blush? I must use it a lot lol! It must be one of my favorites
Adding my infamous Fleur Power blush to my cheeks using my #187 brush.
Yay!
Now I take my #225 brush & use it to add some Prep + Prime translucent powder to my forhead, nose, tops of my cheeks & chin as a subtle highlight.
Face make-up is done!
Now for lips! Line lips & slightly fill them in using Magenta l/l
This is how it should look.
Now apply your Saint Germain l/s.
This is how it should look.
Add some Cultureclash l/g
Lips are done!
And lastly to finish off the look I added a pair of flase lashes. I used Ardell#118.
We are done!

