Purity
Well-known member
I was bored today, so I thought I'd make my first tutorial! This shows how I do my basics, like foundation, brows, blush etc. and how I do my smokey eyes with parrot and charred eyeshadows

What you need:
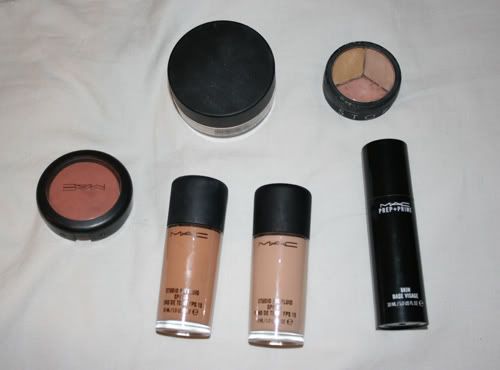
Face (top to bottom, left to right): MAC loose blot powder in medium, Make up store cover all mix concealer, MAC sheertone blush in gingerly, MAC studio fix fluid foundation in NW35 and NW20, MAC prep + prime.
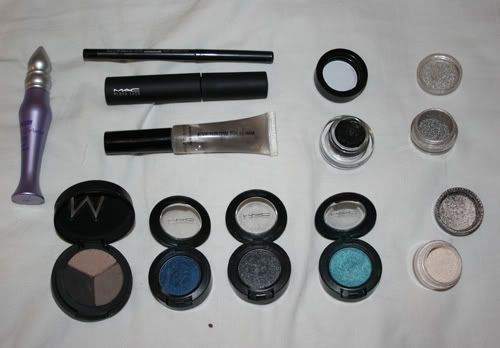
Eyes (top to bottom, left to right): UDPP, MAC technakohl in graphblack, MAC plush lash mascara in plushblack, H&M brow fix, MAC blacktrack fluidline, MAC pigment in silver fog, Make up store tri brow colour, MAC eyeshadows in deep truth, charred and parrot, MAC vanilla pigment.
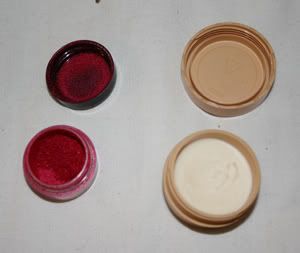
Lips (left to right): MAC bright fuchsia pigment, The body shop lip butter
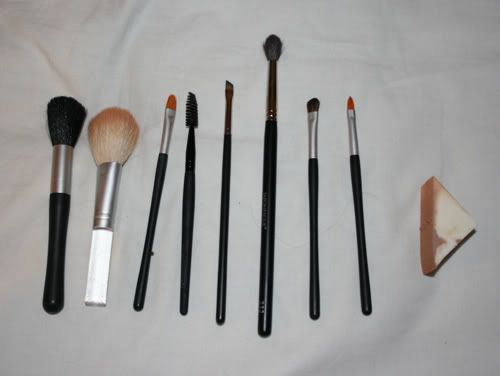
Tools (left to right): Japonesque small powder/blush brush, H&M powder brush, Japonesque concealer brush, drug store lash brush, MAC #208 brush, Japonesque #232 crease brush, Japonesque eye shadow brush, Japonesque lip brush, sponge. All the short handled Japonesque brushes are from the touch up tube. They are suprisingly good quality, especially the e/s and concealer brush! I will replace them (and the sponge! I hate sponges) with MAC brushes when I can afford it though so I can put the touch up tube in my handbag instead.
How to:
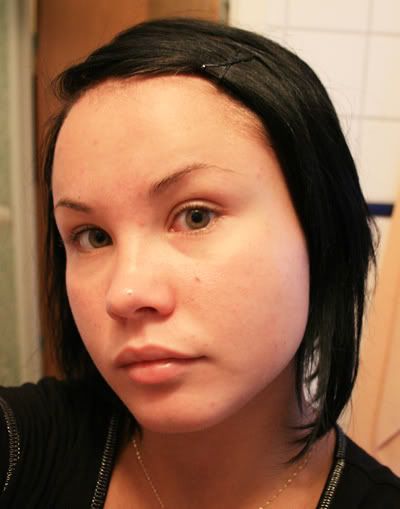
Start with a fresh, clean, moisturized face. Excuse the hair, I totally forgot to blow dry it yesterday so it looks like crap today...
Apply 2 pumps of prep + prime evenly over the entire face with circulating motions with my hands. I mainly concentrate on my cheeks and t-zone.
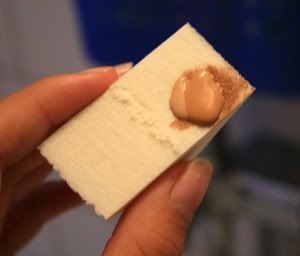
Put some foundation on your sponge. I use a blend of NW20 and NW35 since I have a tan which is fading. I then blend them together with a q-tip.
Apply the foundation in a thin layer over the entire face. I start by dabbing some foundation on my cheeks, forhead and chin, and then blend it into the rest of the face from there. Be sure to blend carefully at the chin bone, hairline and the nose.

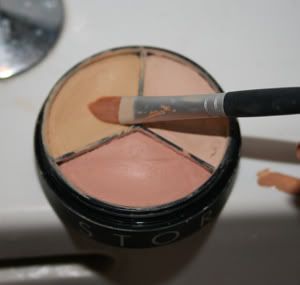
Time to put on some concealer! I take some of the pinkish/orange concealer from my cover all mix on my concealer brush and dip it in the lid of my sff NW35 to darken it and make it less cakey. I then blend it on the back of my hand.
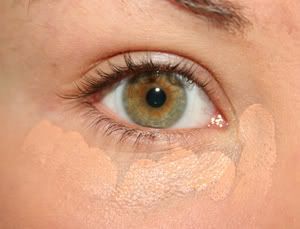
I then dab the concealer under my eyes and in the inner corner and blend it into the skin with my fingers.
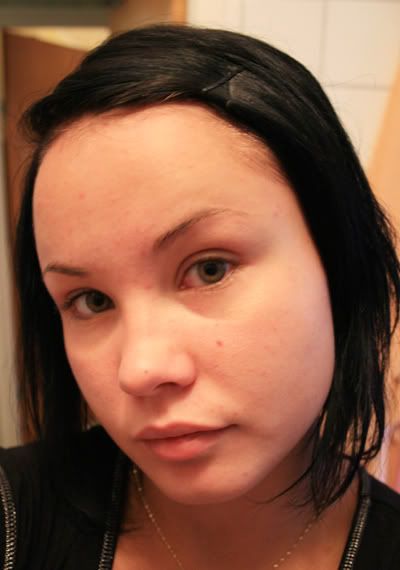
I have some red parts on my skin which needs extra coverage and some neutralization, so I take the yellow concealer and blend it with the foundation, just as with the pinkish one.
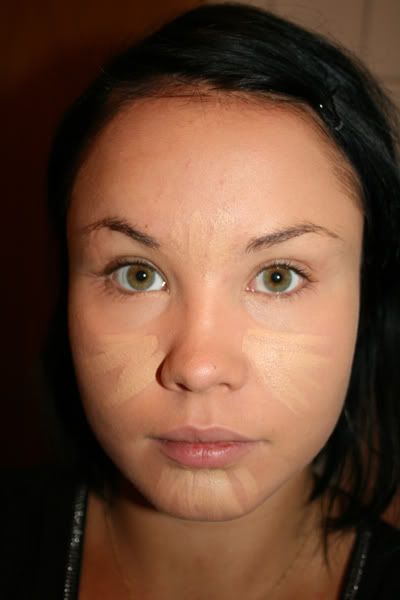
I apply it to my face where needed...

...and blend it into my skin with my fingers.
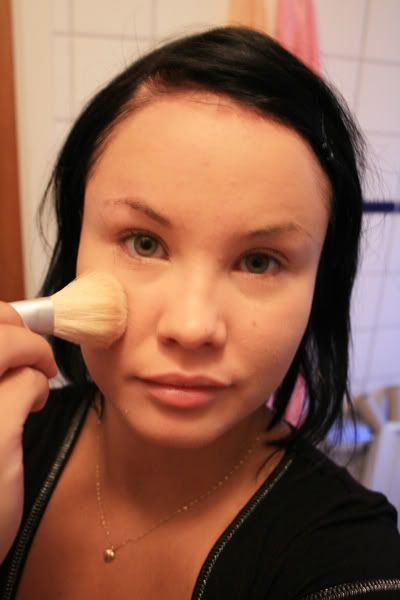
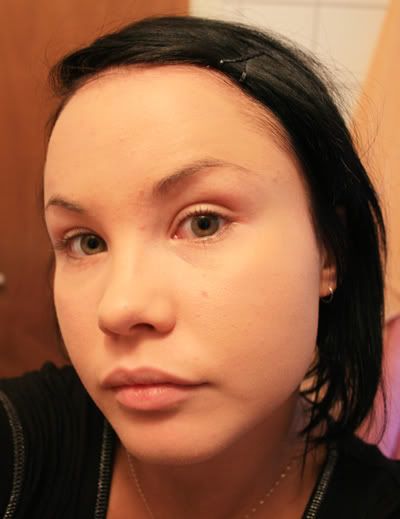
Then, I set the foundation and concealer with blot powder. I dip my powder brush into the powder and then swirl it around in the lid to evenly distribute the powder into the brush. I then apply it lightly to my entire face and add some extra in the t-zone where I tend to get oily.
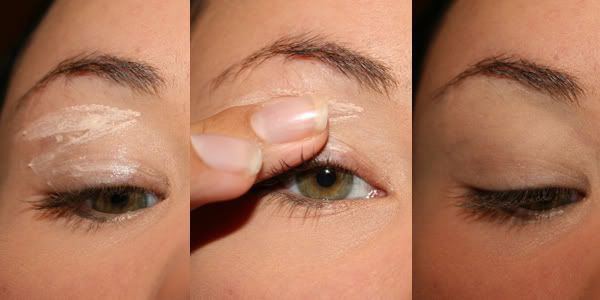
Now when the base is ready, it's time for the eyeshadow! Start by putting on some UDPP with the applicator on your lids, then blend it to a thin, even layer. If you use too much it will get cakey, less is more!
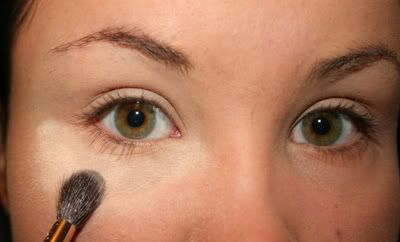
Apply a thick layer of loose powder under your eyes with the Japonesque crease brush. This is to catch up any fallout from the eyeshadow application, we will brush it off later. It also sets the concealer under the eyes.
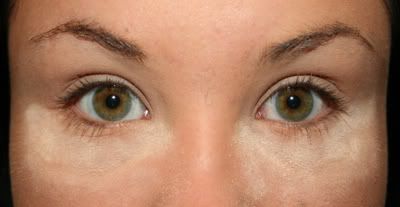
Very pretty indeed

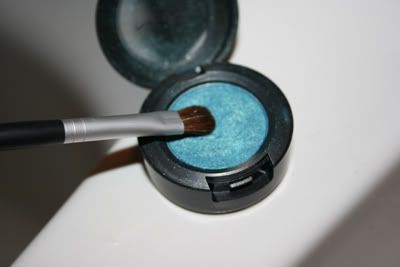
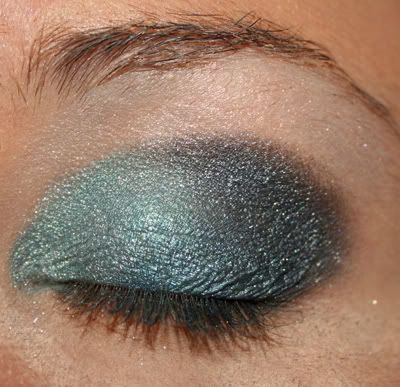
Time for the first eyeshadow, parrot!
Apply it on almost the entire lid
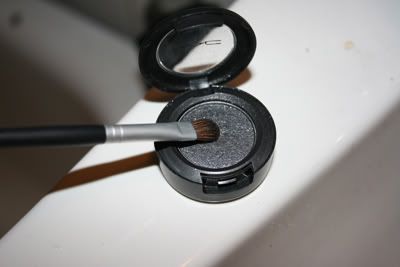
Wipe off the brush (or use another brush) and pick up some charred

Apply it to your outer lid, crease and outer V in a rounded shape
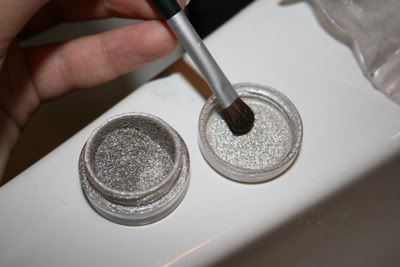
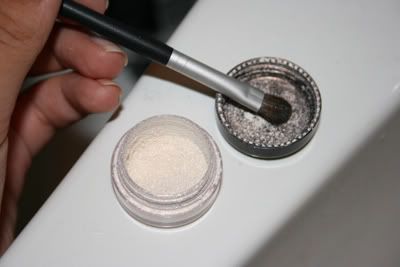
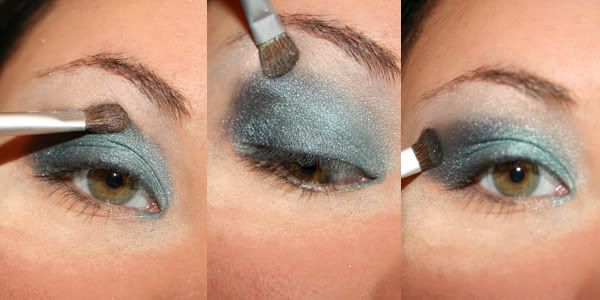
Wipe off your brush again and pick up some silver fog pigment. I only use a tiny bit from the lid since this stuff is highly pigmented!
Apply it over parrot in the inner corner to lighten it up a little
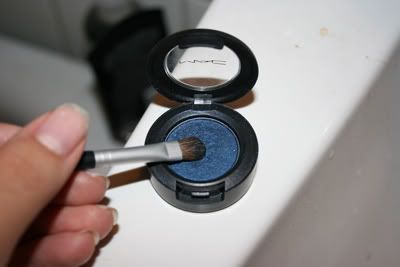
Pack some deep truth onto your brush
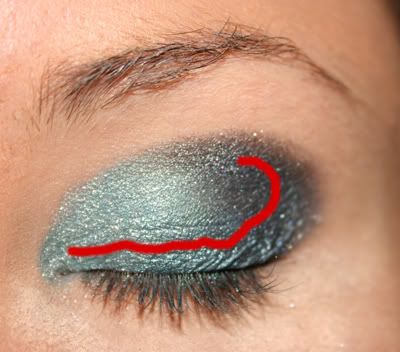
Apply it lightly over charred and along the lashline over parrot in the shape above.
Time to highlight! If you use the same brush for all colours, be sure to wipe it off really well before applying the highlight colour, or it will look all smudgy and grey.
Apply vanilla to the brow bone all the way up to the eyebrow.
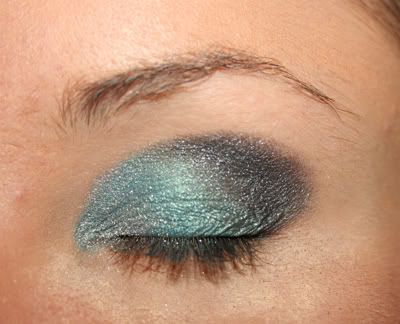
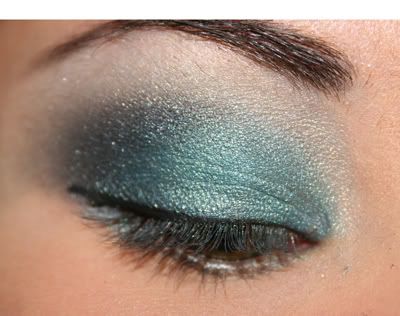
Time for some serious blending! I start by blending silver fog into parrot and parrot into charred. I then blend silver fog/parrot upwards into vanilla, and then charred in an upwards motion into vanilla and with a windsheild wiper motion. Lastly, I blend charred into the skin towards the temple from my eye outwards.
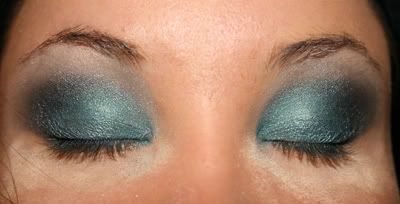
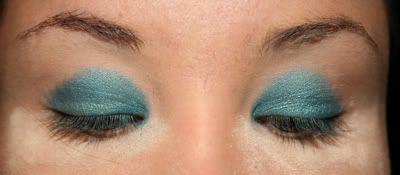
All blended
Time to wipe off that loose powder under the eyes! I also removed the parrot that had fell down into the corner of my eye with a q-tip.
Brow time! I pick up some of the medium and dark shade in my tri brow with my #208 brush.

I start by filling in the thicker part of my brow. I start by making a line along the top of the brow, and one along the bottom of the brow, and then fill in inbetween. I then fill in the thinner part of the brow.
One brow done. It really makes a difference doing your brows!
I clean up the line with a q-tip and then fix the brows with brow fix, which I work into the brow with my lash brush.
Brows all done
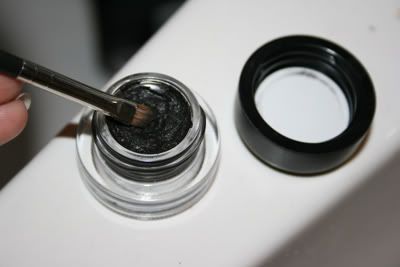
Time for eyelining! I dip my #208 into my fluidline.
Do a thin line as close to the lash line as possible. I do the outer half from the outer corner and inwards, and the inner half from the inner corner and outwards. I make a small wing to elongate the eye a bit.
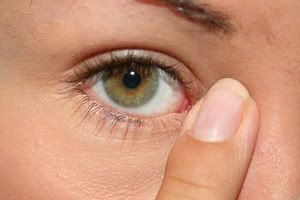
I then apply the technakohl along my lower lashline. I don't line my waterline since I'm a contact lens wearer and it stings my eyes.
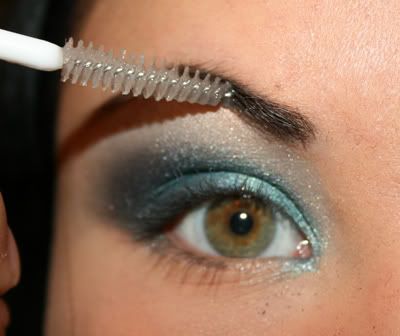
Finish with two layers of plush lash mascara!
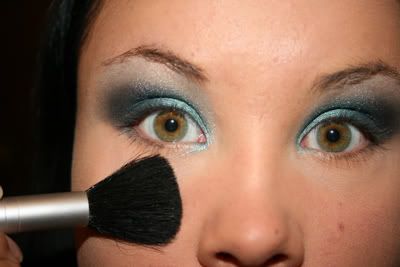
Time for blush! Rub some gingerly into the powder brush.
Apply the blush along the cheekbones, in a wiping motion downwards, starting at the level of the middle of your eyes and stop at the level of your nose. Then blend, blend, blend downwards and up to the apples of your cheeks.
(I'm still somewhat of a blush noob, you guys probably do it better than me
 )
)
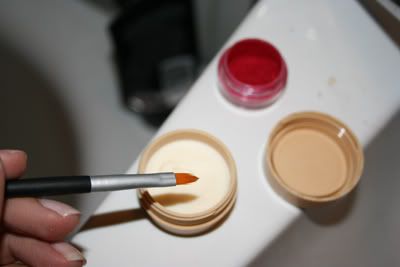
Last step: lips! pick up some lip butter with the lip brush and put it on the back of your hand.
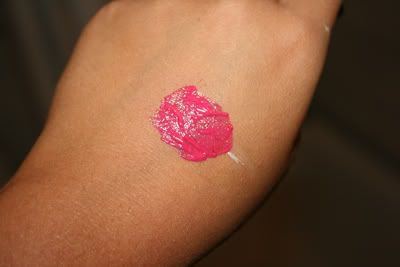
Then pick up some bright fuchsia pigment and blend it with the lip butter. Apply it in a sheer layer to the lips.
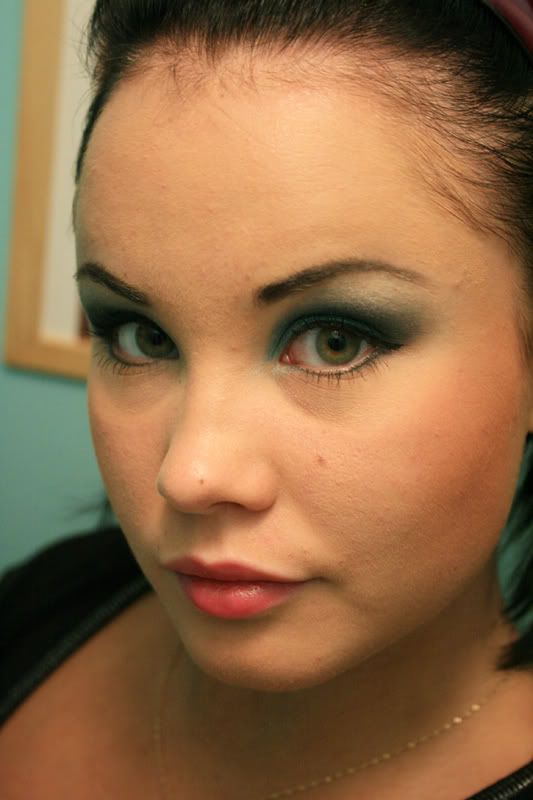
All done!

Hope you like it!

What you need:
Face (top to bottom, left to right): MAC loose blot powder in medium, Make up store cover all mix concealer, MAC sheertone blush in gingerly, MAC studio fix fluid foundation in NW35 and NW20, MAC prep + prime.
Eyes (top to bottom, left to right): UDPP, MAC technakohl in graphblack, MAC plush lash mascara in plushblack, H&M brow fix, MAC blacktrack fluidline, MAC pigment in silver fog, Make up store tri brow colour, MAC eyeshadows in deep truth, charred and parrot, MAC vanilla pigment.
Lips (left to right): MAC bright fuchsia pigment, The body shop lip butter
Tools (left to right): Japonesque small powder/blush brush, H&M powder brush, Japonesque concealer brush, drug store lash brush, MAC #208 brush, Japonesque #232 crease brush, Japonesque eye shadow brush, Japonesque lip brush, sponge. All the short handled Japonesque brushes are from the touch up tube. They are suprisingly good quality, especially the e/s and concealer brush! I will replace them (and the sponge! I hate sponges) with MAC brushes when I can afford it though so I can put the touch up tube in my handbag instead.
How to:
Start with a fresh, clean, moisturized face. Excuse the hair, I totally forgot to blow dry it yesterday so it looks like crap today...
Apply 2 pumps of prep + prime evenly over the entire face with circulating motions with my hands. I mainly concentrate on my cheeks and t-zone.
Put some foundation on your sponge. I use a blend of NW20 and NW35 since I have a tan which is fading. I then blend them together with a q-tip.
Apply the foundation in a thin layer over the entire face. I start by dabbing some foundation on my cheeks, forhead and chin, and then blend it into the rest of the face from there. Be sure to blend carefully at the chin bone, hairline and the nose.
Time to put on some concealer! I take some of the pinkish/orange concealer from my cover all mix on my concealer brush and dip it in the lid of my sff NW35 to darken it and make it less cakey. I then blend it on the back of my hand.
I then dab the concealer under my eyes and in the inner corner and blend it into the skin with my fingers.
I have some red parts on my skin which needs extra coverage and some neutralization, so I take the yellow concealer and blend it with the foundation, just as with the pinkish one.
I apply it to my face where needed...
...and blend it into my skin with my fingers.
Then, I set the foundation and concealer with blot powder. I dip my powder brush into the powder and then swirl it around in the lid to evenly distribute the powder into the brush. I then apply it lightly to my entire face and add some extra in the t-zone where I tend to get oily.
Now when the base is ready, it's time for the eyeshadow! Start by putting on some UDPP with the applicator on your lids, then blend it to a thin, even layer. If you use too much it will get cakey, less is more!
Apply a thick layer of loose powder under your eyes with the Japonesque crease brush. This is to catch up any fallout from the eyeshadow application, we will brush it off later. It also sets the concealer under the eyes.
Very pretty indeed
Time for the first eyeshadow, parrot!
Apply it on almost the entire lid
Wipe off the brush (or use another brush) and pick up some charred
Apply it to your outer lid, crease and outer V in a rounded shape
Wipe off your brush again and pick up some silver fog pigment. I only use a tiny bit from the lid since this stuff is highly pigmented!
Apply it over parrot in the inner corner to lighten it up a little
Pack some deep truth onto your brush
Apply it lightly over charred and along the lashline over parrot in the shape above.
Time to highlight! If you use the same brush for all colours, be sure to wipe it off really well before applying the highlight colour, or it will look all smudgy and grey.
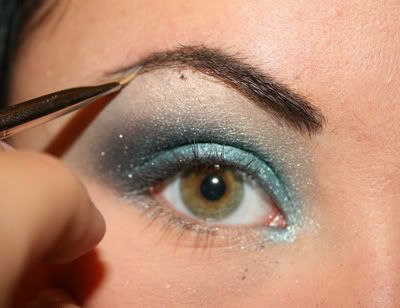
Apply vanilla to the brow bone all the way up to the eyebrow.
Time for some serious blending! I start by blending silver fog into parrot and parrot into charred. I then blend silver fog/parrot upwards into vanilla, and then charred in an upwards motion into vanilla and with a windsheild wiper motion. Lastly, I blend charred into the skin towards the temple from my eye outwards.
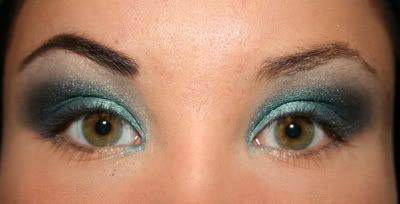
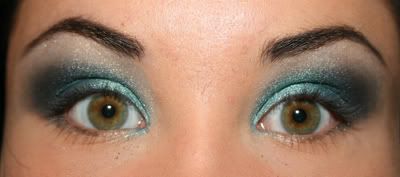
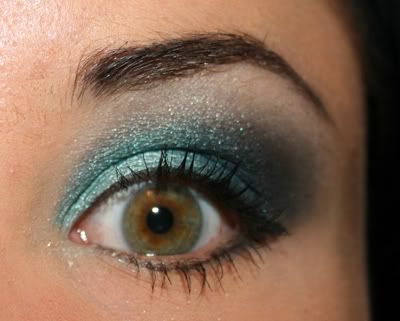
All blended
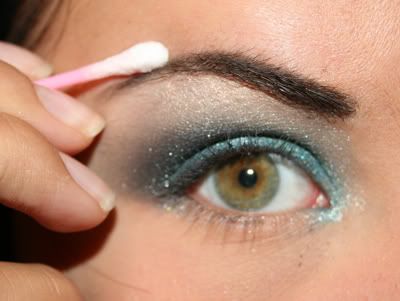
Time to wipe off that loose powder under the eyes! I also removed the parrot that had fell down into the corner of my eye with a q-tip.
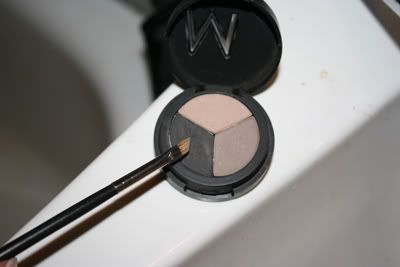
Brow time! I pick up some of the medium and dark shade in my tri brow with my #208 brush.
I start by filling in the thicker part of my brow. I start by making a line along the top of the brow, and one along the bottom of the brow, and then fill in inbetween. I then fill in the thinner part of the brow.
One brow done. It really makes a difference doing your brows!
I clean up the line with a q-tip and then fix the brows with brow fix, which I work into the brow with my lash brush.
Brows all done
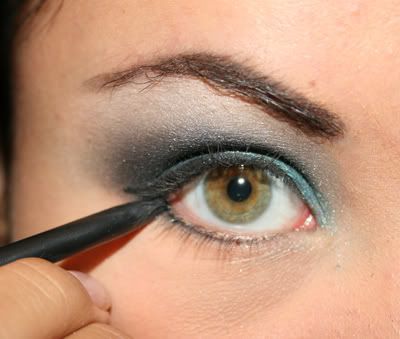
Time for eyelining! I dip my #208 into my fluidline.
Do a thin line as close to the lash line as possible. I do the outer half from the outer corner and inwards, and the inner half from the inner corner and outwards. I make a small wing to elongate the eye a bit.
I then apply the technakohl along my lower lashline. I don't line my waterline since I'm a contact lens wearer and it stings my eyes.
Finish with two layers of plush lash mascara!
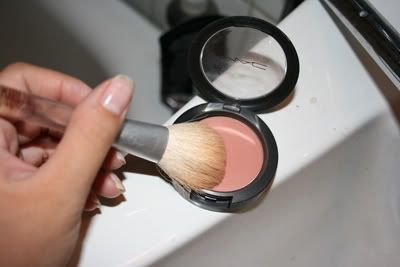
Time for blush! Rub some gingerly into the powder brush.
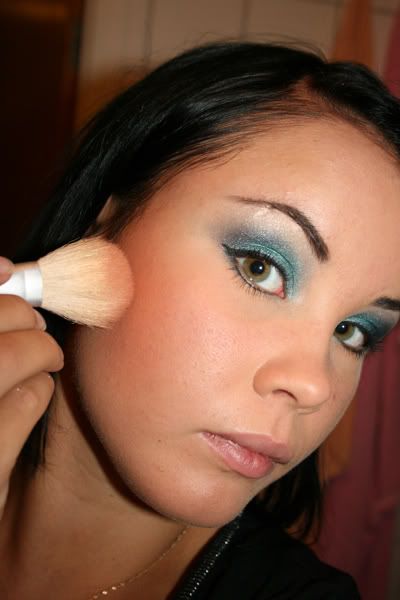
Apply the blush along the cheekbones, in a wiping motion downwards, starting at the level of the middle of your eyes and stop at the level of your nose. Then blend, blend, blend downwards and up to the apples of your cheeks.
(I'm still somewhat of a blush noob, you guys probably do it better than me
Last step: lips! pick up some lip butter with the lip brush and put it on the back of your hand.
Then pick up some bright fuchsia pigment and blend it with the lip butter. Apply it in a sheer layer to the lips.
All done!
Hope you like it!
