glam8babe
Well-known member
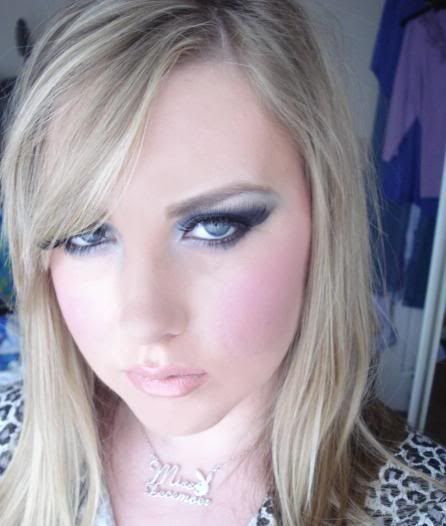
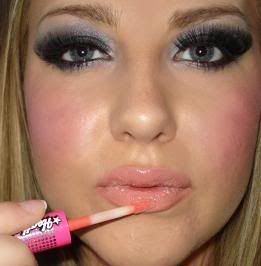
I decided to do a Pussycat Doll/Playboy Bunny Party look as its been requested alot and i haven't seen many tutorials on either of them.
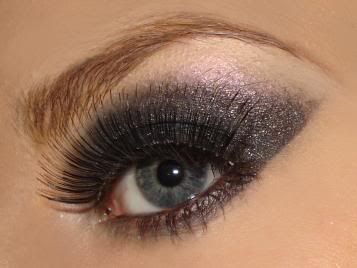
THIS IS THE LOOK IM DOING:
Heres what you will need (you can obviously use different brands/tools) but this is what i used:
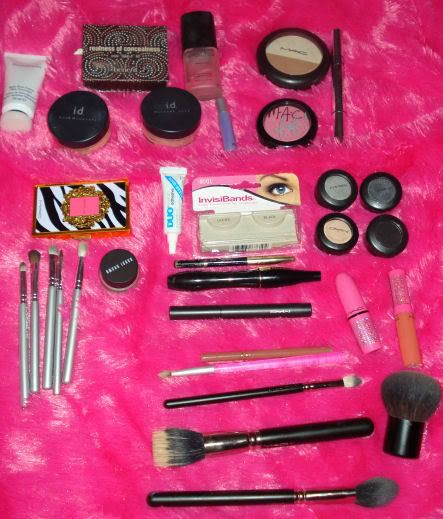
FACE
smashbox photofinish primer
benefit boi-ing concealer - medium (realness of concealness kit)
bare minerals foundation and mineral veil
Dior skinflash concealer/illuminator
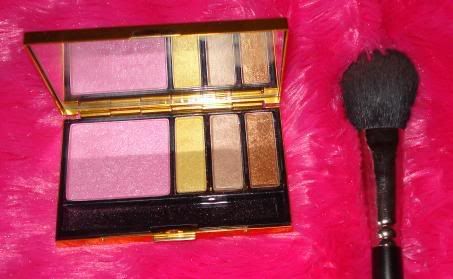
CHEEKS
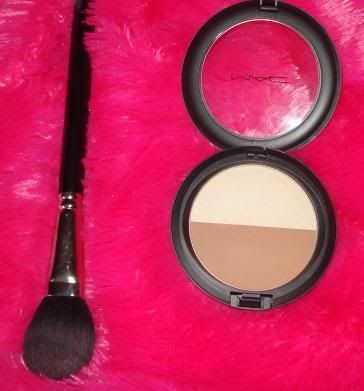
MAC sculpt n shape duo (contour)
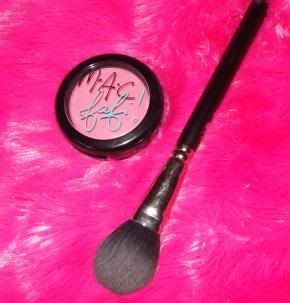
MAC fafi fashion frenzy blush
MAC dresscamp blush - dresscamp pink
EYES
UDPP
MAC shadestick - sharkskin
MAC e/s - electra, pandamonium, carbon, nano gold
Bobbi Brown gel liner - granite ink
Lancome le crayon kohl pencil liner - noir
Lancome hypnose mascara - noir
Ardell lashes - invisiband lacies (no name or number for them)
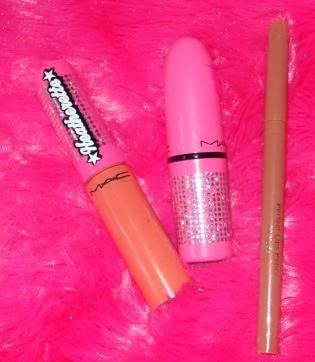
LIPS
EA 8 hour cream (prep lips)
Boots No7 lip liner - 20 nude
MAC lipstick - fleshpot (heatherette)
MAC lipglass - sock hop (heatherette)
TOOLS
HARD CANDY - concealer
MAC 187 - foundation
MAC 182 - foundation
MAC 116 - blush/contour
MAC 217 - eyeshadow/blending
MAC 217SE - eyeshadow/brow highlight
MAC 275SE - eyeshadow
MAC 239SE - eyeshadow
MAC 219SE - eyeshadow under lower lash line
MAC 209SE - gel eyeliner
and on with the tutorial!!!!


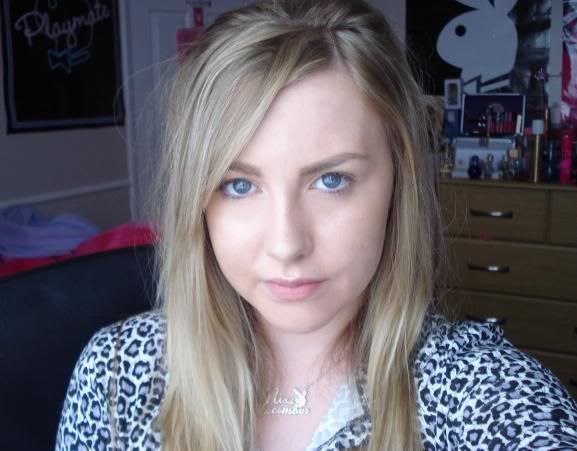
STEP 1: Do your usual face routine, here i have primer, concealer, foundation, powder all done, lips prepped and brows filled in.
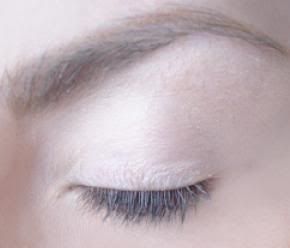 STEP 2: Apply your eyeshadow base all over lid going upto brow bone.. make sure its dried before going onto next step...
 STEP 3: Apply a black base, MAC sharkskin shadestick is perfect for this, make a sort of shape so it flicks out near the top... this doesnt have to be perfect because we will be adding tape later on and applying the shadow over the top...
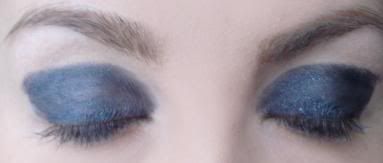 STEP 4: Your eyes should now look something like this! and like i said previously it doesnt have to be perfect as long as you have the shapes similar on each eye.
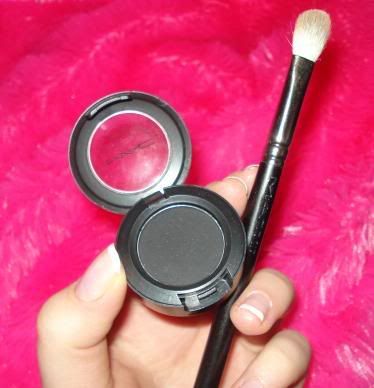
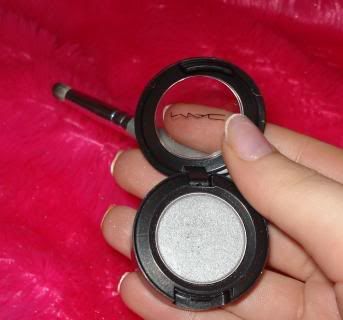
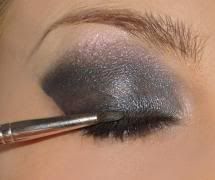
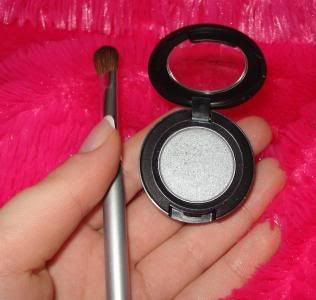 STEP 5: Grab a silver eyeshadow and an eyeshadow brush. Electra is the perfect silver for this but you could use any brand as they are all pretty much similar...
 STEP 6: Apply the silver eyeshadow to the inner corner blending to the centre (this 275 brush is perfect for applying in this area and the shape fits perfectly to fit your eye)
 STEP 7: Next grab an eyeshadow a lil darker than the silver but not too dark (make sure its not black) im using pandamonium and using the same brush.
 STEP 8: Apply the dark silvery/grey colour in the centre blending from the silver you applied earlier and blending out towards the outer corner.
 STEP 9: Now add tape to each corner of eye, grab your black base again and apply it out until it reaches the tape. Dont remove the tape yet!
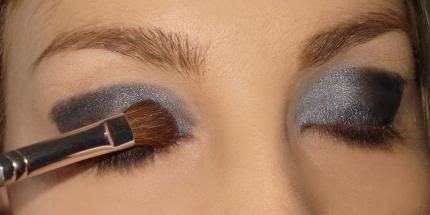
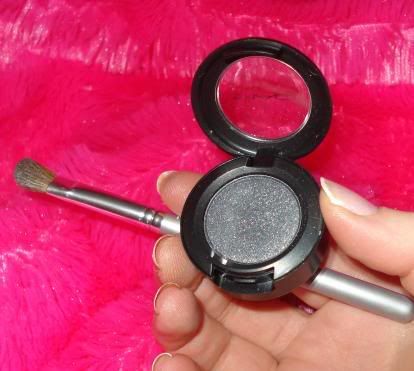
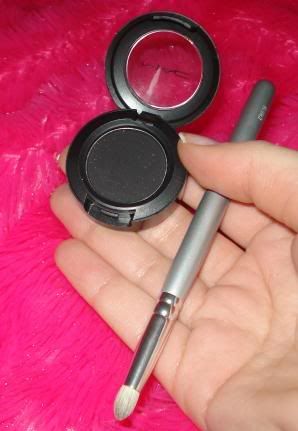
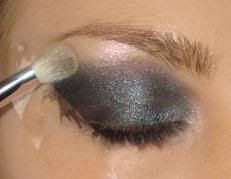
 STEP 10: Grab a matte black eyeshadow (im using Carbon) and a soft brush (any blending brush would work well for this)
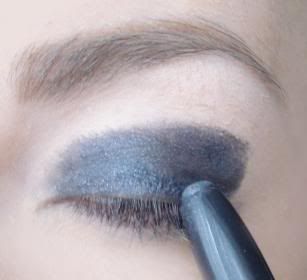
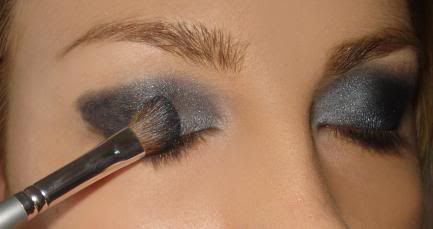
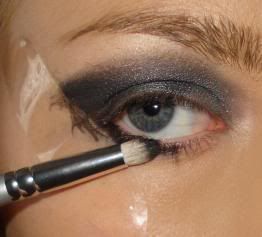
 STEP 11: Apply it to the outer edge of eye going upto the edge of tape and blending into the dark silver/grey shadow you applied before the matte black.
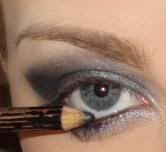
 STEP 12: Grab your silver and dark silver/grey eyeshadows again along with a pencil brush (219)...
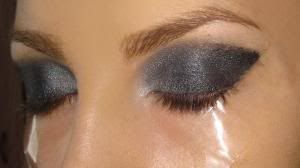
 STEP 13: ...then apply under bottom lash line (matte black on outer edge then silver from centre to inner edge, blending both together)
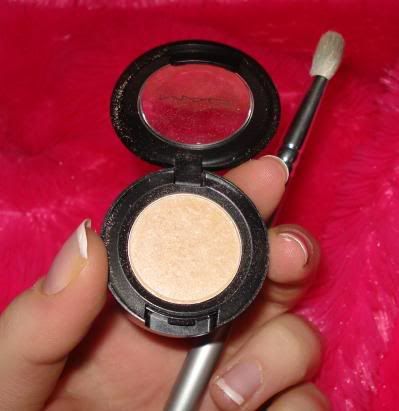 STEP 14: now it's time to highlight the brow bone! grab any highlight colour (im using nano gold as it has a soft hint of pink to it to add a touch of colour)
 STEP 15: apply it to brow bone and inner corner of eye (tear duct area) for that 'awake' look!
 STEP 16: Next it's time to tightline! and also add liner to the water line. We want the eyes to look dark as possible for that 'sexy playboy/PCD' look
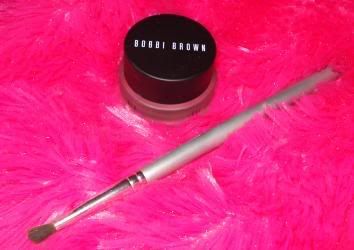 STEP 17: Grab a gel liner (or liquid liner depending on what you prefer). If you do use gel liner you will also need a thin eyeliner brush to apply it with...
 STEP 18: ... then apply it on upper lash line going thicker towards outer edge. (It is advised you apply a gel/liquid liner if you are applying false lashes)
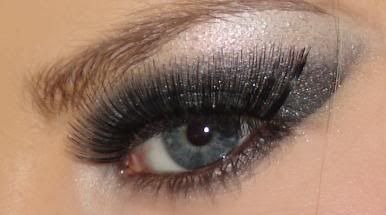
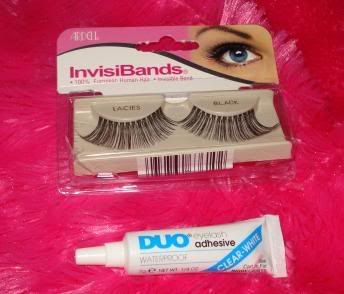 STEP 19: Now choose some hot lashes which will be the perfect touch for this type of look...
 STEP 20: Apply them! (theres plenty of lash tutorials on here
 ) wait until they completely dry before moving on to the next step... (you can tell my eye on the right is not completely dry yet)
 .. its dry

 STEP 21: Contour time! (this step is optional)
 STEP 22: Add a candy pink blush... all PCD girls love pink blush!
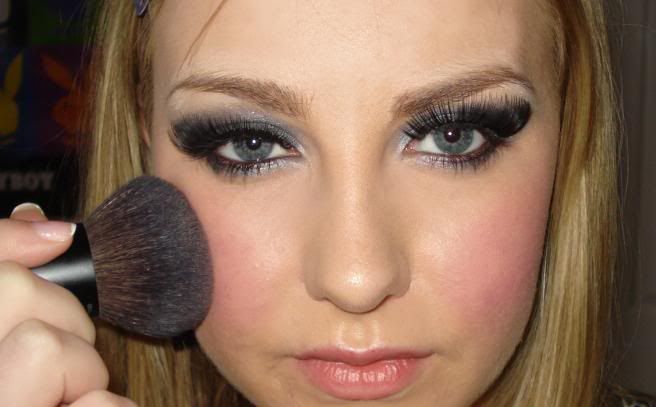 STEP 23: buff the blush out as it can look abit too dramatic (you dont want too much drama on anywhere but your eyes for this look!)
 STEP 24: Now you need to use some nude lip products (please don't use bright lips for this!! you want all the attention on the eyes!)
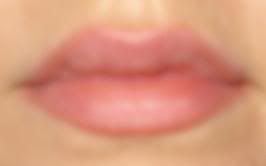 STEP 25: Line the lips with a nude pencil...
 STEP 26: Add a nude lipstick softly (if you apply it hard it will come out looking really chalky.. you basically just wanna cancel out the redness in your lip)
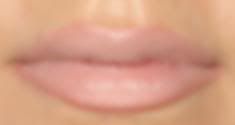
 STEP 27: Then add a nice nude lipgloss on top, something with a small hint of colour so your lips don't make you look like a corpse!
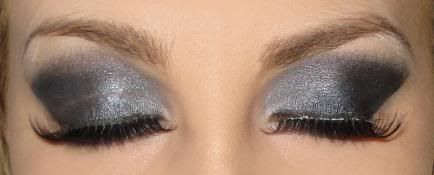
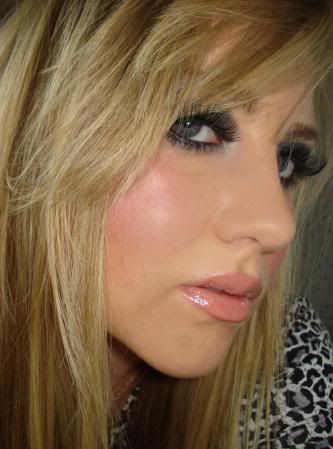
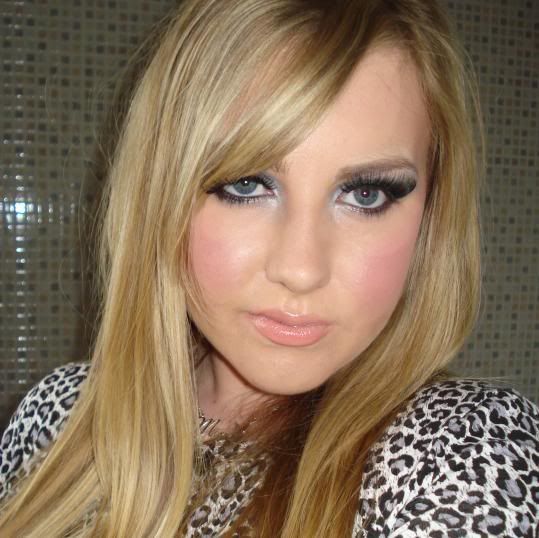
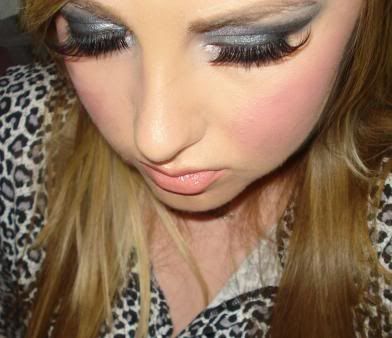
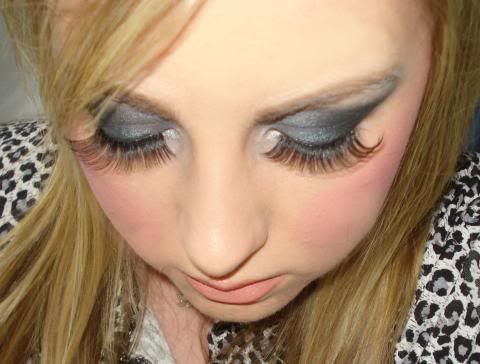
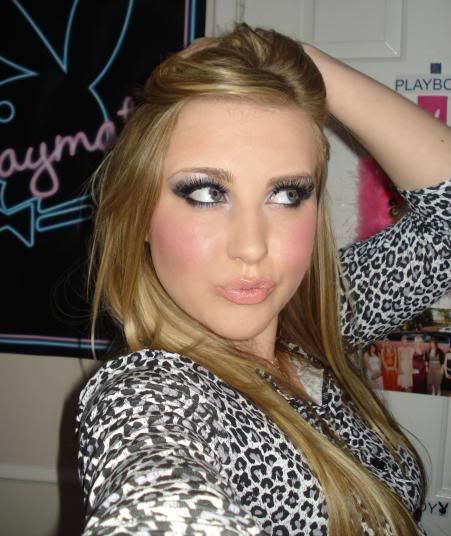
STEP 28: POSE, POUT AND FLUTTER THOSE LASHES!
THE RESULTS:

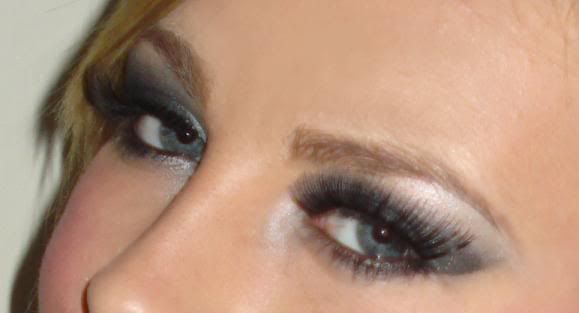

THIS IS THE LOOK IM DOING:
Heres what you will need (you can obviously use different brands/tools) but this is what i used:
FACE
smashbox photofinish primer
benefit boi-ing concealer - medium (realness of concealness kit)
bare minerals foundation and mineral veil
Dior skinflash concealer/illuminator
CHEEKS
MAC sculpt n shape duo (contour)
MAC fafi fashion frenzy blush
MAC dresscamp blush - dresscamp pink
EYES
UDPP
MAC shadestick - sharkskin
MAC e/s - electra, pandamonium, carbon, nano gold
Bobbi Brown gel liner - granite ink
Lancome le crayon kohl pencil liner - noir
Lancome hypnose mascara - noir
Ardell lashes - invisiband lacies (no name or number for them)
LIPS
EA 8 hour cream (prep lips)
Boots No7 lip liner - 20 nude
MAC lipstick - fleshpot (heatherette)
MAC lipglass - sock hop (heatherette)
TOOLS
HARD CANDY - concealer
MAC 187 - foundation
MAC 182 - foundation
MAC 116 - blush/contour
MAC 217 - eyeshadow/blending
MAC 217SE - eyeshadow/brow highlight
MAC 275SE - eyeshadow
MAC 239SE - eyeshadow
MAC 219SE - eyeshadow under lower lash line
MAC 209SE - gel eyeliner
and on with the tutorial!!!!
STEP 1: Do your usual face routine, here i have primer, concealer, foundation, powder all done, lips prepped and brows filled in.
STEP 28: POSE, POUT AND FLUTTER THOSE LASHES!
THE RESULTS:
