Zoffe
Well-known member
I used:
Face:
GOSH "Velvet touch foundation primer"
MAC Prep+Prime SPF 50
Lancome Teint Idole "010" foundation
Stargazer white powder
Cheeks:
MAC "Emote" blush
GOSH "Fox" effect powder
Eyes:
ArtDeco "Eyeshadow base"
MAC "Vanilla" pigment
MAC "Smoke signal" pigment
GOSH "Fox" effect powder
MAC "Blacktrack" f/l
Black Rimmel e/s for brows
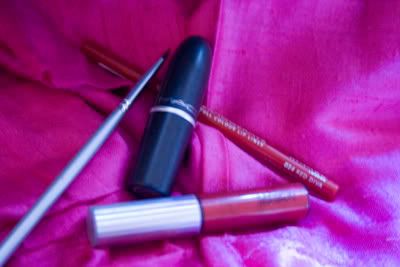
Lips:
Rimmel "024 Red Diva" lip liner
MAC "New York Apple" lipstick
MAC "Boundless" 3D glass
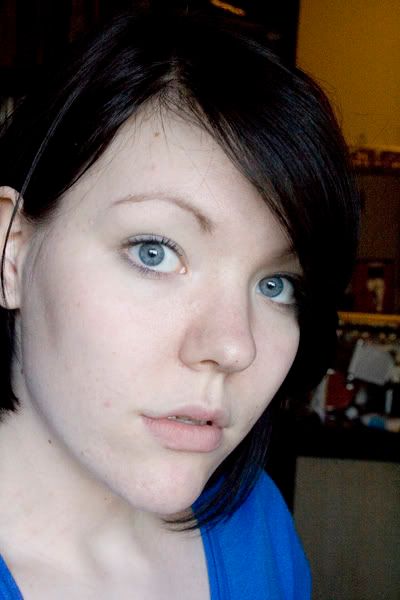
Start with a clean, moisturized face. I've already applied ArtDeco eyeshadow base to both eyes from lashline to browbone.
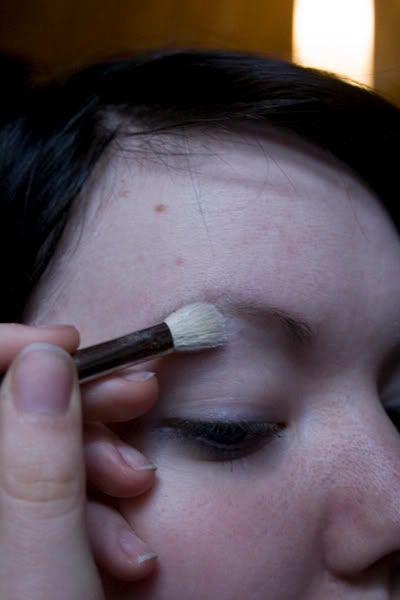
Find your MAC "Vanilla" pigment and your MAC 217 brush. Your favorite highlight and your favorite blending brush will work just as fine

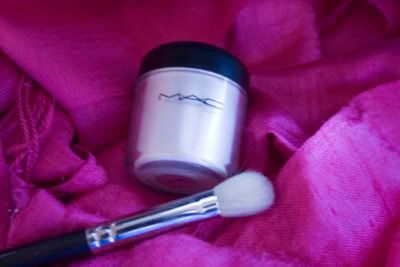
Apply it on your browbone and on the inner corners of your eyes:
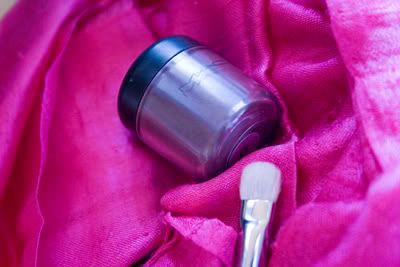
Now for the "Smoke Signal" pigment. Choose a brush like the MAC "239" or any brush that's good for packing on color.
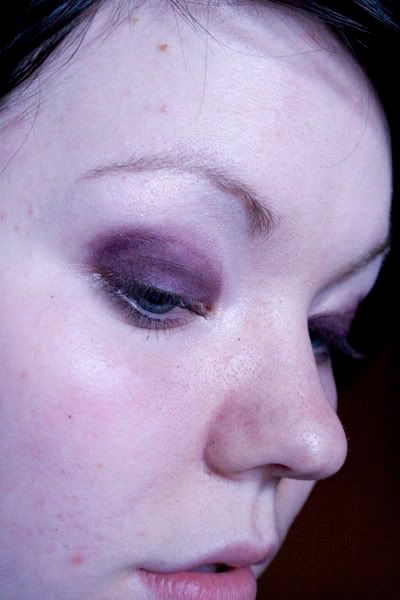
Apply the "Smoke Signal" on your lid and blend it out a little bit above the crease.
Instead of swiping the brush across your lid try to pack on the color by dabbing. That will cause less eyeshadow fall out under your eye

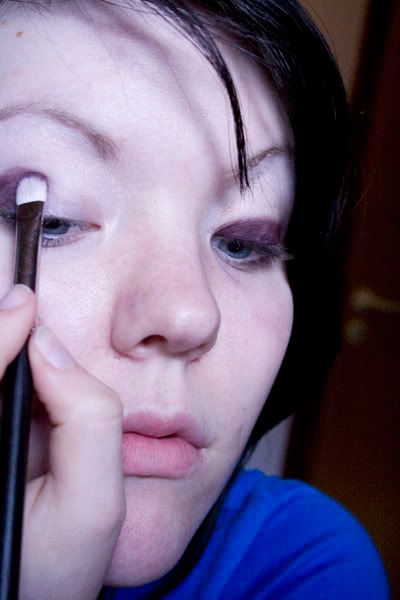
Don't worry if it isn't completely even. We'll apply more later
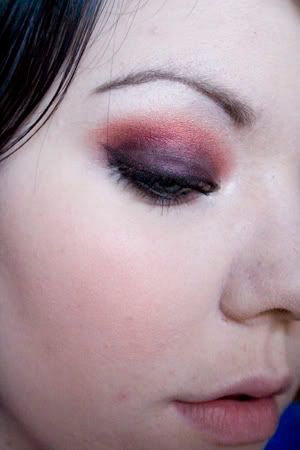
It should look something like this:
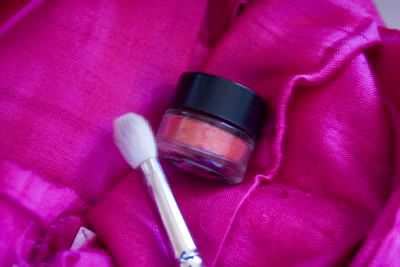
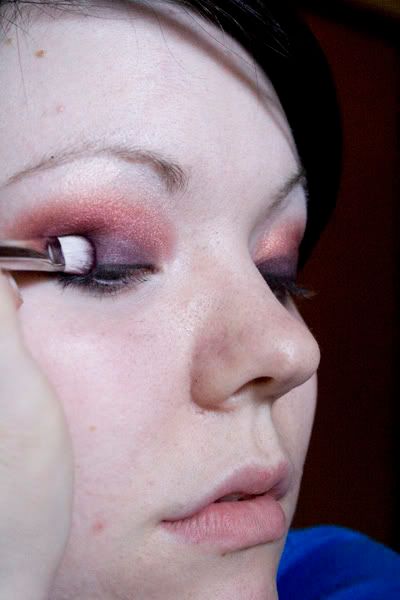
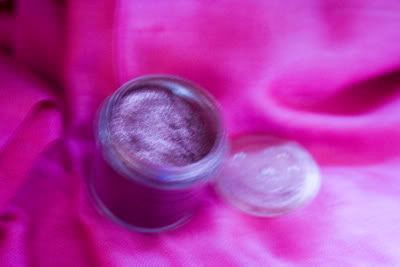
Now for some red eyeshadow!
I love the GOSH "fox" effect powder. I've heard that this color isn't available outside Denmark so try to find another shimmery red eyeshadow for this
Grab your blending brush again for this step.
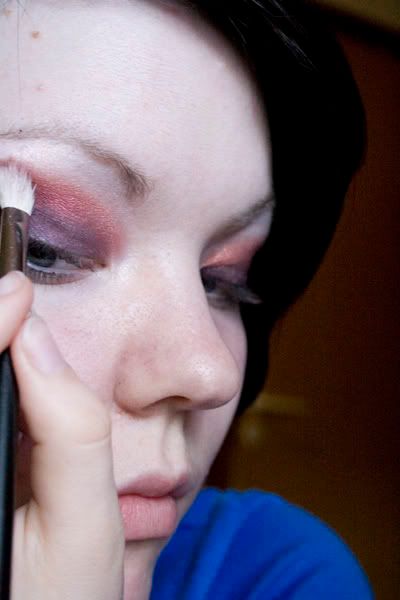
Apply the red eyeshadow above Smoke Signal. Be careful not to put too much on or you won't be able to blend it out. It's a lot easier to add more than to take some off
You don't wanna take it too far up either 'cus it's going to go higher when you blend it out
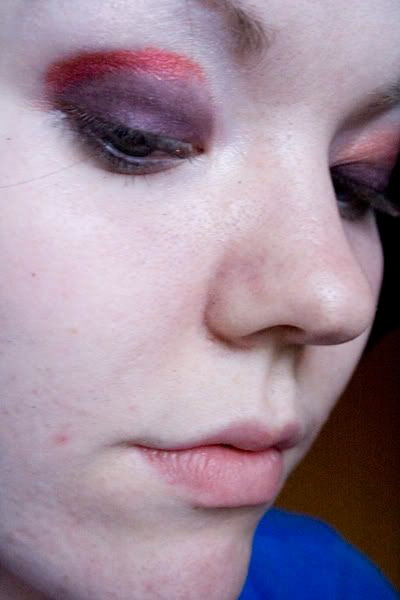
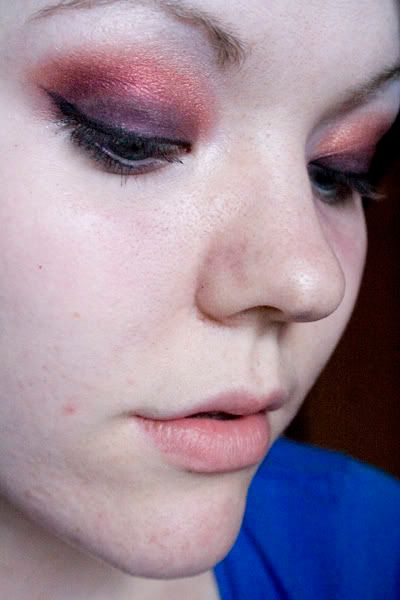
And bleeeeend!
Use whatever method works for you. I use a circular blending motion and blend the red up into the highlight.
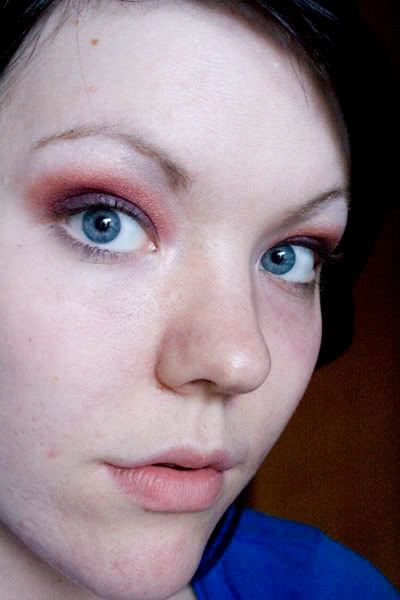
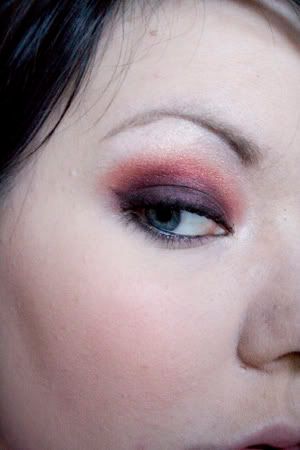
And it should look something like this:
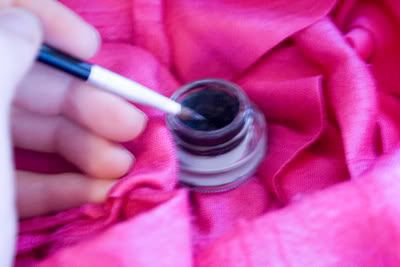
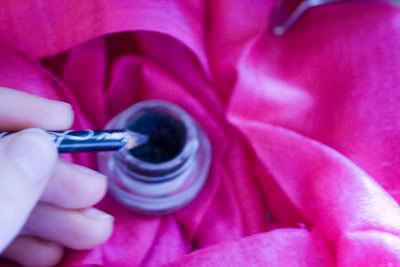
Now for eyeliner!
I use MAC "Blacktrack" f/l with an eyeliner brush by GOSH. Use an angled brush if that's easier for you
And liiiine... It doesn't matter if you put a little too much on or it the line isn't even and straight - we'll fix that in a few steps
Wing your line if you want a cat eye effect:
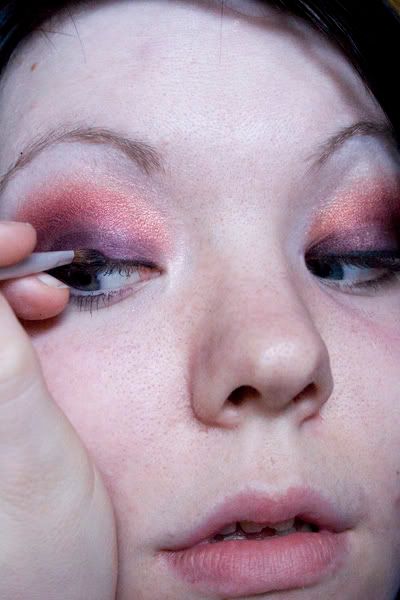
Now go back and pick up a little bit of the "Smoke Signal" pigment with your eyeshadow brush and apply it on top of the eyeliner and where you applied it before. Smudge the eyeliner a bit to make the line softer.
See the difference? It's not much but just enough to make the eyeshadow and liner look more "completed" IMO
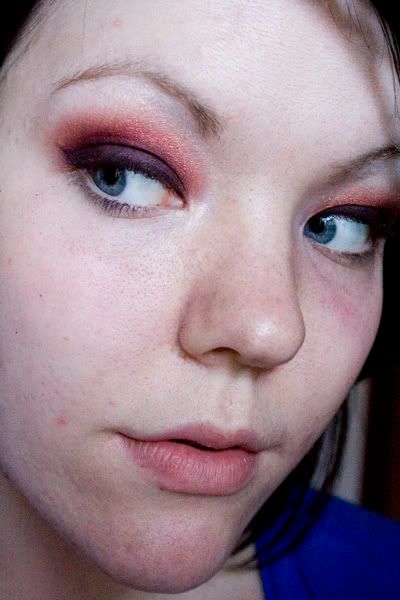
And the eyeshadow is done!
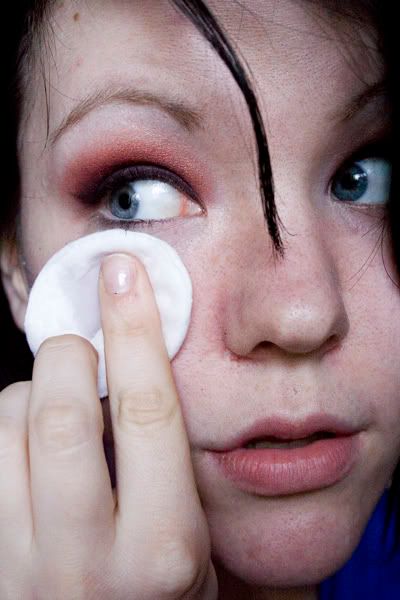
You'll most likely have a lot of fall out from the dark eyeshadow. I think the easiest way to take care of that is with a cotton swap and makeup remover.
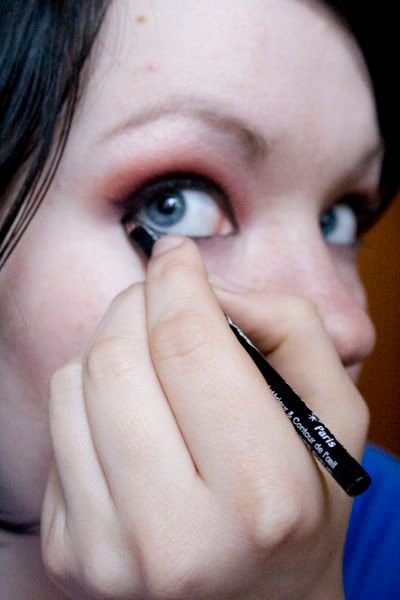
Woups, I almost forgot to line the waterline... I use my beloved "Blacktrack" for this too.
Put some on your brush or (like I do) choose a black eyeliner pencil to apply it with
And apply... Put a little bit under your outer lower lashline too:
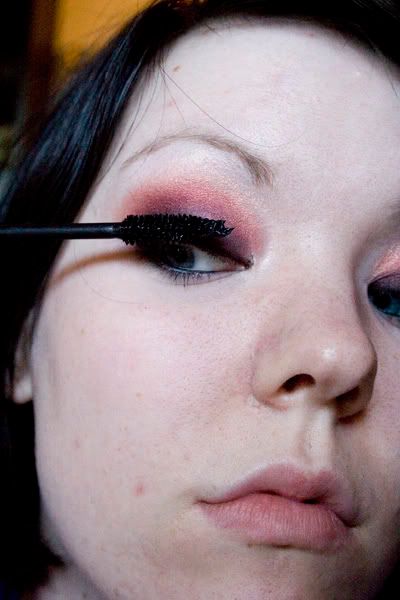
And don't forget your lashes! I use an eyelash curler from H&M and Diorshow Blackout mascara
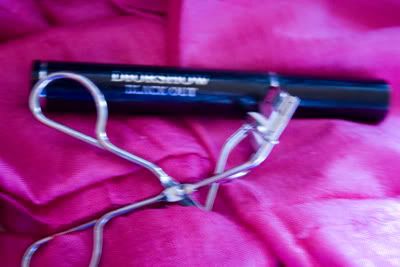
Currrrl
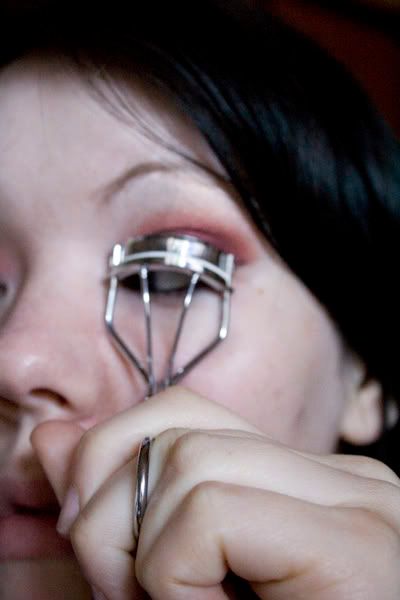
And apply mascara. I like to wiggle the brush from side to side while applying.
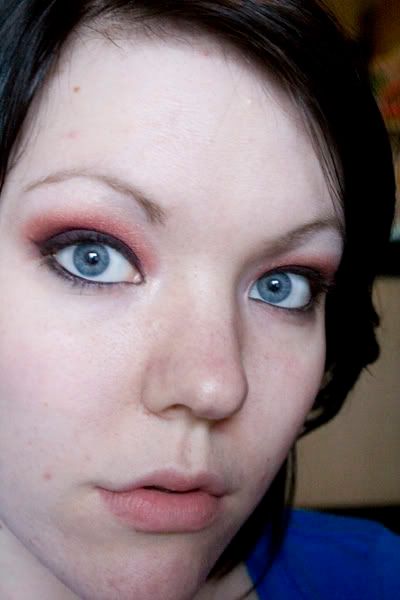
Your eyes are done and you can apply your face makeup. See list above for product names
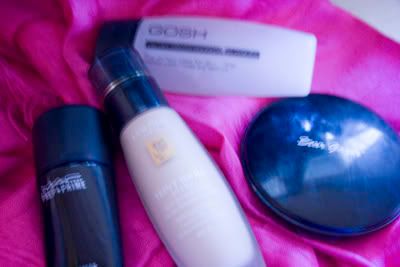
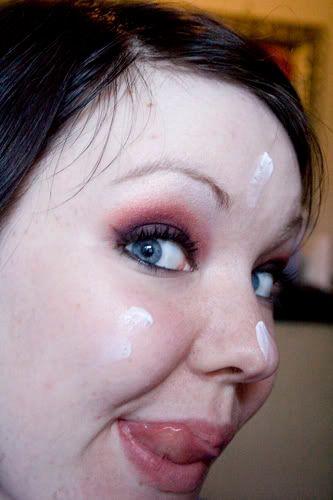
I mix the two products on my hand. That way I do to steps in one and I don't need as much of each product.
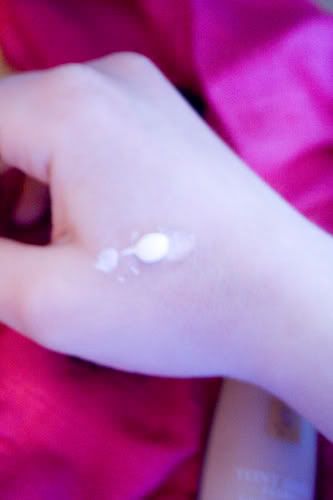
I apply and blend it in with my fingers

I use a stippling brush for my foundation. I dab some on and buff it in really good
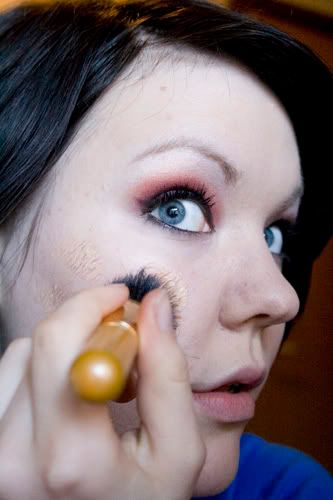
But oh no, look at that! The foundation is a bit too dark for me even though it's the lightest shade... Booo!
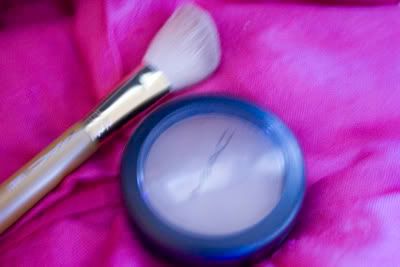
Well, that's where the white Stargazer powder comes in handy
I apply it with my Smashbox powder brush.
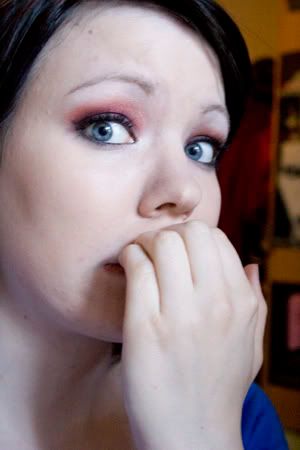
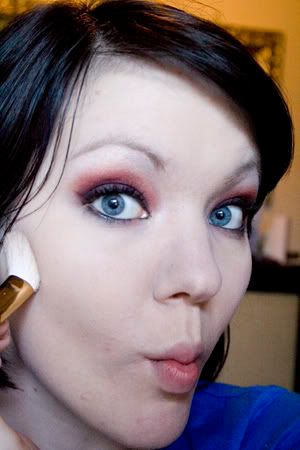
Contour! When you've done it a few times it gets really easy and it really makes a difference!
I use MAC "Emote" blush and a MAC se angled blush brush.
Make a fish face and apply the contour in the hollows under your cheekbones
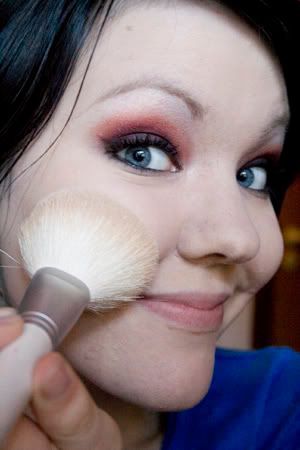
For blush I use the GOSH "Fox" effect powder and a MAC se blush brush.
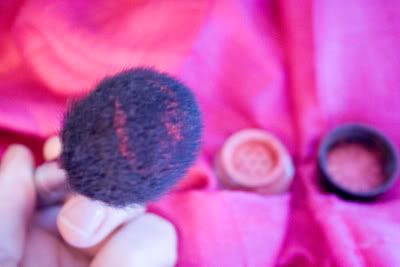
I apply it on the apples of my cheeks and blend it up and out towards my temples. I didn't take a picture of that 'cus blush rarely photographs well on me... You couldn't even see this blush in the pictures but it looked fine irl... boo...
I always do my eyebrows after my foundation/powder because I don't wanna mess up my brows with the light powder I use
For my brows I use a black e/s by rimmel and an angled brush.
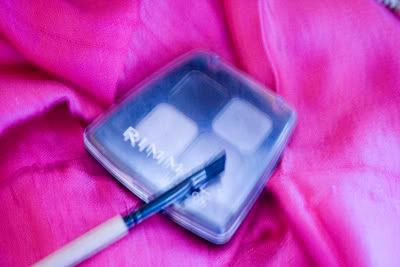
I start by applying shadow right under the brow up to the arch, like this:
Then I fill in the end of my brow:
And the rest:
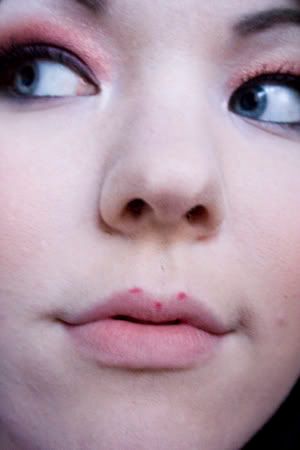
All that's left are the lips! Yay, almost done
Start by finding the lowest and highest points in your cupids bow and make little dots there with the lipliner. That'll make it easier to line your lips.
Then connect them:
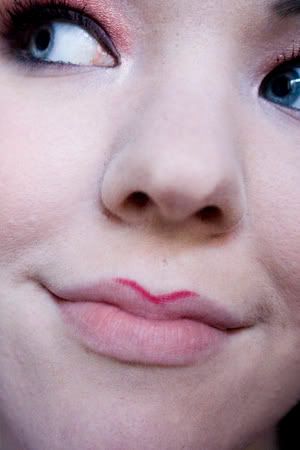
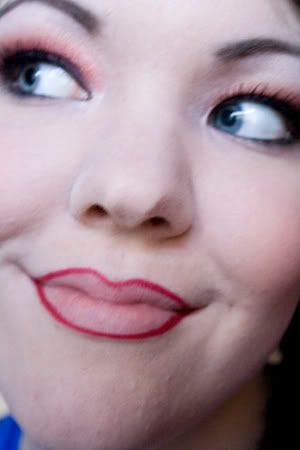
Lining the rest of your upper lip should be easy now:
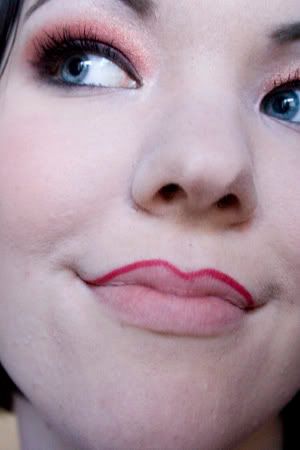
Line the center of your lower lips first to make it easier to get the right shape:
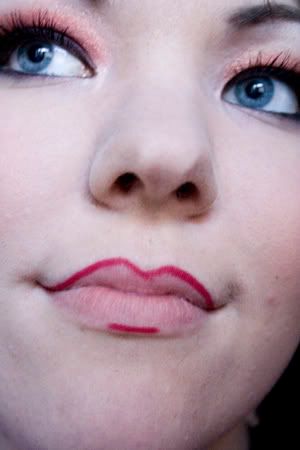
Line the rest:
And fill in your lips with lipliner. If you don't want the lipstick as bright you can skip this step and just blend the lipliner a little in with your finger.
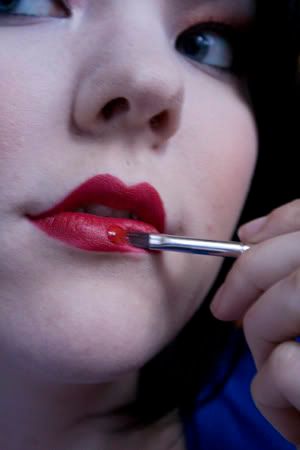
Apply your lipstick. I use a lip brush 'cus I think it's easier and more sanitary.
I want really glossy lips so I apply a 3D glass on top, also using a lip brush:
If you want even more deep red lips you can add a little of the MAC "Blackened red glitter" to your lips with a lip brush. Just add a little bit and blend it in with the gloss. Blending the gloss with the glitter on your hand first is even easier
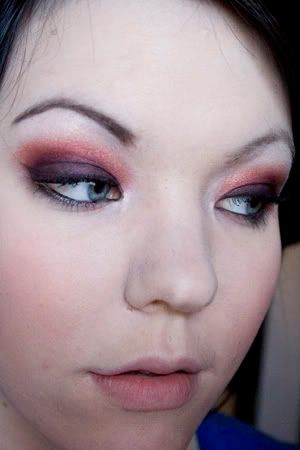
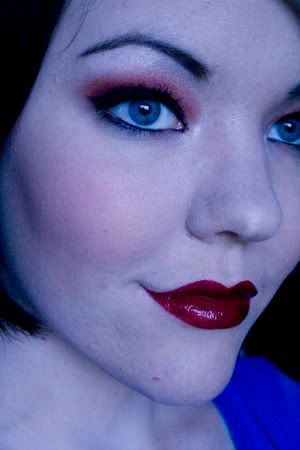
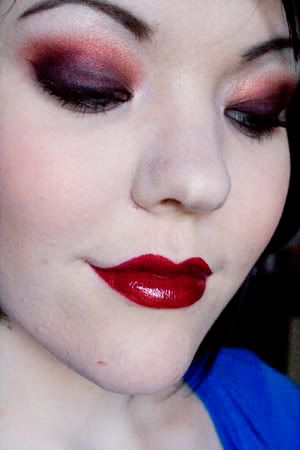
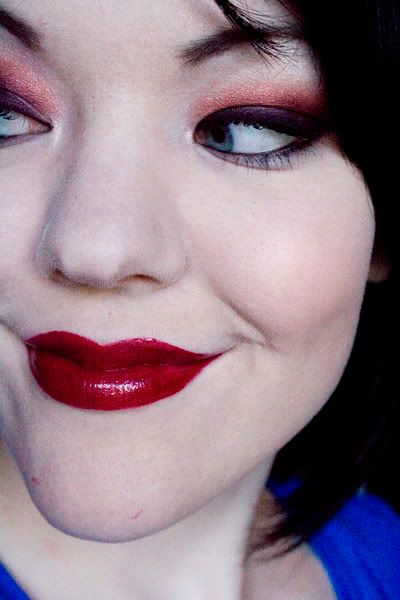
And here's the finished look!

With glitter on lips:
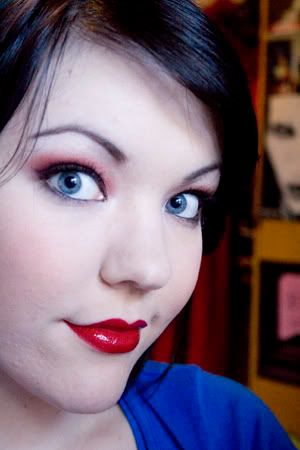
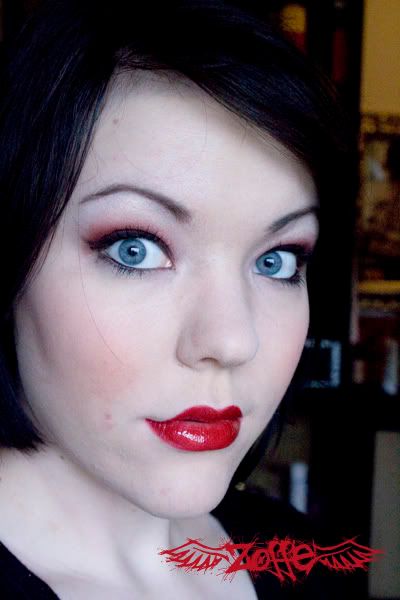
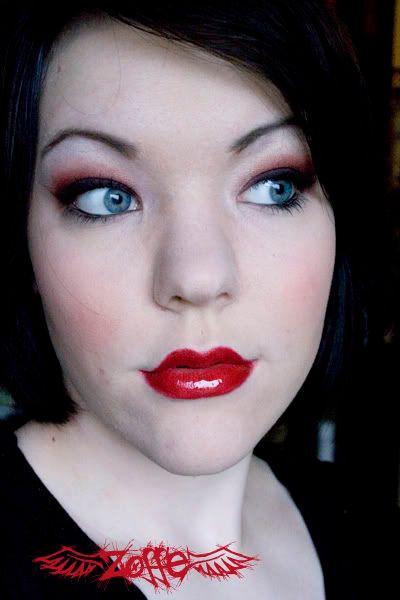
And without glitter on lips:

I hope you liked it!
If you have any questions, CC or requests I'd love a PM =)
Face:
GOSH "Velvet touch foundation primer"
MAC Prep+Prime SPF 50
Lancome Teint Idole "010" foundation
Stargazer white powder
Cheeks:
MAC "Emote" blush
GOSH "Fox" effect powder
Eyes:
ArtDeco "Eyeshadow base"
MAC "Vanilla" pigment
MAC "Smoke signal" pigment
GOSH "Fox" effect powder
MAC "Blacktrack" f/l
Black Rimmel e/s for brows
Lips:
Rimmel "024 Red Diva" lip liner
MAC "New York Apple" lipstick
MAC "Boundless" 3D glass
Start with a clean, moisturized face. I've already applied ArtDeco eyeshadow base to both eyes from lashline to browbone.
Find your MAC "Vanilla" pigment and your MAC 217 brush. Your favorite highlight and your favorite blending brush will work just as fine
Apply it on your browbone and on the inner corners of your eyes:
Now for the "Smoke Signal" pigment. Choose a brush like the MAC "239" or any brush that's good for packing on color.
Apply the "Smoke Signal" on your lid and blend it out a little bit above the crease.
Instead of swiping the brush across your lid try to pack on the color by dabbing. That will cause less eyeshadow fall out under your eye
Don't worry if it isn't completely even. We'll apply more later
It should look something like this:
Now for some red eyeshadow!
Grab your blending brush again for this step.
Apply the red eyeshadow above Smoke Signal. Be careful not to put too much on or you won't be able to blend it out. It's a lot easier to add more than to take some off
And bleeeeend!
Use whatever method works for you. I use a circular blending motion and blend the red up into the highlight.
And it should look something like this:
Now for eyeliner!
I use MAC "Blacktrack" f/l with an eyeliner brush by GOSH. Use an angled brush if that's easier for you
And liiiine... It doesn't matter if you put a little too much on or it the line isn't even and straight - we'll fix that in a few steps
Wing your line if you want a cat eye effect:
Now go back and pick up a little bit of the "Smoke Signal" pigment with your eyeshadow brush and apply it on top of the eyeliner and where you applied it before. Smudge the eyeliner a bit to make the line softer.
See the difference? It's not much but just enough to make the eyeshadow and liner look more "completed" IMO
And the eyeshadow is done!
You'll most likely have a lot of fall out from the dark eyeshadow. I think the easiest way to take care of that is with a cotton swap and makeup remover.
Woups, I almost forgot to line the waterline... I use my beloved "Blacktrack" for this too.
Put some on your brush or (like I do) choose a black eyeliner pencil to apply it with
And apply... Put a little bit under your outer lower lashline too:
And don't forget your lashes! I use an eyelash curler from H&M and Diorshow Blackout mascara
Currrrl
And apply mascara. I like to wiggle the brush from side to side while applying.
Your eyes are done and you can apply your face makeup. See list above for product names
I mix the two products on my hand. That way I do to steps in one and I don't need as much of each product.
I apply and blend it in with my fingers
I use a stippling brush for my foundation. I dab some on and buff it in really good
But oh no, look at that! The foundation is a bit too dark for me even though it's the lightest shade... Booo!
Well, that's where the white Stargazer powder comes in handy
I apply it with my Smashbox powder brush.
Contour! When you've done it a few times it gets really easy and it really makes a difference!
I use MAC "Emote" blush and a MAC se angled blush brush.
Make a fish face and apply the contour in the hollows under your cheekbones
For blush I use the GOSH "Fox" effect powder and a MAC se blush brush.
I apply it on the apples of my cheeks and blend it up and out towards my temples. I didn't take a picture of that 'cus blush rarely photographs well on me... You couldn't even see this blush in the pictures but it looked fine irl... boo...
I always do my eyebrows after my foundation/powder because I don't wanna mess up my brows with the light powder I use
For my brows I use a black e/s by rimmel and an angled brush.
I start by applying shadow right under the brow up to the arch, like this:
Then I fill in the end of my brow:
And the rest:
All that's left are the lips! Yay, almost done
Start by finding the lowest and highest points in your cupids bow and make little dots there with the lipliner. That'll make it easier to line your lips.
Then connect them:
Lining the rest of your upper lip should be easy now:
Line the center of your lower lips first to make it easier to get the right shape:
Line the rest:
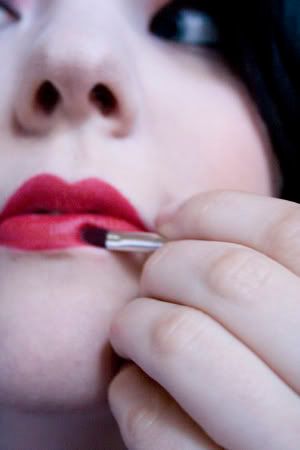
And fill in your lips with lipliner. If you don't want the lipstick as bright you can skip this step and just blend the lipliner a little in with your finger.
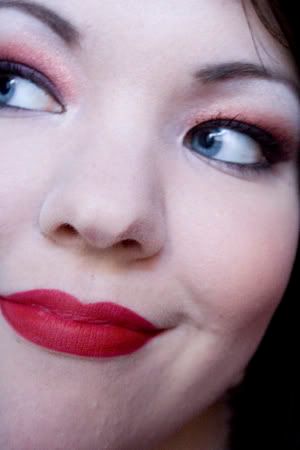
Apply your lipstick. I use a lip brush 'cus I think it's easier and more sanitary.
I want really glossy lips so I apply a 3D glass on top, also using a lip brush:
If you want even more deep red lips you can add a little of the MAC "Blackened red glitter" to your lips with a lip brush. Just add a little bit and blend it in with the gloss. Blending the gloss with the glitter on your hand first is even easier
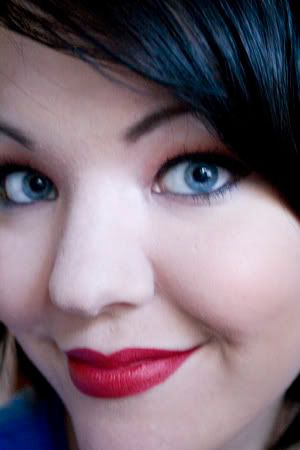
And here's the finished look!
With glitter on lips:
And without glitter on lips:
I hope you liked it!
If you have any questions, CC or requests I'd love a PM =)

