MissLorsie
Well-known member
Seeing as I'm on school holidays (I'm a teacher LOL not a student) i decided to do a tutorial on the nude FOTD I posted the other for my anniversary. I am absolutely loving this look at the moment because it is just so easy to do..
So here goes

Products used
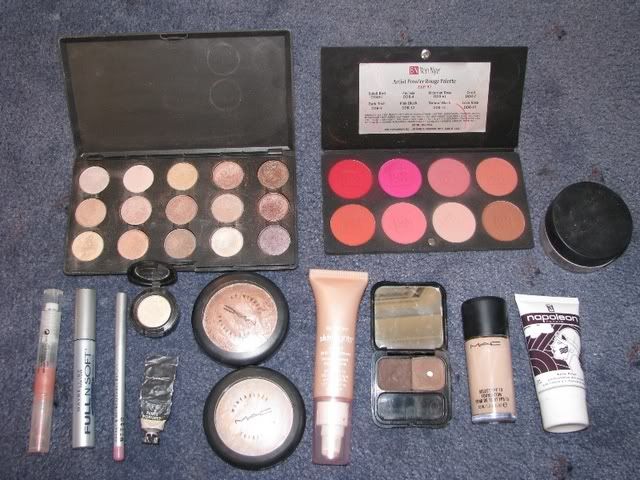
FACE:
Napoleon Auto Pilot Primer
MAC Select SPF 15 NW20
Relvon Skinlights Light Peach
Ben Nye Blush Coral
MAC Shimpagne MSF
MAC Lightscapade MSF
MAC Blot Medium
EYES:
MAC Bare Canvas Paint
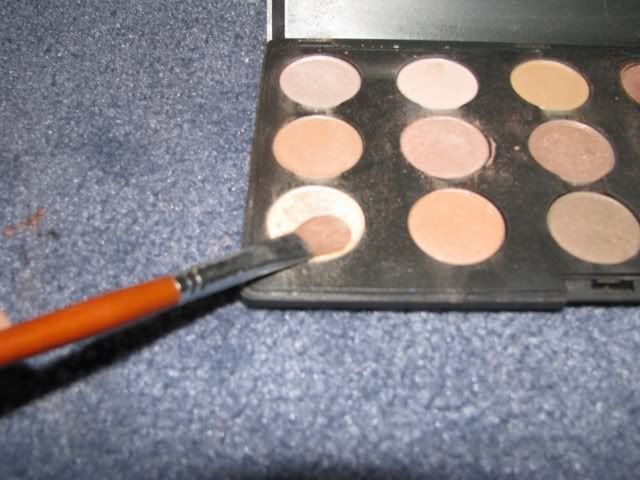
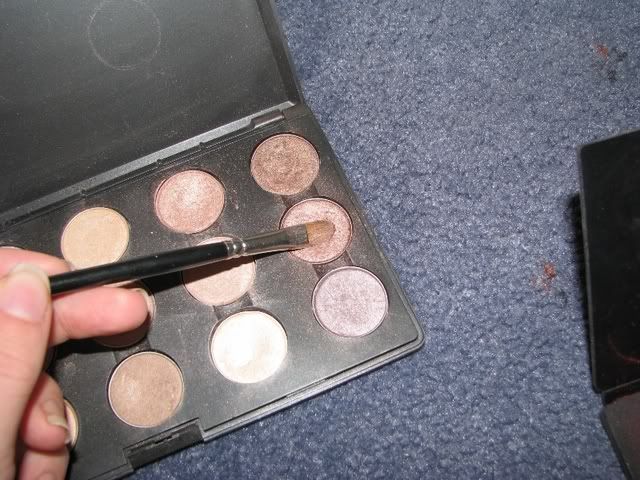
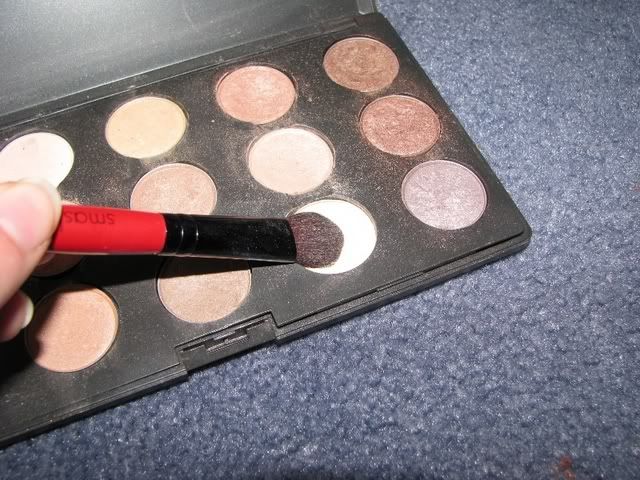
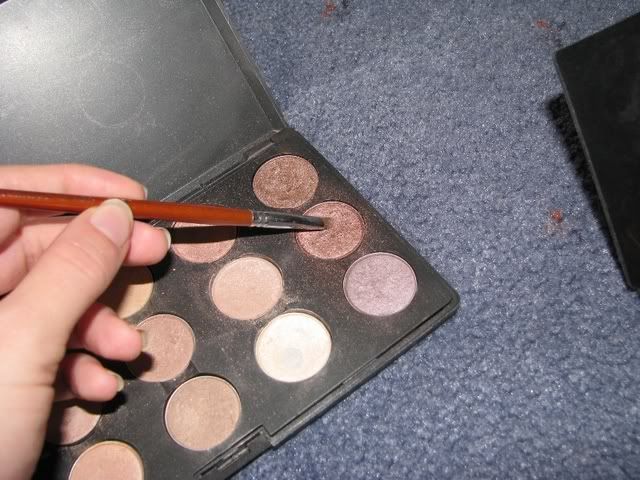
MAC Nylon (bottom left)
MAC Naked Lunch (diagonally to the right upwards from nylon)
MAC Dazzlelight (bottom row 2nd from right)
MAC Sable (diagonally to the right upwards from dazzlelight)
Maybelline Full n Soft
Benefit Browzings Medium
LIPS
Stila Lipliner no.18
Stila Lipglaze Bouquet
MAC Rose Blanc
These are the brushes i used
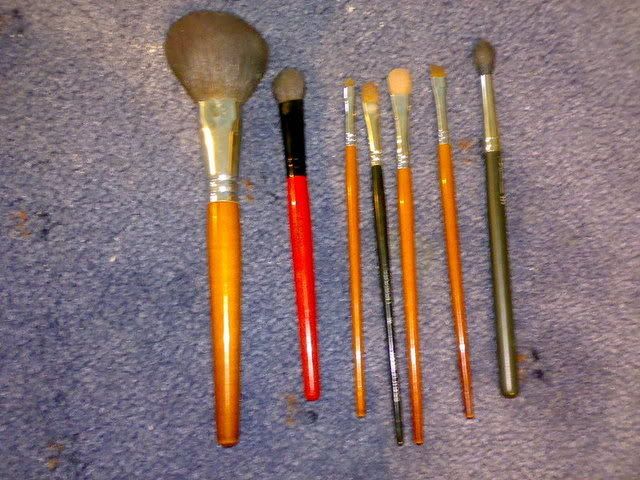
Fluffy face brush - blush, MSF's and blot powder
Slanted brush - benefit browzings
Various eyeshadow brushes for eyeshadows
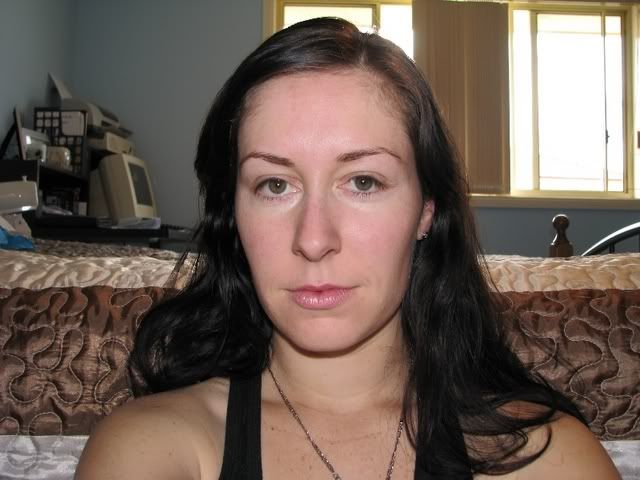
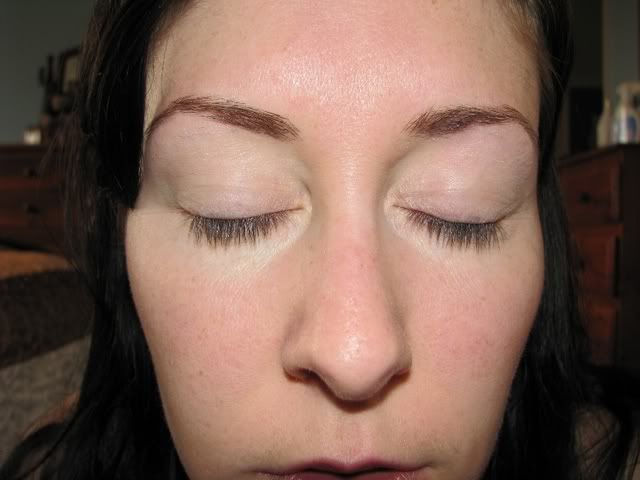
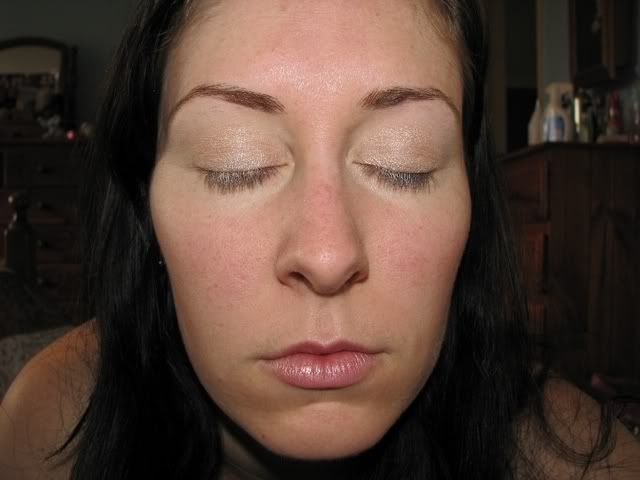
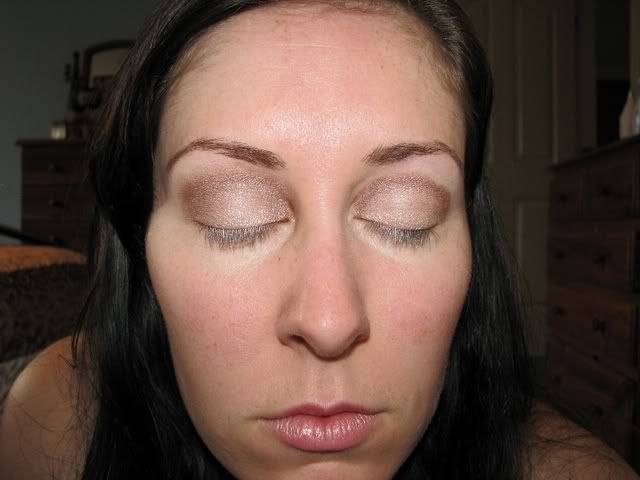
Heres me all clean n moisturised
Now lets begin - Class is in session
Okay students! First we begin with a base as its imperative for eyeshadows to stick to for durability and longevity.
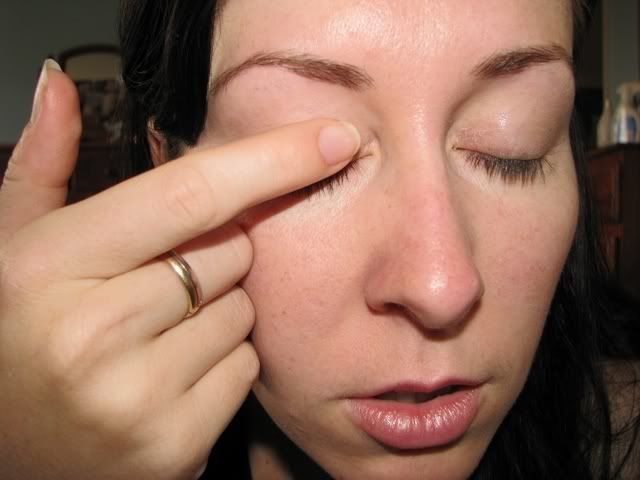
Put some Bare Canvas on your index finger like such. This is enough for one whole eyelid
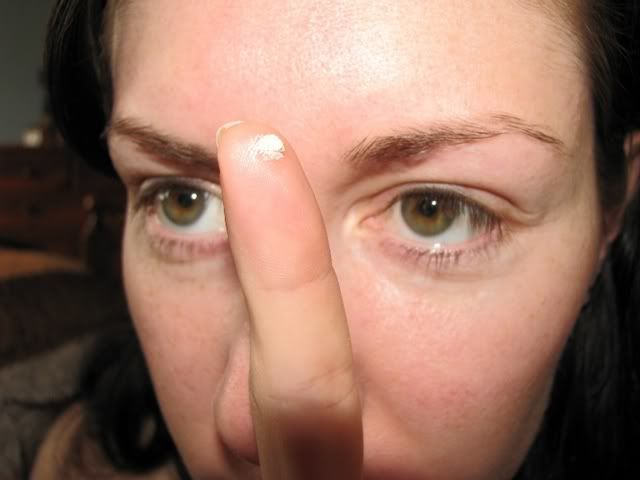
Apply in a patting motion.
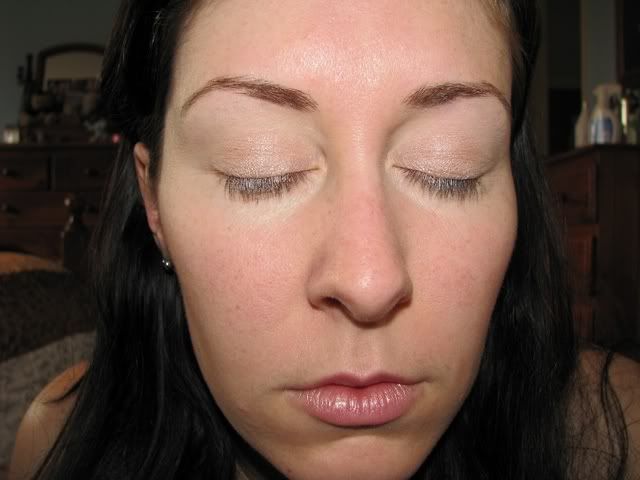
Should look something like this when done. Excellent!
Next load up an eyeshadow brush with lots of MAC Naked Lunch. Don't be afraid to be generous.

Apply to the middle of the eyelid.

Should look something like this. Well done students

Now load up that same brush with MAC Nylon again being very generous
Apply MAC Nylon over MAC Naked Lunch on both eyes. It should look something like this.
Now use a firmer, smaller eyeshadow brush and pick up some MAC Sable
Apply to the eyelid concentrating on the outer and inner third and above the crease where Nylon and Naked Lunch are. This doesn't have to be neat so don't be upset if you make a mistake. I promise we can fix it
Grab your MAC 224 and blend your little hearts out!
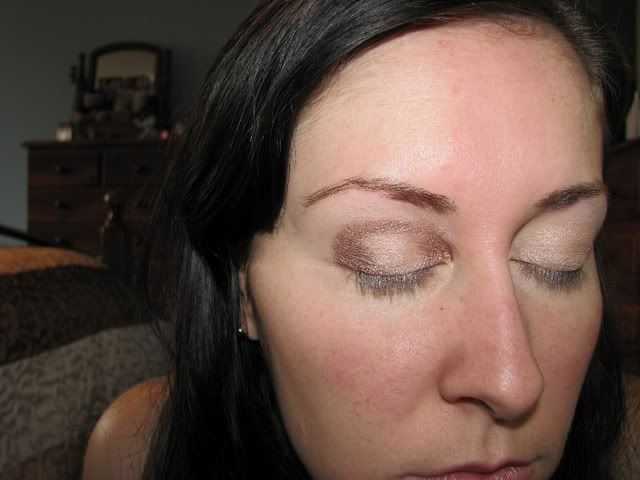
Should look something like this. Blended vs Unblended
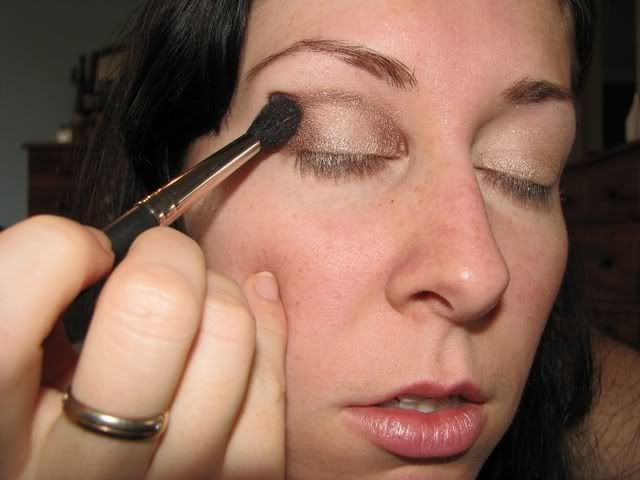
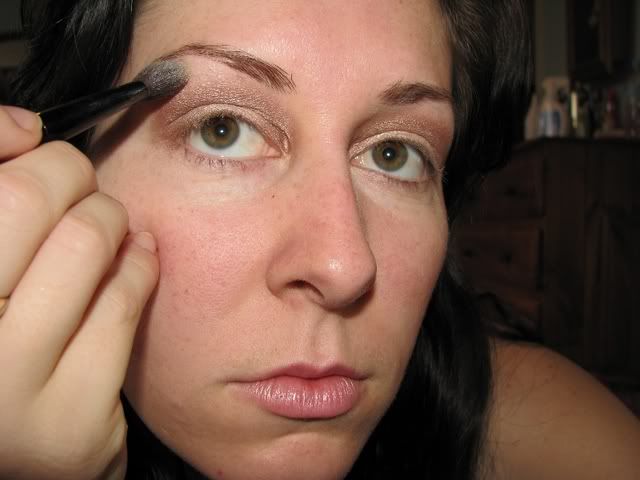
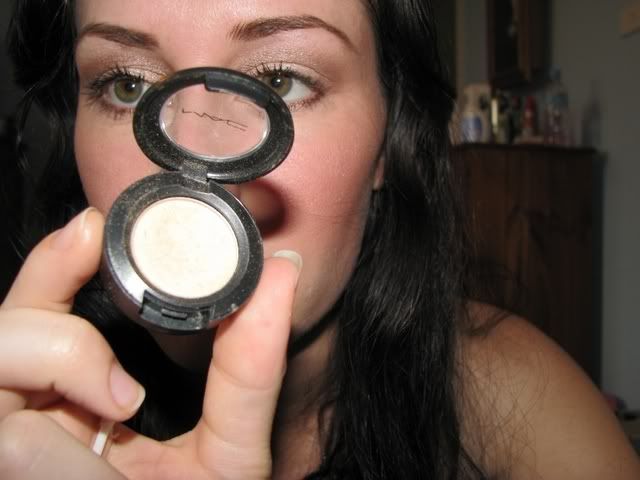
I used my Smashbox No.3 brush and loaded it up with MAC Dazzlelight
Apply MAC Dazzlelight above the crease, under the brow bone and around the eyesocket to blend all the eyeshadows
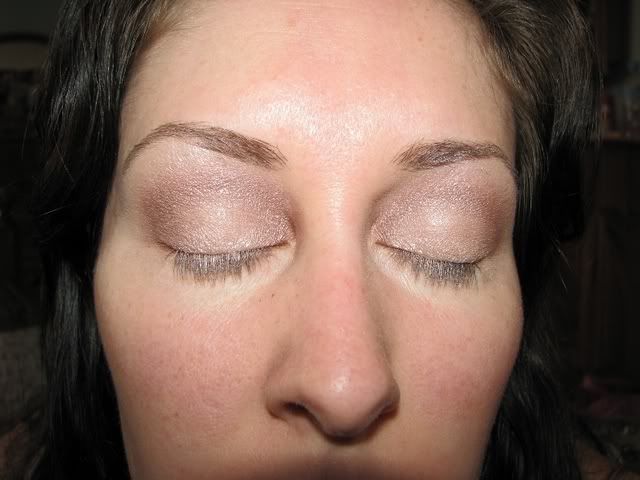
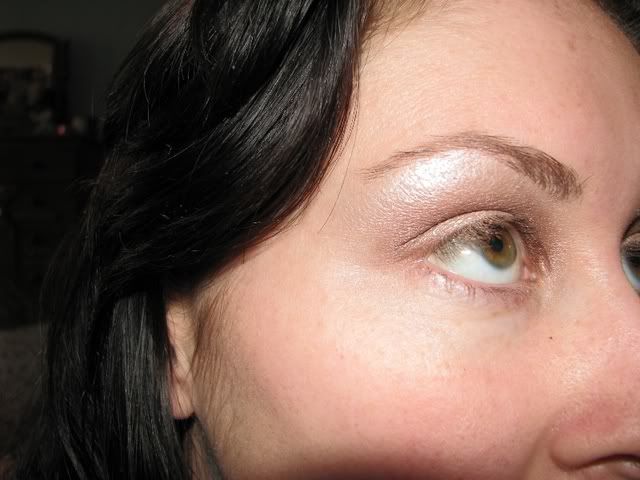
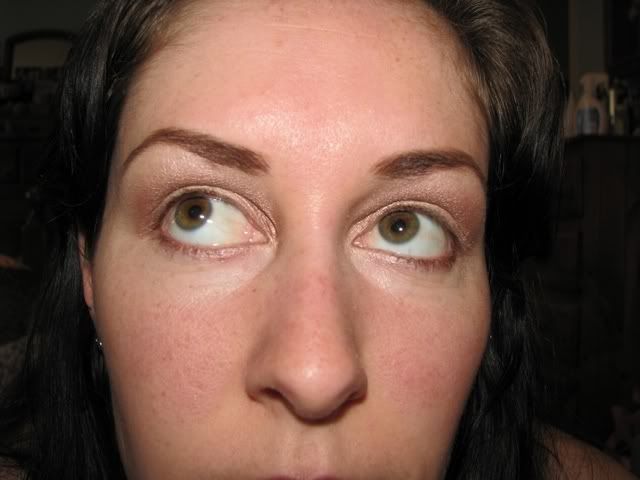
Your eyes should look something like this after the blending. Keeping up students!
Side on view
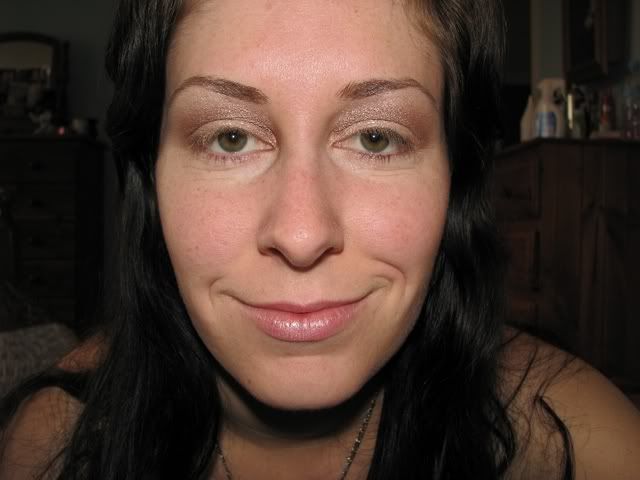
Front view - hehe i looked drunk here
Carrying on, next take a smaller liner brush and pick up some sable again
Line the outer bottom lashline with some MAC Sable
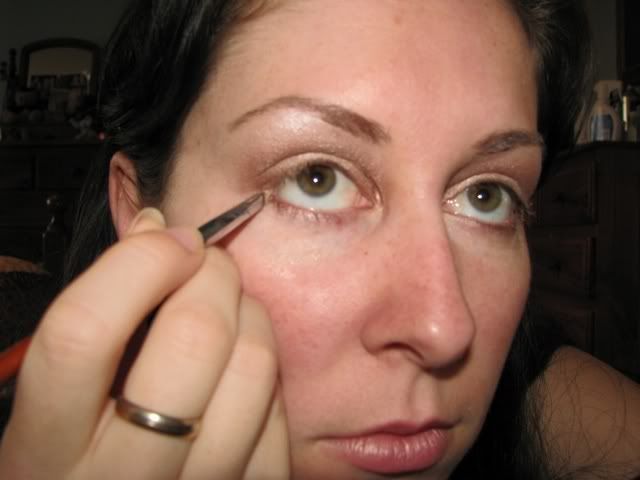
Line the inner bottom lashline with some MAC Dazzlelight
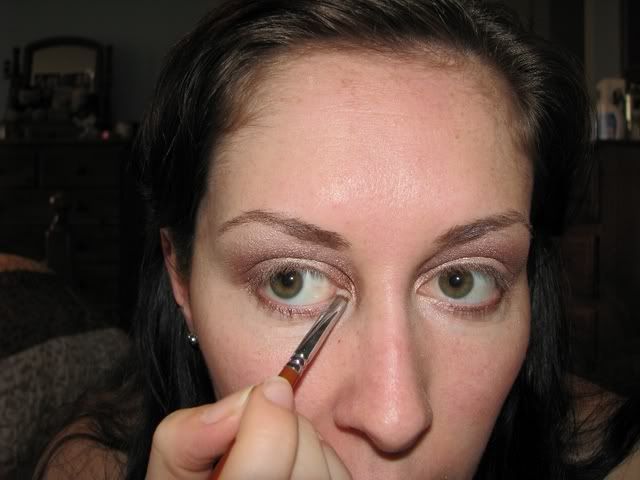
Coming along nicely - i dont know why i dont smile. concentrating too much i guess. Should look like this

Next take your angled brush and dip it in some Benefit Browzings
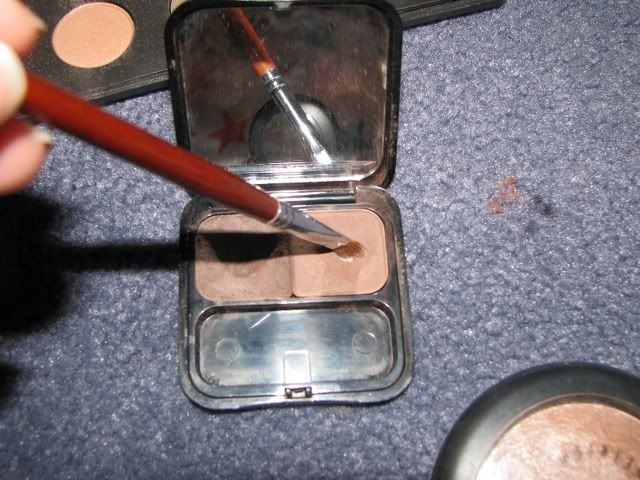
Shape those eyebrows - i love doing eyebrows
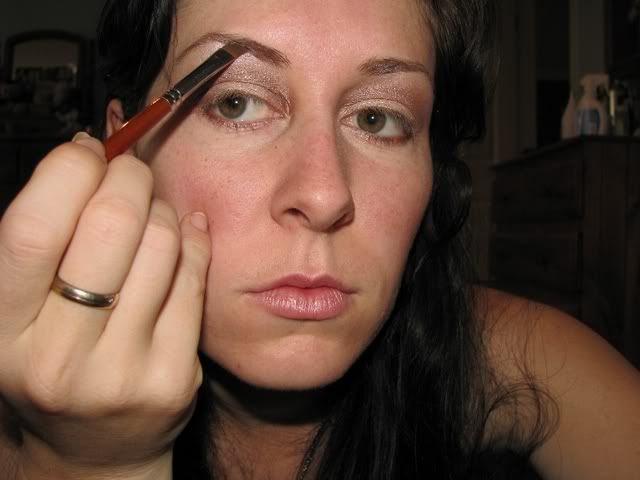
This is one eyebrow done with Browzings
And now the other
THank the lord for these contraptions!!! my eyelashes are so damn straight so lets curl these babies sky high
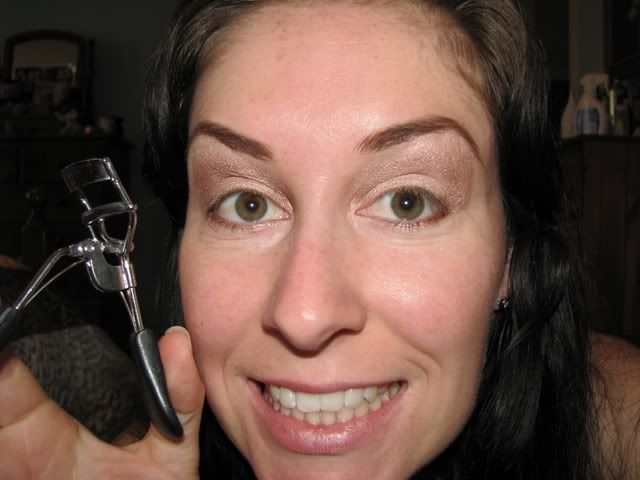
Curl those lashes good - im using Maybelline Full n Soft. Usually i use Diorshow WP but im all out.
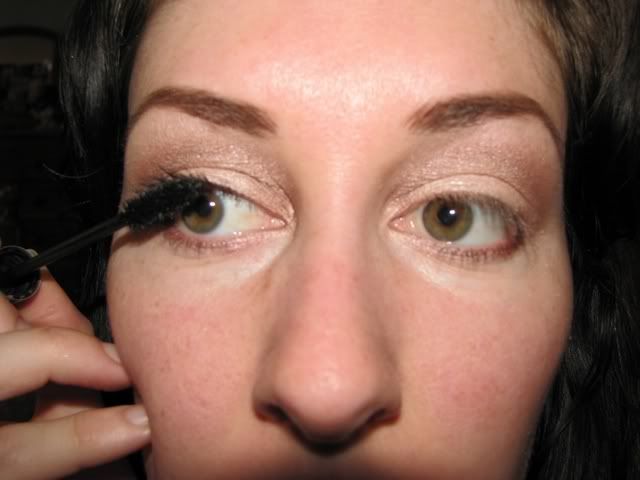
Heres a comparison of mascara-ed eye vs. unmascara-ed eye LOL
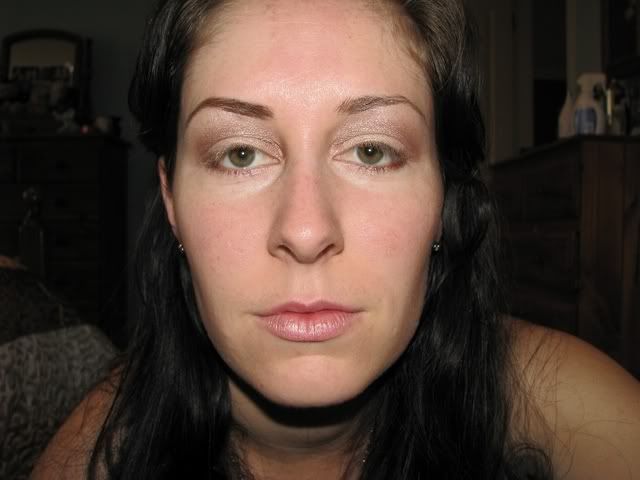
Tis a bigggg difference. Heres both eyes done..
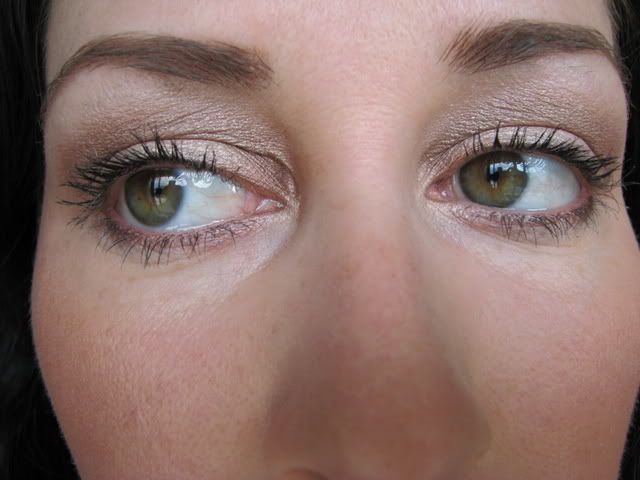
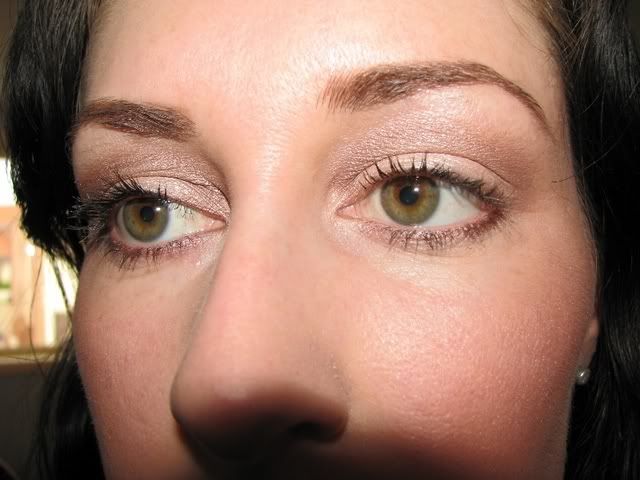
eyes completed should look something like this
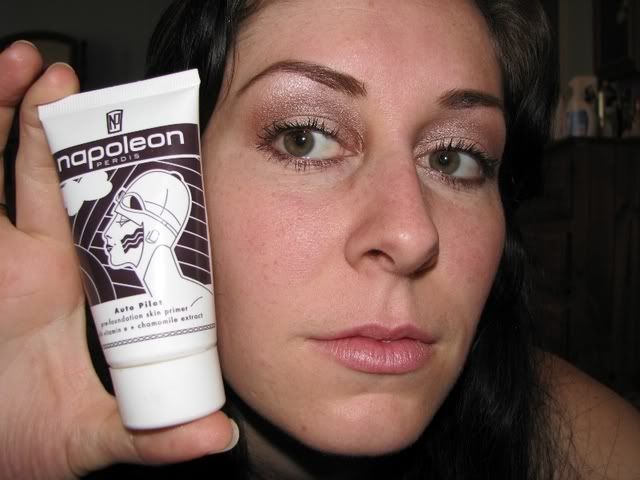
Well done class - now that our eyes are complete we can move onto our faces. First we apply a primer so our face has an even base to apply foundation onto. Were using Napoleon Auto Pilot Primer.
Apply a few dots all over your face. Not too much as we dont want our faces completely wet. Blend into your face with your fingers or a foundation brush.

Next get your MAC Select SPF 15 NW20 with Relvon Skinlights in Light Peach ready.
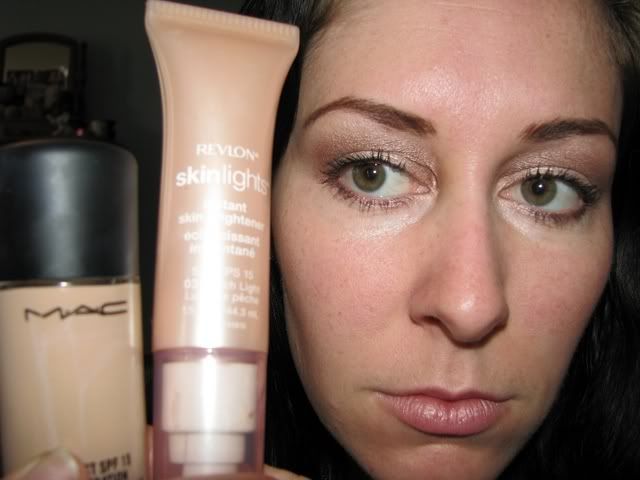
Mix in a 2:1 ratio of foundation to luminiser on the back of your hand
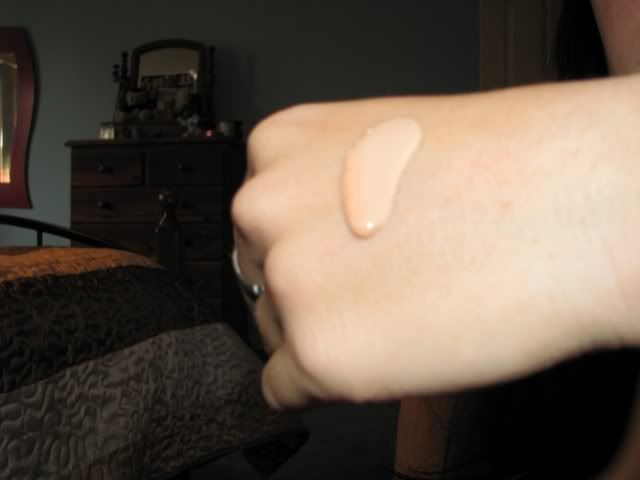
Apply to face with fingers or brush. Oh seems i have misplaced my foundation brush. Students choose which you feel more comfortable with
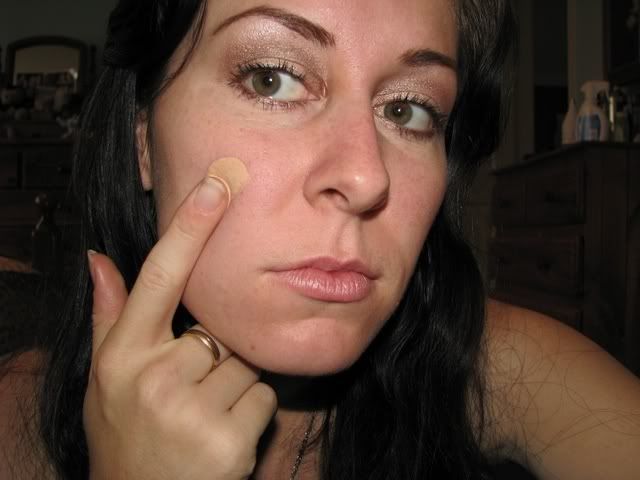
Blend until you see now streak, all imperfections are covered and you have a flawless base
Next, pick up some Ben Nye Coral blush with a big fluffy brush
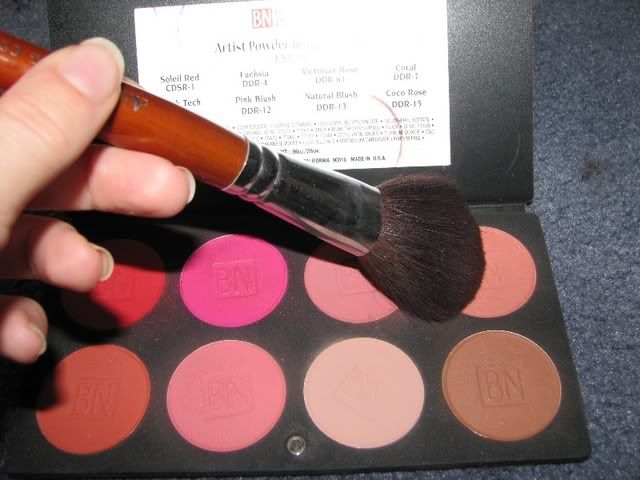
Apply to the apples of your cheeks in soft swirling motion. Well done!!
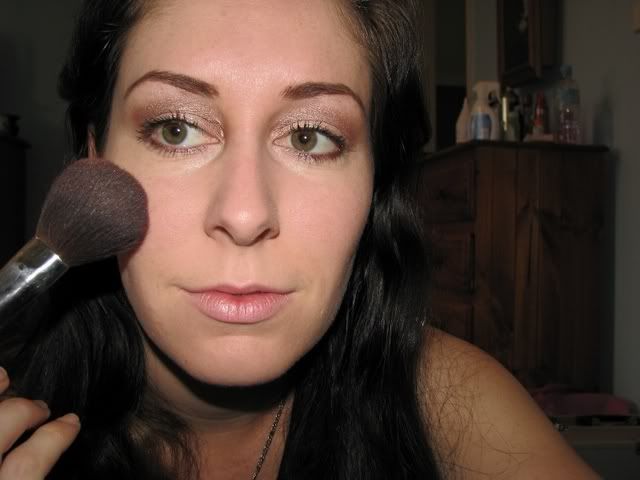
One cheek done
And the other - symmetrical and looking good!
Ahhh MSF Time - used to brighten up your face and highlight too
Pick up some MAC Shimpagne MSF
Apply to cheeks to give some depth and shimmer
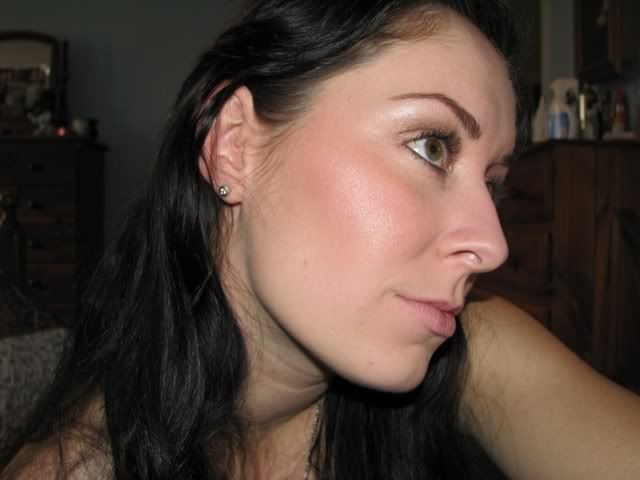
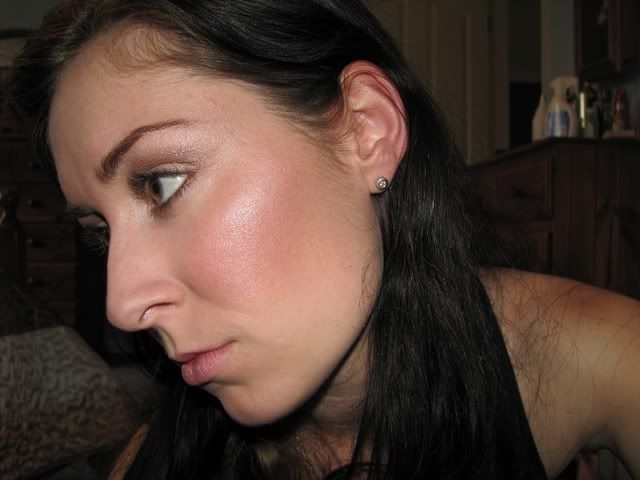
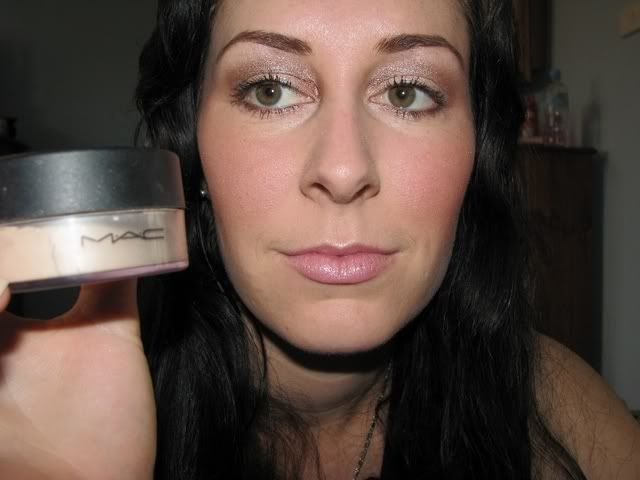
Next the most fantabulous highlighter known on earth, MAC Lightscapade MSF
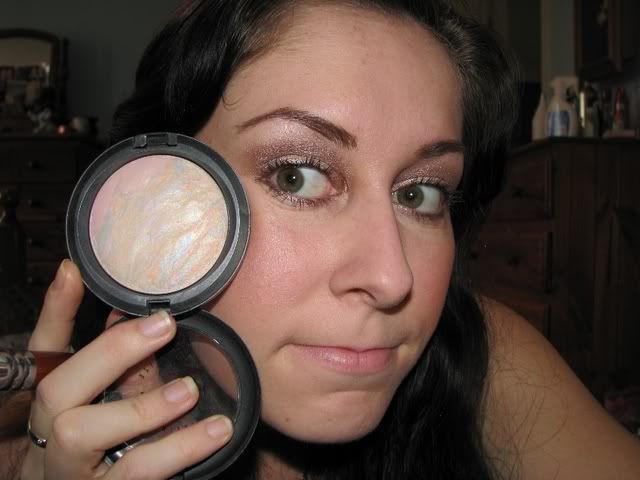
Apply with the same fluffy brush we used for the coral brush and Shimpagne. Apply on top of the cheekbones are around to your temples. This looks lovely when photographed side on. Gives a luminous look.
Lets get those lips ready!!! Were almost done class. Grab your Stila No.18
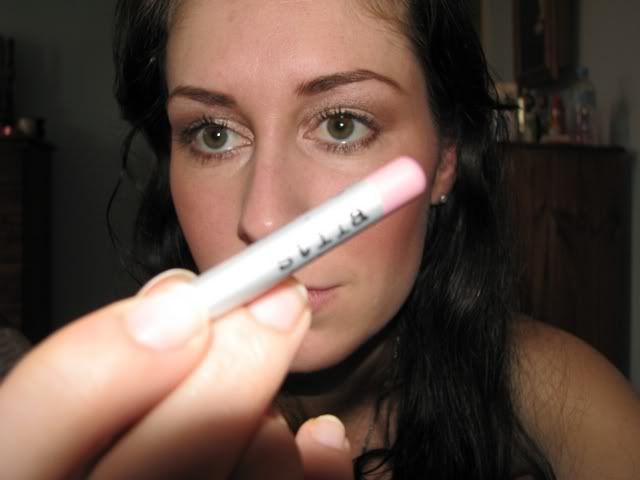
Line your lips and colour them in.
Ahh colour time, grab your Stila Lipglaze in Bouquet
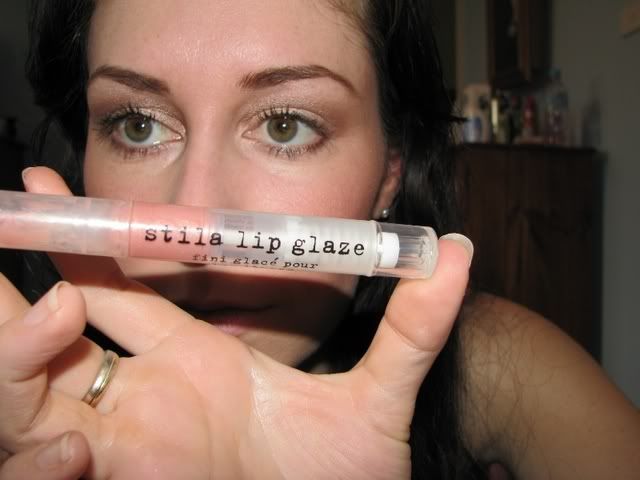
Apply to the lips. Theres no need for a brush as this one is on the lipglaze. Marvellous i hear you say!
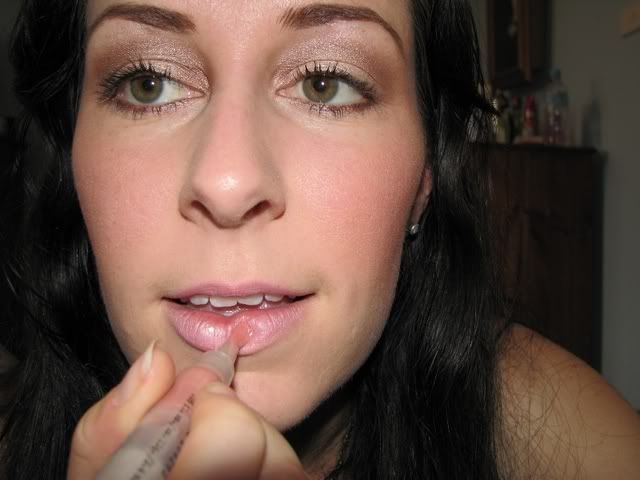
Lips all lined and glazed. Well done class!
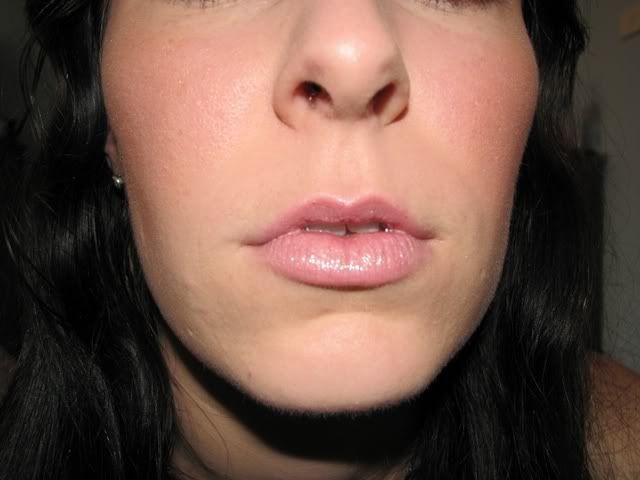
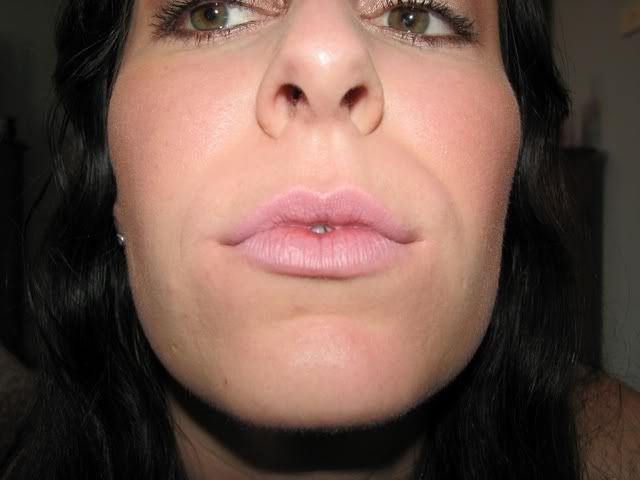
This next step is fantastic if you have quite a small top lip like i do. Grab some MAC Rose Blanc
Load a q-tip with rose blanc and apply it to your cupids bow.. ahhhh highlighting!

Should look like this. Its a subtle but lovely touch for those ppl with small top lips
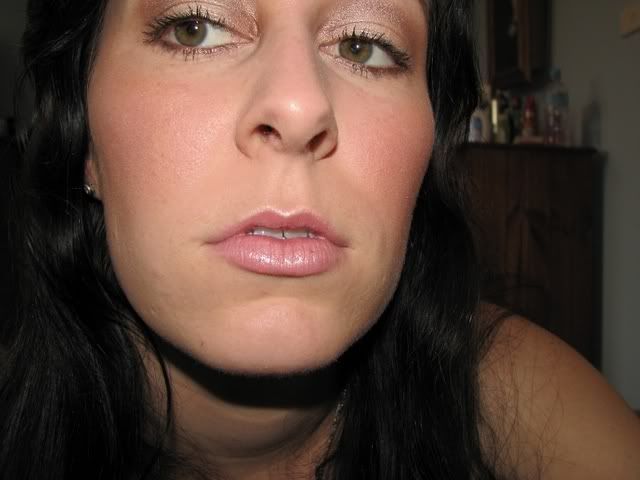
Blot time. apply MAC Blot powder Medium all over forehead, nose, chin and anywhere where we didnt put cheek colour. Buff in until all uniform. Were on the home stretch class
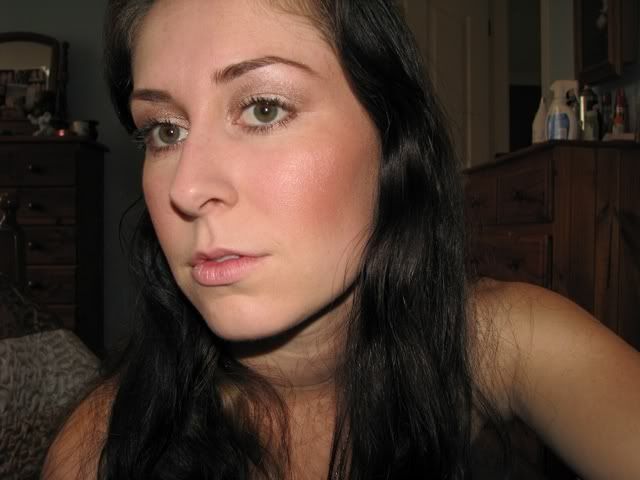
We should look like this now all blended, coloured and buffed
There we have it - a nude tutorial. Any students needing help dont be afraid to ask. im here to help
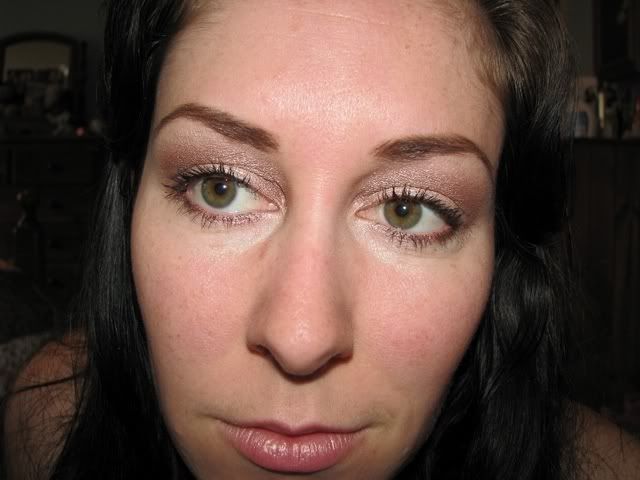
Finished product!
So here goes
Products used
FACE:
Napoleon Auto Pilot Primer
MAC Select SPF 15 NW20
Relvon Skinlights Light Peach
Ben Nye Blush Coral
MAC Shimpagne MSF
MAC Lightscapade MSF
MAC Blot Medium
EYES:
MAC Bare Canvas Paint
MAC Nylon (bottom left)
MAC Naked Lunch (diagonally to the right upwards from nylon)
MAC Dazzlelight (bottom row 2nd from right)
MAC Sable (diagonally to the right upwards from dazzlelight)
Maybelline Full n Soft
Benefit Browzings Medium
LIPS
Stila Lipliner no.18
Stila Lipglaze Bouquet
MAC Rose Blanc
These are the brushes i used
Fluffy face brush - blush, MSF's and blot powder
Slanted brush - benefit browzings
Various eyeshadow brushes for eyeshadows
Heres me all clean n moisturised
Now lets begin - Class is in session
Okay students! First we begin with a base as its imperative for eyeshadows to stick to for durability and longevity.
Put some Bare Canvas on your index finger like such. This is enough for one whole eyelid
Apply in a patting motion.
Should look something like this when done. Excellent!
Next load up an eyeshadow brush with lots of MAC Naked Lunch. Don't be afraid to be generous.
Apply to the middle of the eyelid.
Should look something like this. Well done students
Now load up that same brush with MAC Nylon again being very generous
Apply MAC Nylon over MAC Naked Lunch on both eyes. It should look something like this.
Now use a firmer, smaller eyeshadow brush and pick up some MAC Sable
Apply to the eyelid concentrating on the outer and inner third and above the crease where Nylon and Naked Lunch are. This doesn't have to be neat so don't be upset if you make a mistake. I promise we can fix it
Grab your MAC 224 and blend your little hearts out!
Should look something like this. Blended vs Unblended
I used my Smashbox No.3 brush and loaded it up with MAC Dazzlelight
Apply MAC Dazzlelight above the crease, under the brow bone and around the eyesocket to blend all the eyeshadows
Your eyes should look something like this after the blending. Keeping up students!
Side on view
Front view - hehe i looked drunk here
Carrying on, next take a smaller liner brush and pick up some sable again
Line the outer bottom lashline with some MAC Sable
Line the inner bottom lashline with some MAC Dazzlelight
Coming along nicely - i dont know why i dont smile. concentrating too much i guess. Should look like this
Next take your angled brush and dip it in some Benefit Browzings
Shape those eyebrows - i love doing eyebrows
This is one eyebrow done with Browzings
And now the other
THank the lord for these contraptions!!! my eyelashes are so damn straight so lets curl these babies sky high
Curl those lashes good - im using Maybelline Full n Soft. Usually i use Diorshow WP but im all out.
Heres a comparison of mascara-ed eye vs. unmascara-ed eye LOL
Tis a bigggg difference. Heres both eyes done..
eyes completed should look something like this
Well done class - now that our eyes are complete we can move onto our faces. First we apply a primer so our face has an even base to apply foundation onto. Were using Napoleon Auto Pilot Primer.
Apply a few dots all over your face. Not too much as we dont want our faces completely wet. Blend into your face with your fingers or a foundation brush.
Next get your MAC Select SPF 15 NW20 with Relvon Skinlights in Light Peach ready.
Mix in a 2:1 ratio of foundation to luminiser on the back of your hand
Apply to face with fingers or brush. Oh seems i have misplaced my foundation brush. Students choose which you feel more comfortable with
Blend until you see now streak, all imperfections are covered and you have a flawless base
Next, pick up some Ben Nye Coral blush with a big fluffy brush
Apply to the apples of your cheeks in soft swirling motion. Well done!!
One cheek done
And the other - symmetrical and looking good!
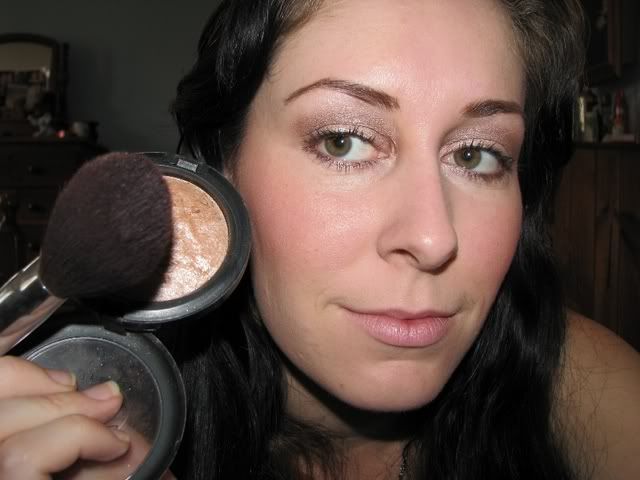
Ahhh MSF Time - used to brighten up your face and highlight too
Pick up some MAC Shimpagne MSF
Apply to cheeks to give some depth and shimmer
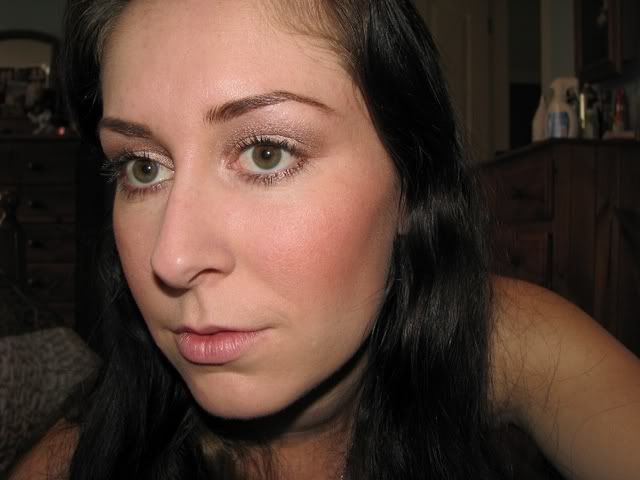
Next the most fantabulous highlighter known on earth, MAC Lightscapade MSF
Apply with the same fluffy brush we used for the coral brush and Shimpagne. Apply on top of the cheekbones are around to your temples. This looks lovely when photographed side on. Gives a luminous look.
Lets get those lips ready!!! Were almost done class. Grab your Stila No.18
Line your lips and colour them in.
Ahh colour time, grab your Stila Lipglaze in Bouquet
Apply to the lips. Theres no need for a brush as this one is on the lipglaze. Marvellous i hear you say!
Lips all lined and glazed. Well done class!
This next step is fantastic if you have quite a small top lip like i do. Grab some MAC Rose Blanc
Load a q-tip with rose blanc and apply it to your cupids bow.. ahhhh highlighting!
Should look like this. Its a subtle but lovely touch for those ppl with small top lips
Blot time. apply MAC Blot powder Medium all over forehead, nose, chin and anywhere where we didnt put cheek colour. Buff in until all uniform. Were on the home stretch class
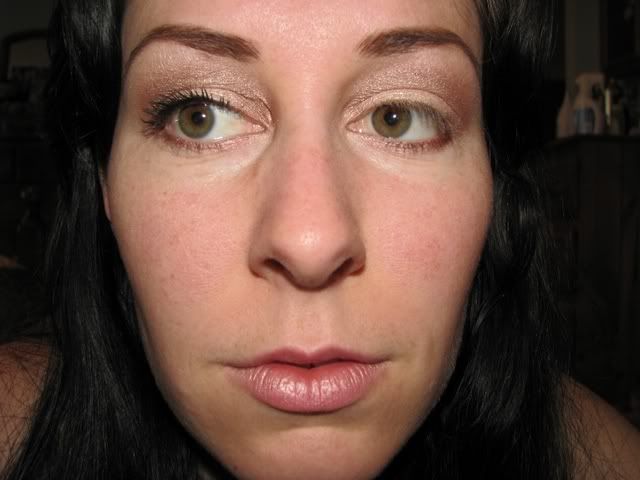
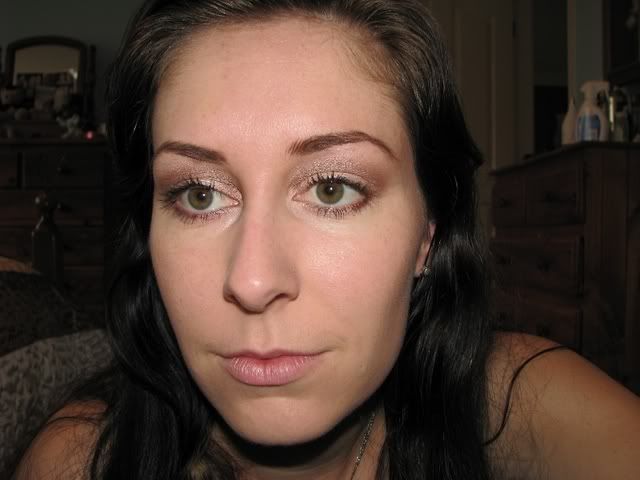
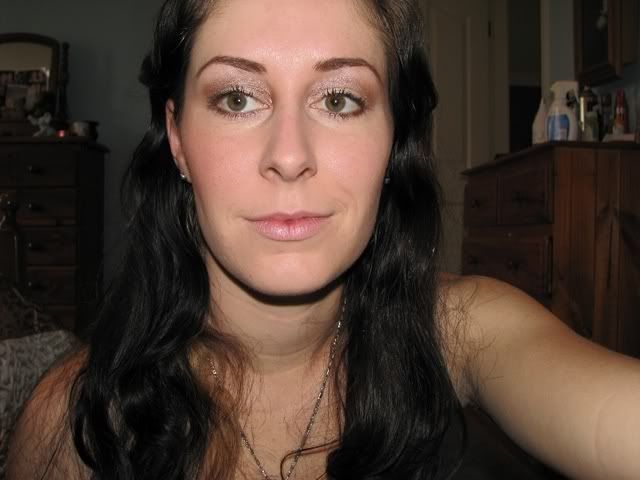
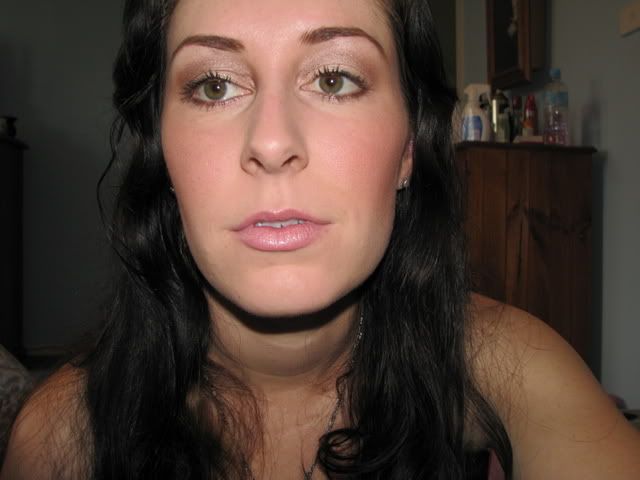
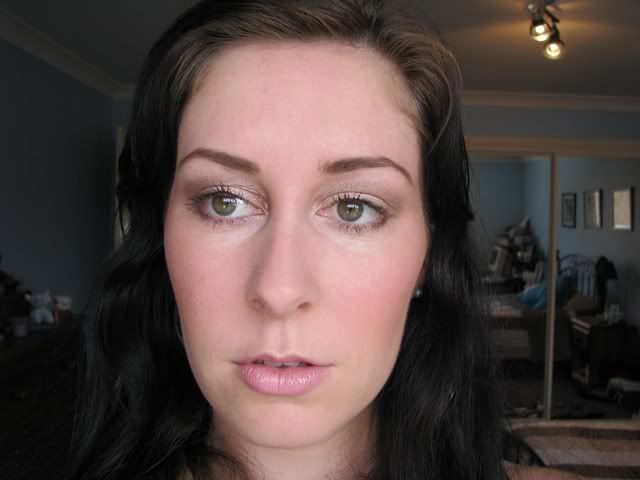
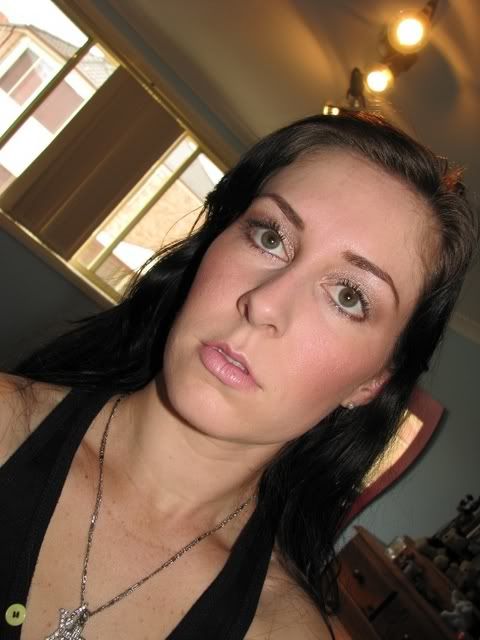
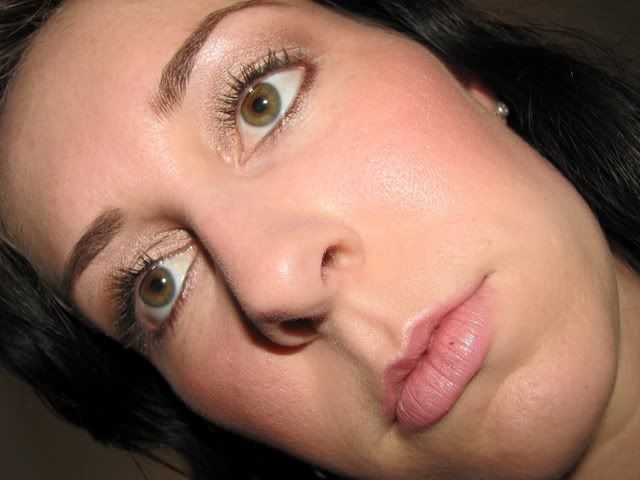
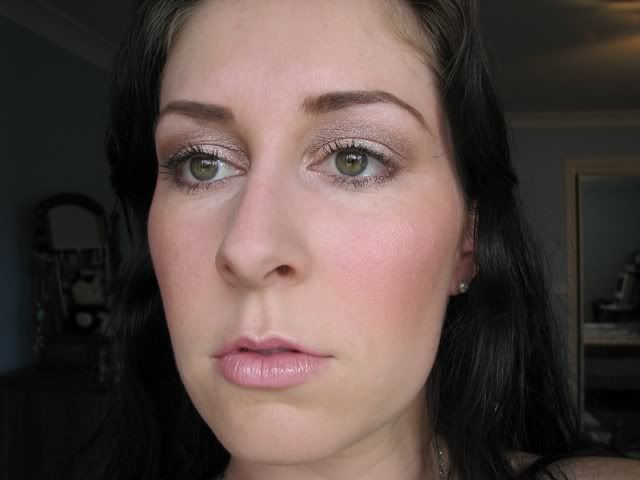
We should look like this now all blended, coloured and buffed
There we have it - a nude tutorial. Any students needing help dont be afraid to ask. im here to help
Finished product!

