eulchen
Well-known member
i was bored today so i thought "why dont give it a try"
its my first tutorial ever, so bare with me, and its for this look *here*
i know its not exactly a make-up one could wear every day
 but maybe if you are ever going to a carneval and need some funky make-up for a funky dress, maybe you can find some inspiration here

so, what do we need?
first, your basic moisturizer/foundation/powder combination. mine is:
Lush Cosmetic Lad or Ultralight
SFF liquid NC15
MSF natural light
and for the colour part:
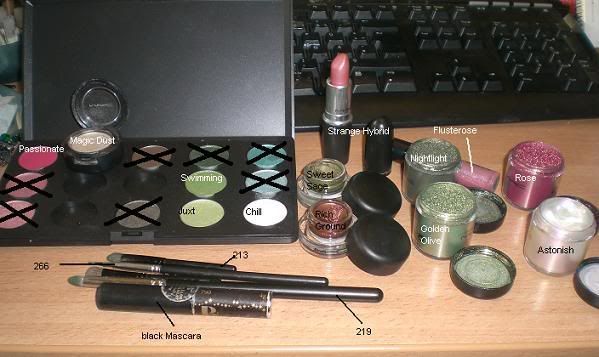
brushes:
187 (not pictured) for face stuff
219
266
213
for the eyes:
Bare Canvas Paint (not pictured)
In living Pink E/S
Passionate E/S
Juxt E/S
Swimming E/S
Magic Dust E/S
Rich Ground Fluidline
Sweet Sage Fluidline
B Never Bewitched Mascara
for the flowery part:
Astonisch All-Over-Gloss
Rose Pigment
Nightlight Pigment
Golden Olive Pigment
for the lips:
Strange Hybrid L/S
Flusterose Lustreglass
and here we go.
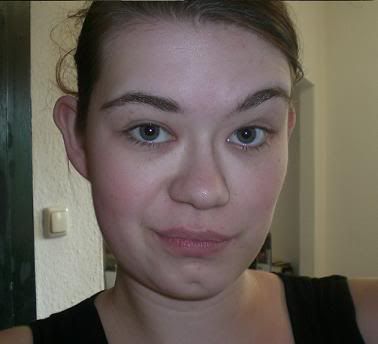
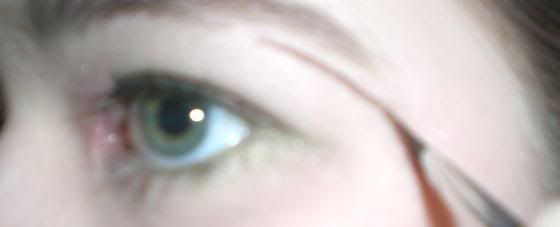
bare face. it looks even worse when flashed :| please ignore eyebrows and hair, theyre a mess today.
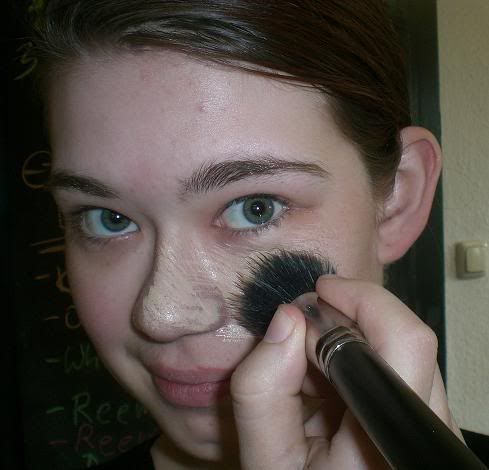
Step 1: do your usual foundation regime. moisturizer, primer, foundation, light powder
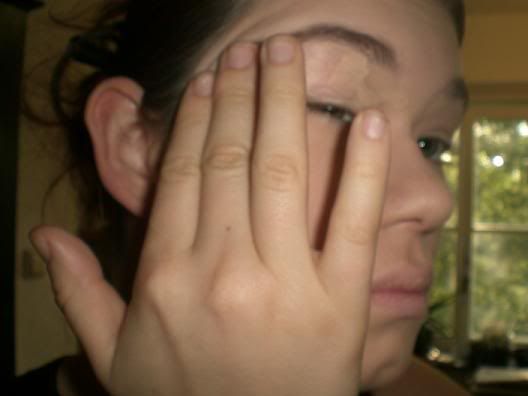
Step 2: prime everything were going to put colour on with an eyeshadow primer (i used Bare Canvas Paint)
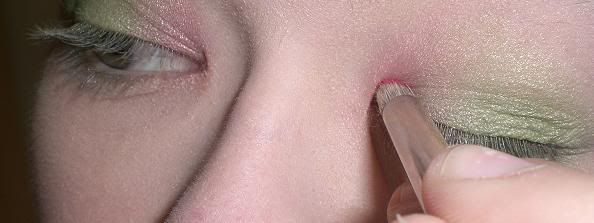
Step 3: starting at the inner V of the eye, apply some In living Pink E/S with the 213 brush.
Step 4: fill the rest of the lid and over the crease with lots and lots of Juxt E/S

Step 5: add some Swimming E/S on top of the Juxt on the lid.
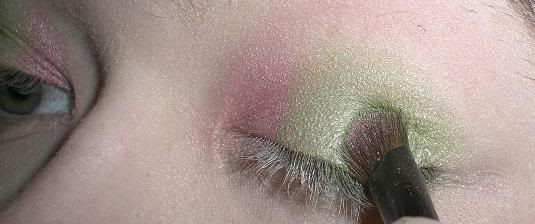
Step 6: BLEND!
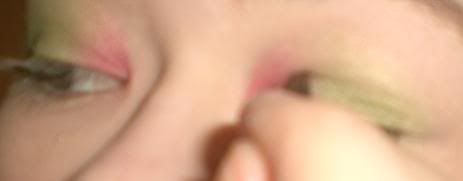
intermediate #1: now it should look like something along this:
Step 7: take some Passionate E/S with the 219 brush and apply lightly to inner Core of the eye
Step 8: BLEND!
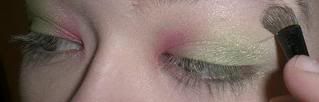
Step 9: Highlight brows with Magic Dust E/S
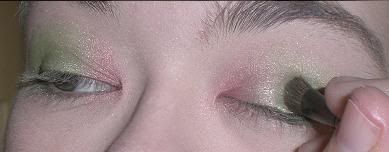
Step 10: Line your eyes with Rich Ground Fluidline and the 266 brush.
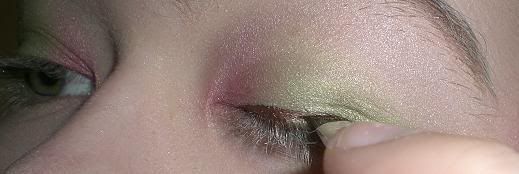
Step 11: to make the brown line look more "wooden", go over it with the brush 266 loaded with Sweet Sage
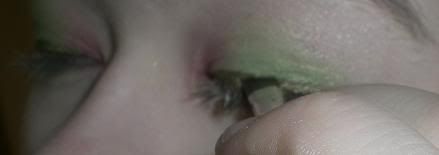
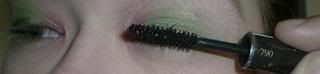
Step 12: MASCARA-TIME! please use your preferred choice of Mascara. lol
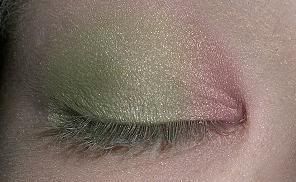
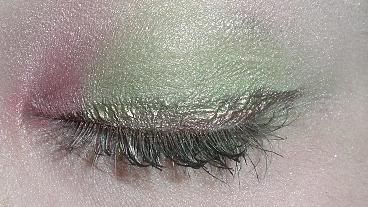
intermediate #2: thats what were having until now. side-note: one of my usual daily make-up routines ist juxt, swimming on the lid and in living pink in crease and slightly above. other side-note, we could make it more dramatic by using humid for example in the outer v, but i guess whats coming now is attention-whoring enough already.
lets go on with the show.
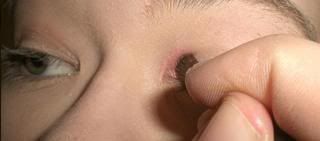
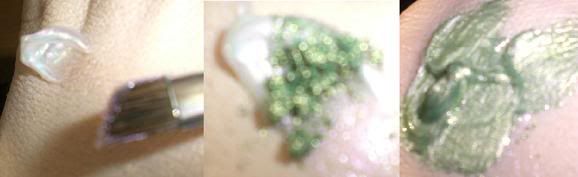
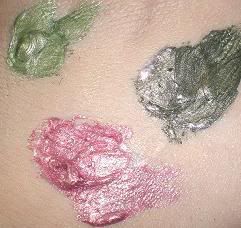
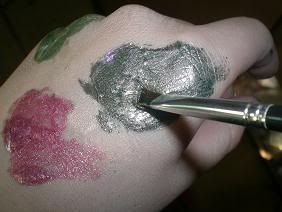
Step 13: mixing the painting colours. first take some astonish gloss, put it on the back of your hand. then take some pigment and add it to the gloss. swirl. ready. do so with all colours you need.
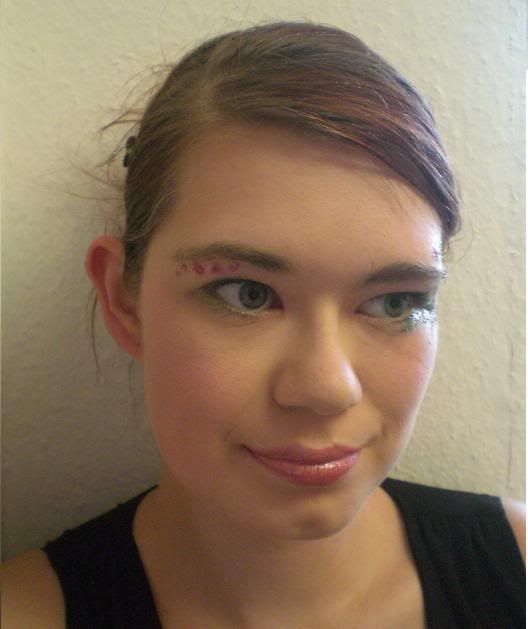
Step 14: load the 266 (or other pointy brush, i guess something really pointy like the 209 would be really helpful, but i dont have any of these, thats why i take the pointy side of the 266) with rose colour and draw little flowers under the brows on one of your eyes. i did 5, the outer ones really small, getting bigger in the middle.
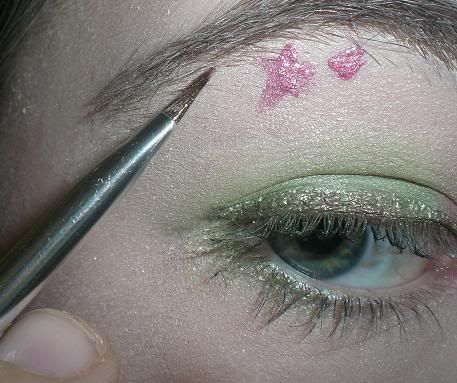
side-note: how to do a flower? practise. this is how i do it: first a bigger line, then 4 smaller lines, or dots around it so it looks like a flower.
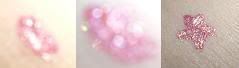
Step 15: load the 219 with Passionate and put slightly on the flowers, not everywhere, just so it gives a more 3-dimensional sight.
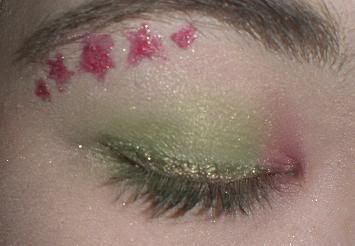
finished eye #1!!
now you could stop here, as this is already kinda special and definately draws attention! but we want something bigger!
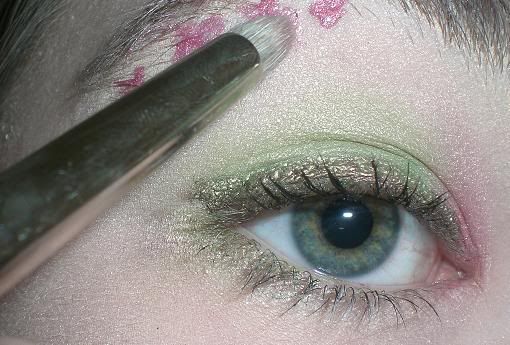
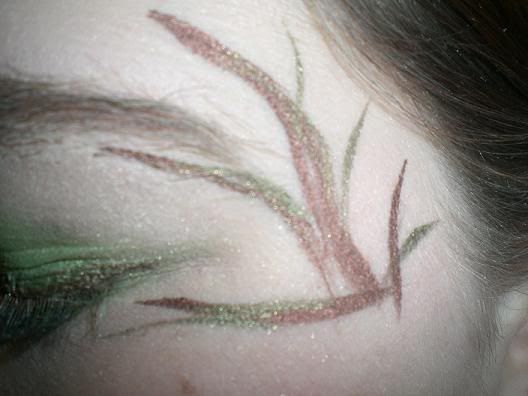
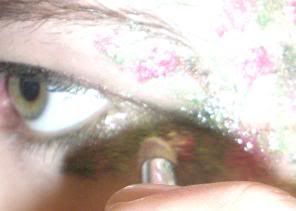
Step 16: draw lines with the 266 and rich ground fluidline where you want your "sticks" to be.
Step 17: go over it with the sweet sage again to add this more "natural" look. (the picture for this step was REALLY blurry, so imagine the previous picture, just with sweet sage, ok?)
intermediate #3: heres the base for the artwork.
i didnt quite like this so i took it off and made a new one.
Step 18: now, load the 266 with the darker green colour (nightligh in my example) and draw little leaves with it. keep some space for lighter leaves and the flowers!
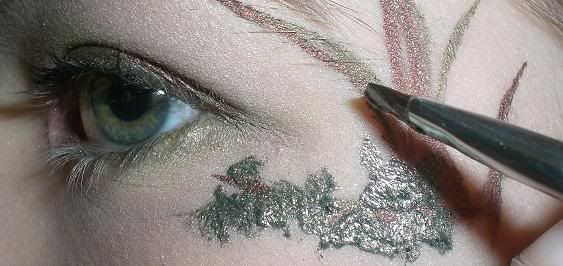
Step 19: take the lighter green colour (Golden Olive) and go over the whole thing, adding some 3-dimensionality!
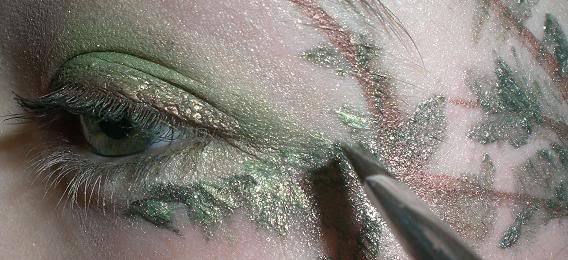
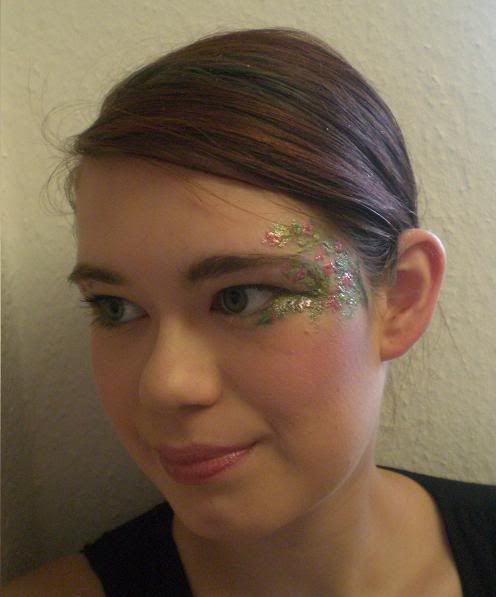
intermediate #4: looks like this now!
Step 20: take the rose again and draw little flowers in between the green.
Step 21: load the 219 with Passionate and add to the flowers. clean the brush, load it with Chill and add this also to the flowers.
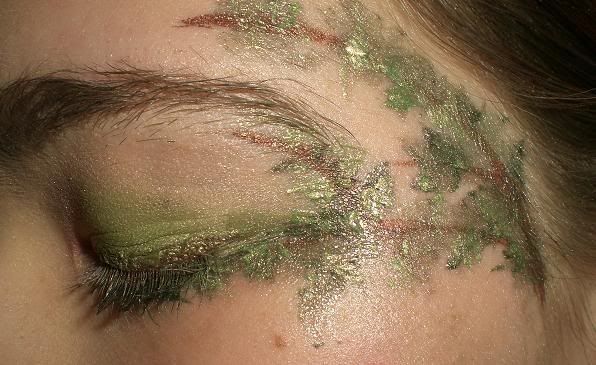
intermediate #5: another one! yay! so here we are now!
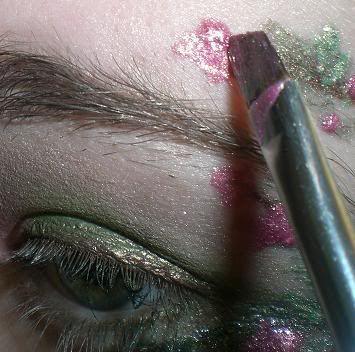
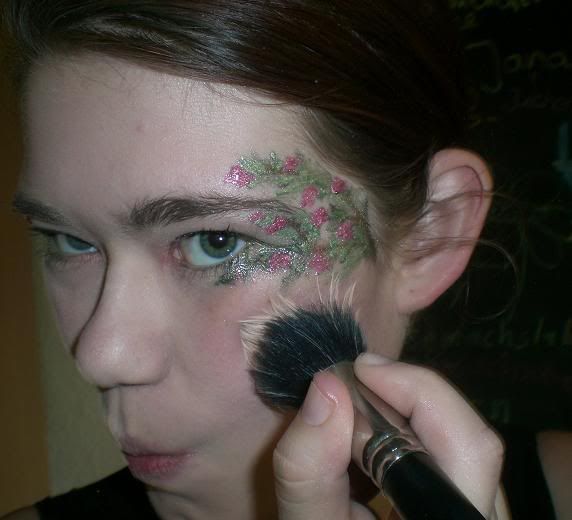
Step 22: take a nice blusher (as i dont really have one i took the Rose Pigment) and carefully apply with the 187.
Step 23: the lips! were almost done! apply strange hybrid to your lips. (now, thats not very difficult, isnt it?)
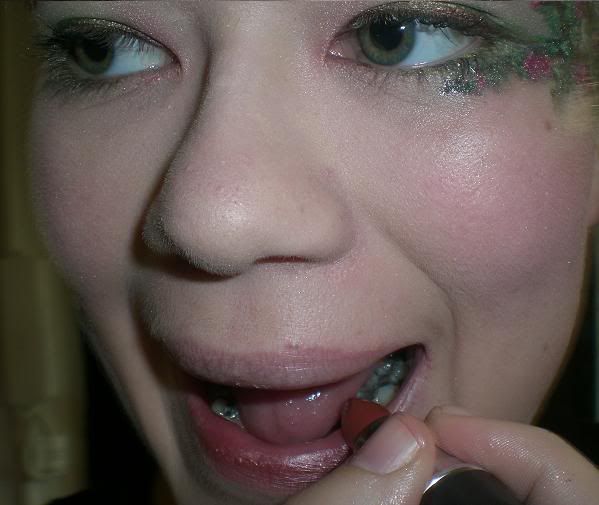
Step 24: and finish off with somer flusterose lustreglass!
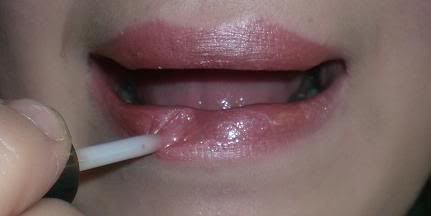
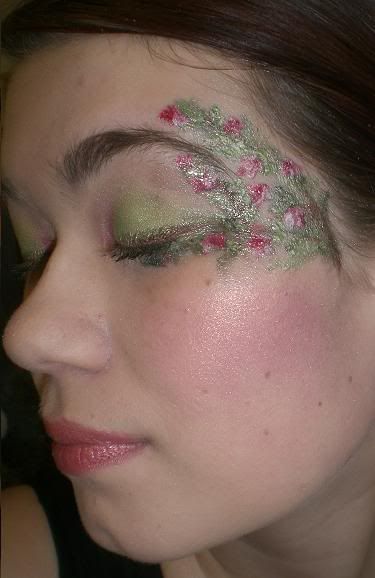
That´s it! We´re done! Hooray! And here´s the finished product!
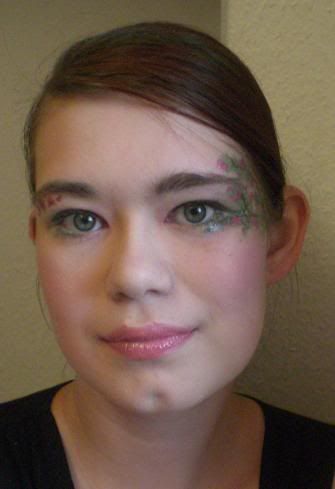
hope you had fun! show me yours if you ever do such a make-up!


its my first tutorial ever, so bare with me, and its for this look *here*
i know its not exactly a make-up one could wear every day
so, what do we need?
first, your basic moisturizer/foundation/powder combination. mine is:
Lush Cosmetic Lad or Ultralight
SFF liquid NC15
MSF natural light
and for the colour part:
brushes:
187 (not pictured) for face stuff
219
266
213
for the eyes:
Bare Canvas Paint (not pictured)
In living Pink E/S
Passionate E/S
Juxt E/S
Swimming E/S
Magic Dust E/S
Rich Ground Fluidline
Sweet Sage Fluidline
B Never Bewitched Mascara
for the flowery part:
Astonisch All-Over-Gloss
Rose Pigment
Nightlight Pigment
Golden Olive Pigment
for the lips:
Strange Hybrid L/S
Flusterose Lustreglass
and here we go.
bare face. it looks even worse when flashed :| please ignore eyebrows and hair, theyre a mess today.
Step 1: do your usual foundation regime. moisturizer, primer, foundation, light powder
Step 2: prime everything were going to put colour on with an eyeshadow primer (i used Bare Canvas Paint)
Step 3: starting at the inner V of the eye, apply some In living Pink E/S with the 213 brush.
Step 4: fill the rest of the lid and over the crease with lots and lots of Juxt E/S
Step 5: add some Swimming E/S on top of the Juxt on the lid.
Step 6: BLEND!
intermediate #1: now it should look like something along this:
Step 7: take some Passionate E/S with the 219 brush and apply lightly to inner Core of the eye
Step 8: BLEND!
Step 9: Highlight brows with Magic Dust E/S
Step 10: Line your eyes with Rich Ground Fluidline and the 266 brush.
Step 11: to make the brown line look more "wooden", go over it with the brush 266 loaded with Sweet Sage
Step 12: MASCARA-TIME! please use your preferred choice of Mascara. lol
intermediate #2: thats what were having until now. side-note: one of my usual daily make-up routines ist juxt, swimming on the lid and in living pink in crease and slightly above. other side-note, we could make it more dramatic by using humid for example in the outer v, but i guess whats coming now is attention-whoring enough already.
lets go on with the show.
Step 13: mixing the painting colours. first take some astonish gloss, put it on the back of your hand. then take some pigment and add it to the gloss. swirl. ready. do so with all colours you need.
Step 14: load the 266 (or other pointy brush, i guess something really pointy like the 209 would be really helpful, but i dont have any of these, thats why i take the pointy side of the 266) with rose colour and draw little flowers under the brows on one of your eyes. i did 5, the outer ones really small, getting bigger in the middle.
side-note: how to do a flower? practise. this is how i do it: first a bigger line, then 4 smaller lines, or dots around it so it looks like a flower.
Step 15: load the 219 with Passionate and put slightly on the flowers, not everywhere, just so it gives a more 3-dimensional sight.
finished eye #1!!
now you could stop here, as this is already kinda special and definately draws attention! but we want something bigger!
Step 16: draw lines with the 266 and rich ground fluidline where you want your "sticks" to be.
Step 17: go over it with the sweet sage again to add this more "natural" look. (the picture for this step was REALLY blurry, so imagine the previous picture, just with sweet sage, ok?)
intermediate #3: heres the base for the artwork.
i didnt quite like this so i took it off and made a new one.
Step 18: now, load the 266 with the darker green colour (nightligh in my example) and draw little leaves with it. keep some space for lighter leaves and the flowers!
Step 19: take the lighter green colour (Golden Olive) and go over the whole thing, adding some 3-dimensionality!
intermediate #4: looks like this now!
Step 20: take the rose again and draw little flowers in between the green.
Step 21: load the 219 with Passionate and add to the flowers. clean the brush, load it with Chill and add this also to the flowers.
intermediate #5: another one! yay! so here we are now!
Step 22: take a nice blusher (as i dont really have one i took the Rose Pigment) and carefully apply with the 187.
Step 23: the lips! were almost done! apply strange hybrid to your lips. (now, thats not very difficult, isnt it?)
Step 24: and finish off with somer flusterose lustreglass!
That´s it! We´re done! Hooray! And here´s the finished product!
hope you had fun! show me yours if you ever do such a make-up!


