knoxydoll
Well-known member
Hey everyone, this is what you get when I'm bored, sick and home on a friday night.
Hope you enjoy this, and I hope there isn't too many photos and such.
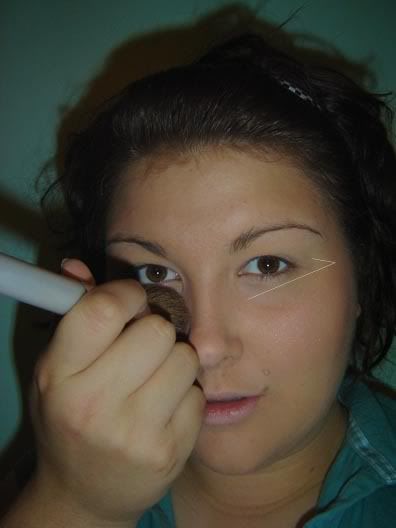
I hope you guys understand my arrows...
I'm in Architecture so that's how I learned to draw them.
The line that creates a 'v' is for direction purpose.
Please don't draw a line up, you'll just and up looking silly.
Here's what you need (variants allowed lol):

Brushes :
Mary Kay (MK) e/s brush
MK Blush brush
E.L.F. Eyelash/Brow wand
E.L.F. Defining eye brush
10/0 American Painter (AM) brush
Physician Formula (PF) e/s brush (it came in a random compact,
I didn't even know it was there till a few days ago)
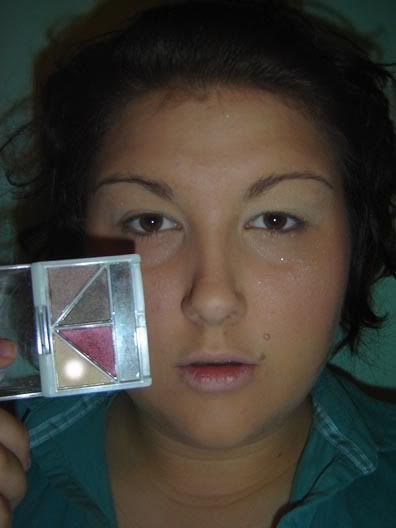
Products :
MAC p/b in Springsheen
MAC MSF in Shimpagne
MAC e/s in Sketch
MAC pigment in Provence
MAC SSF in NW20
UD SSMM in Dream
ELF Brightening eyecolor in Luxe
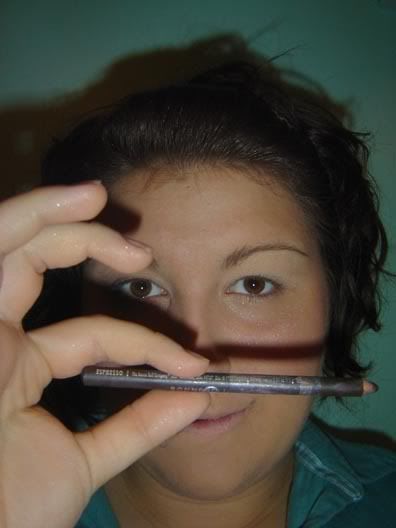
Bonnebelle Eye definer in Espresso; Black Denim
Annabelle e/s in 218 (Not pictured)
Inglot e/s in 944; 980
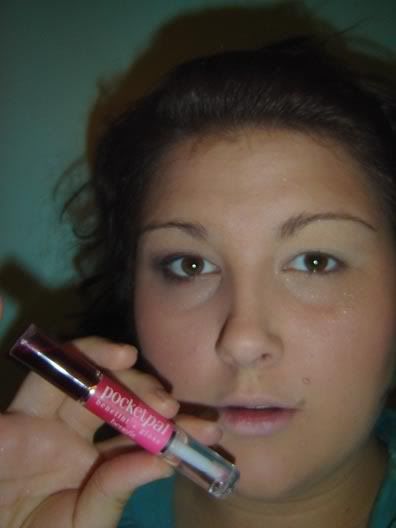
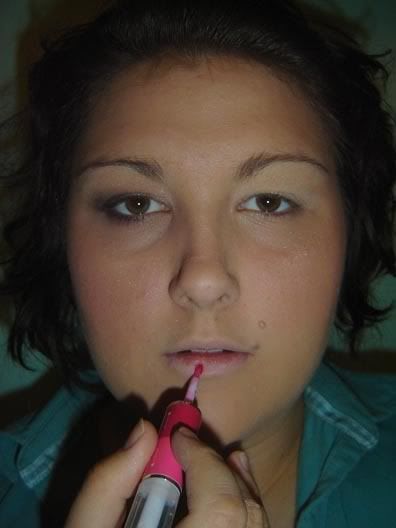
Benifit Benitint Pocket Pal
-----------------------------------------------------------------
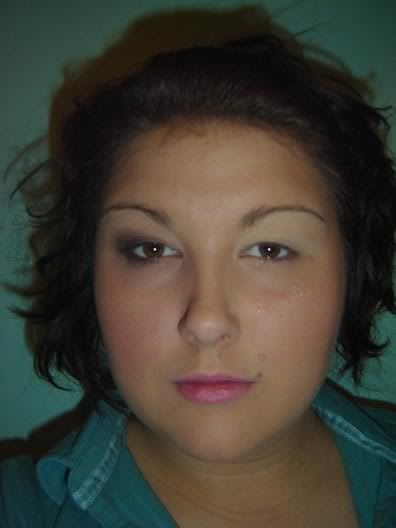
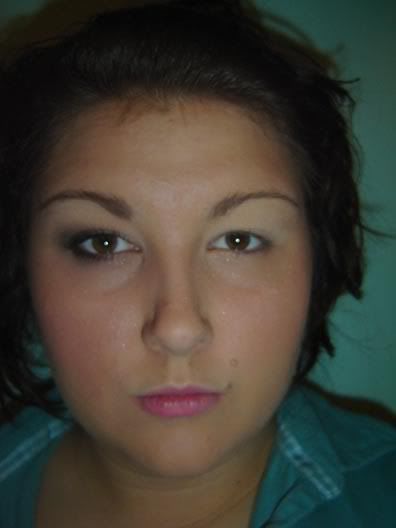
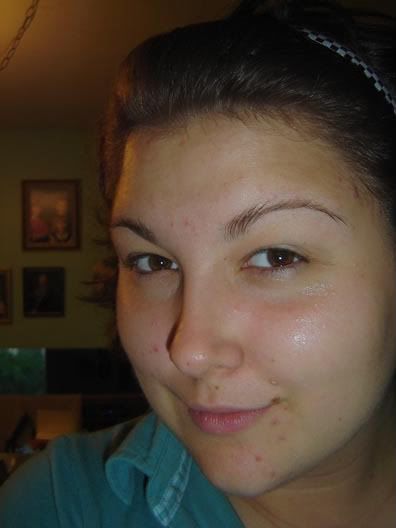
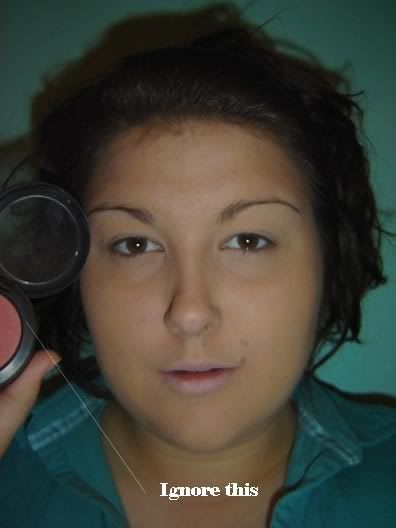
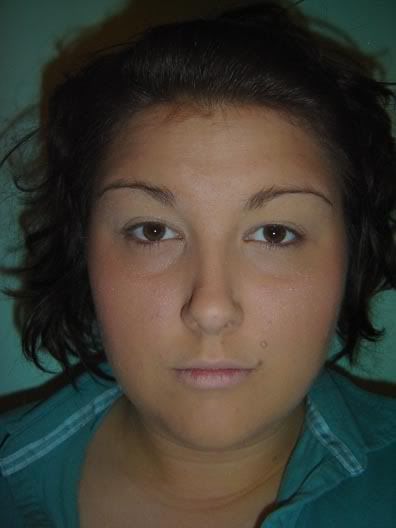
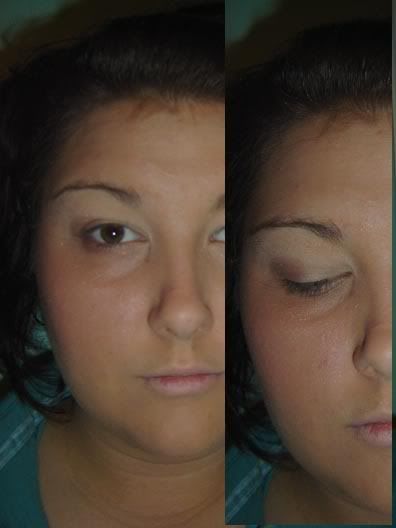
STEP 1 : FACE
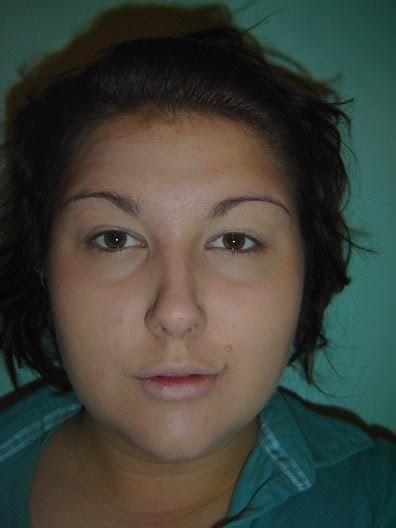
Clean your face and moisturize. I use Aloe Vera Gel, if going outside use sunscreen.
Take your foundation, in my case SSF in NW20
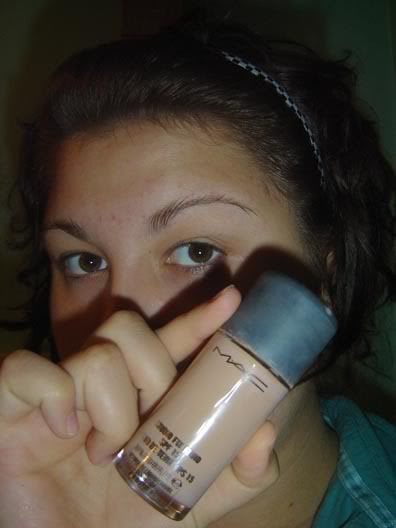
Put in on your trouble spots to even out skin tone.
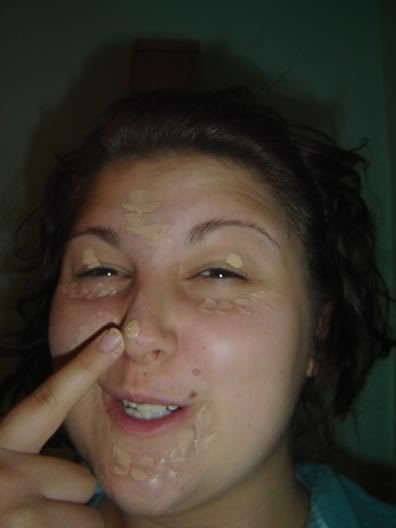
Blend with your choice of clean finger, sponge, or brush.
I personally just use my finger when it's not for something formal.
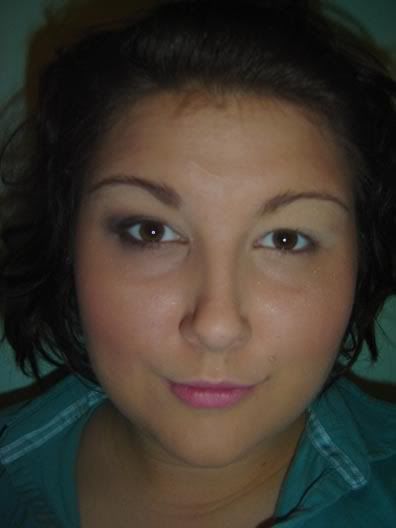
Tada. Even Skin.
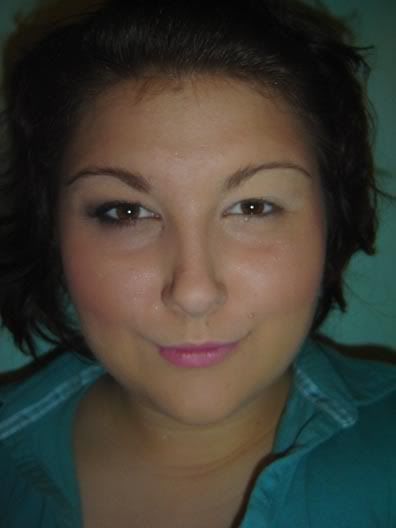
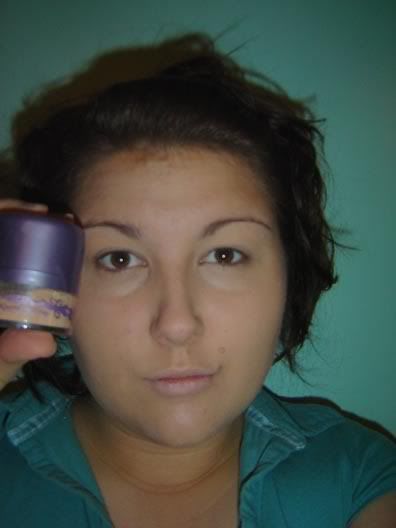
Use UD SSMM to buff the skin.
I use this in the summer to look a little healthier and tanned.
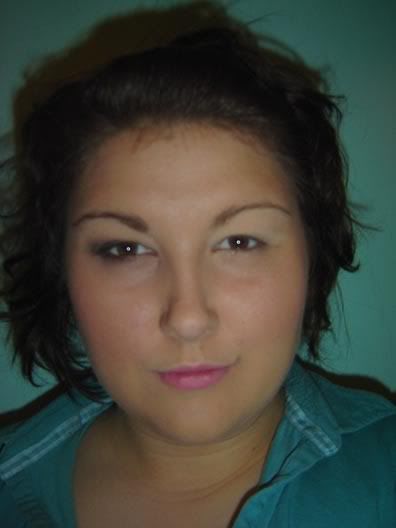
You can skip this if you want.
I always do my face first including cheeks, I don't know why.
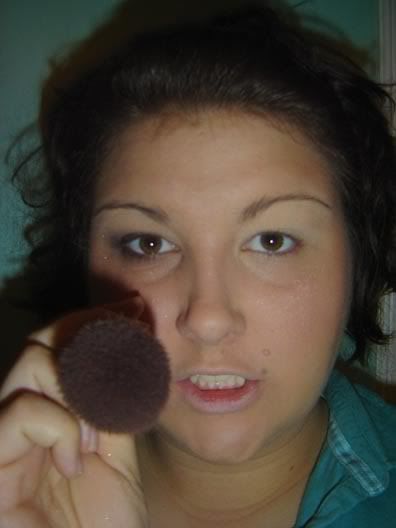
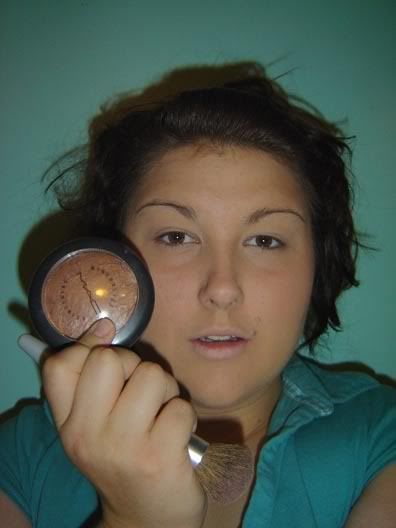
So take your blush, Springsheen for me, and your brush,
my MK blush brush.
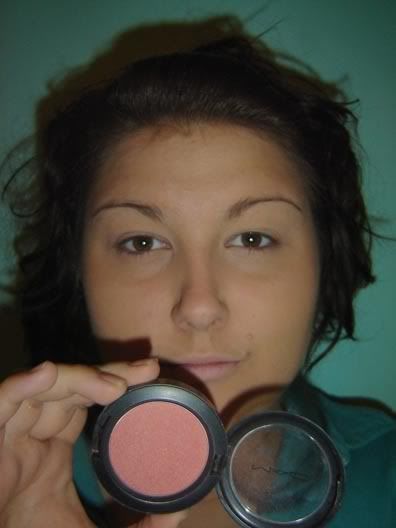
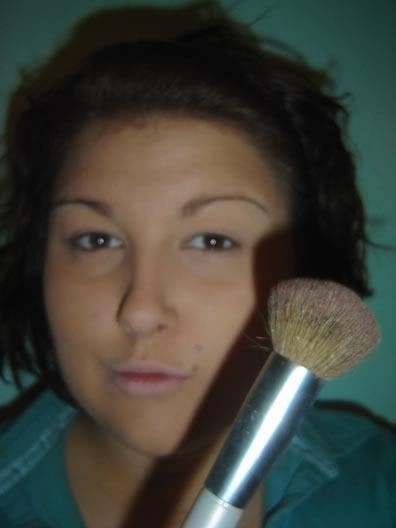
Tap the pan once with the brush.
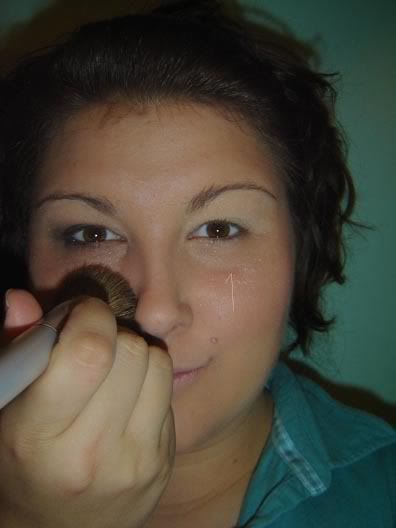
Put the brush just under your temple and drag downwards towards
your nose, end at the apples of your cheeks.
Buff it into you skin by moving the brush in circles.
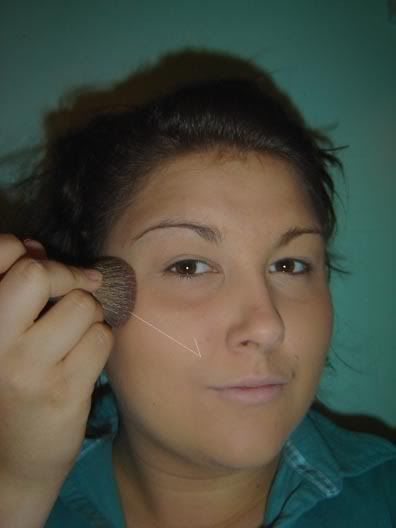
Do this on the other side of you face, duh.
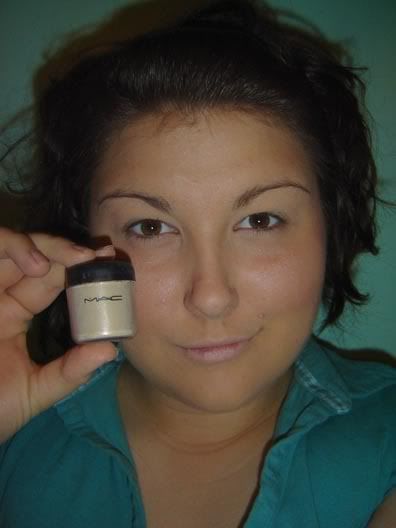
Next take your highlighter, Shimpagne.
Tap your brush (same as before) once in the pan.
Start on the top of your apples, right under your eye,
and bring it up to your temple.
Buff again (it's my secret to awesome cheeks lol)
Add a little highlight to your nose and brows.
Your now done with your face.
-----------------------------------------------------------------
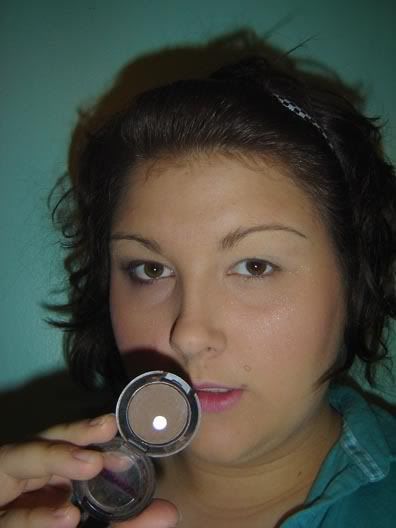
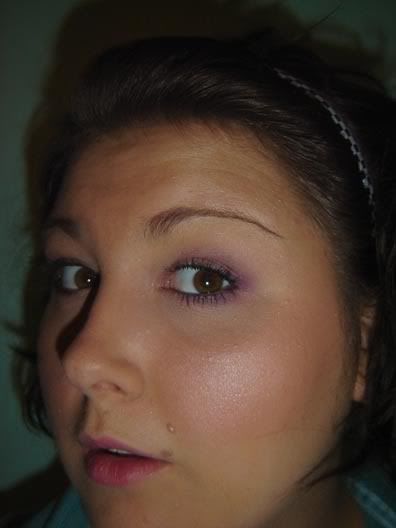
Step 2 : EYES -- Highlight.
You can use a base if you want like UD PP or MAC prep and prime (allergic).
I only use them if I'm going out at night or on formal occasions.
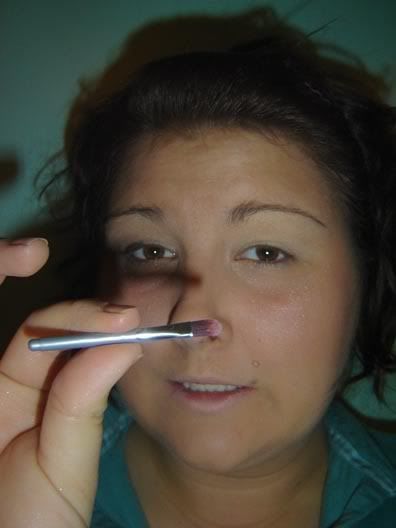
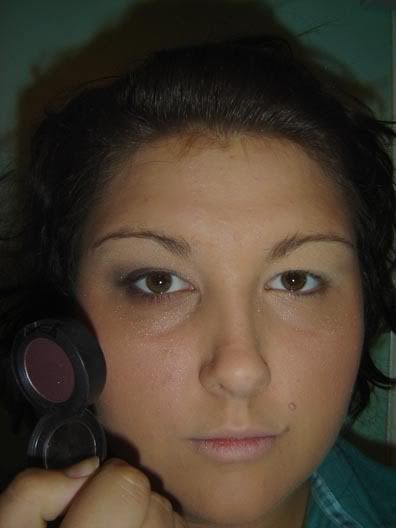
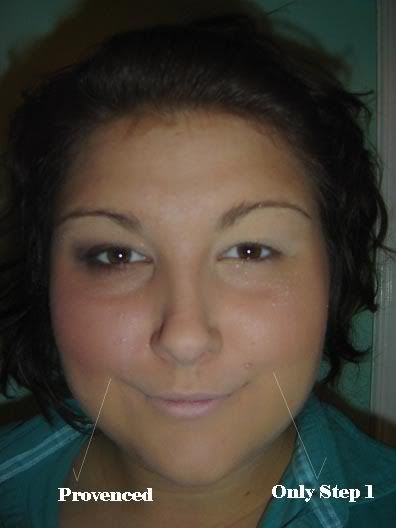
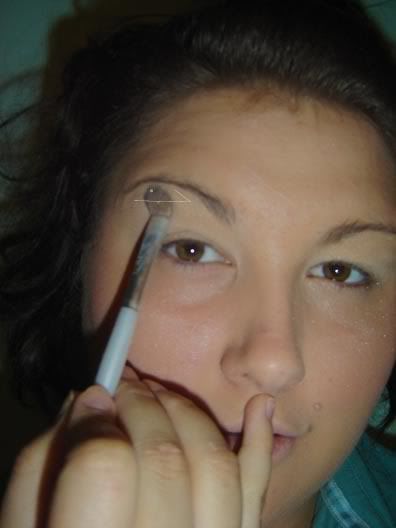
Take your lightest shadow, I always use Provence pigment.
I adore this.
Place a wash all over your eyes from lash line to brows, and underneath the eye too.
I use my MK e/s brush for this.
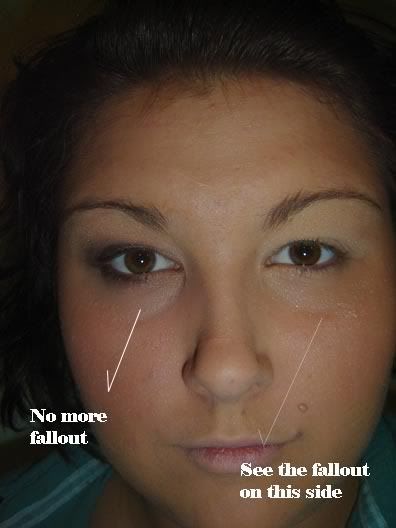
Don't worry about fallout yet, it's bound to happen.
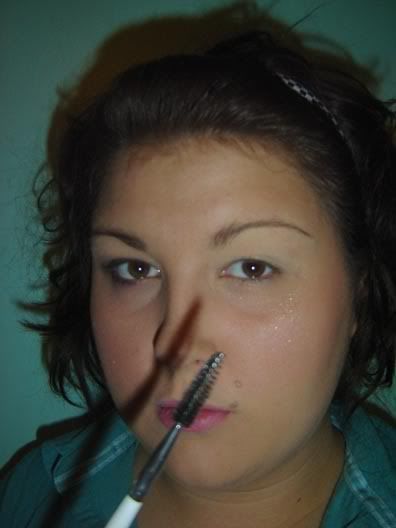
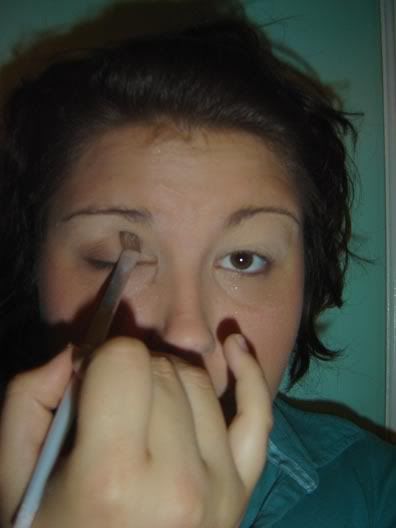
Now take your highlight powder, I use ELF's EBC in Luxe (the lightest colour).
It's a cream colour.
Use the same brush as before and place your highlight under your brow.
Use the same colour and brush and place the colour on the very inner corner of your eye.
Drag and blend it towards the centre.
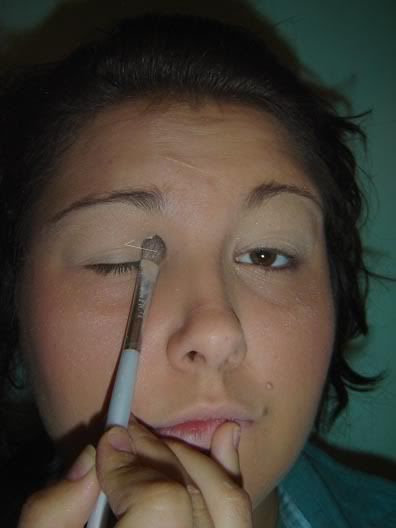
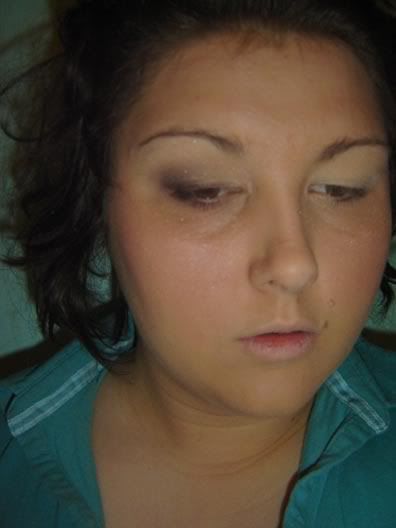
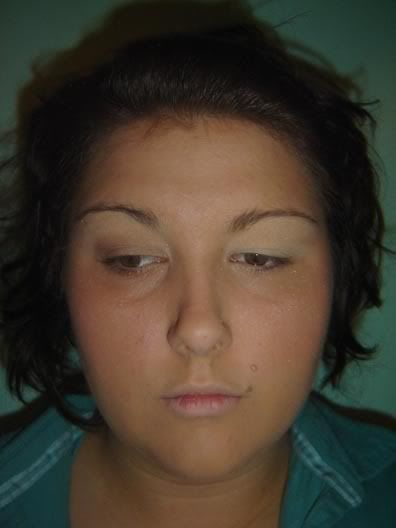
You're done highlighting.
You could stop here and head straight to step 5, or continue onto step 3.
-----------------------------------------------------------------
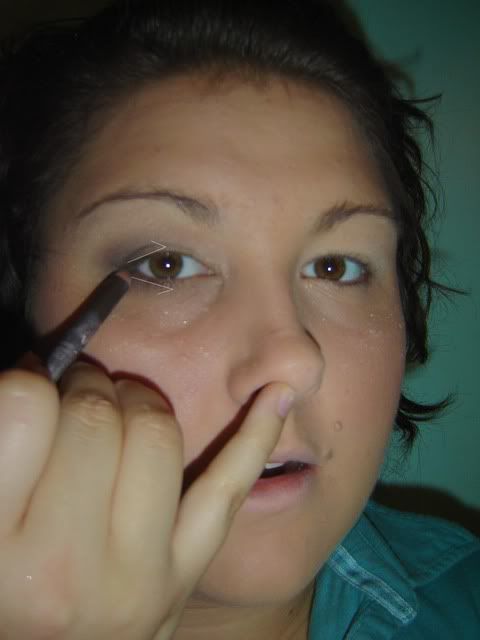
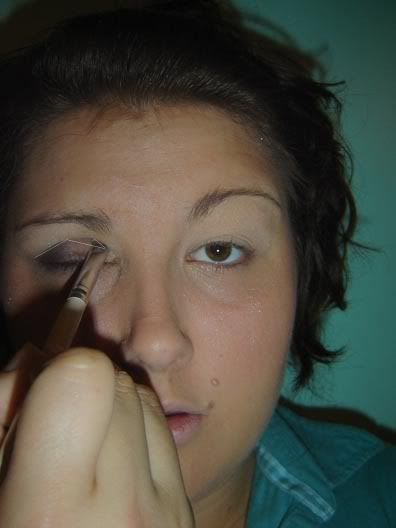
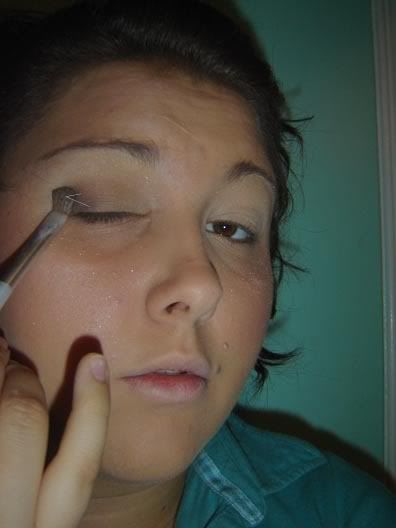
Take your e/s brush and dip it in your medium brown/neutral colour.
I use Inglot 944, it's brown with gold flecks.
Place colour on the most outer corner of your eye.
Blend in towards the middle.
You may have to do this a few times.
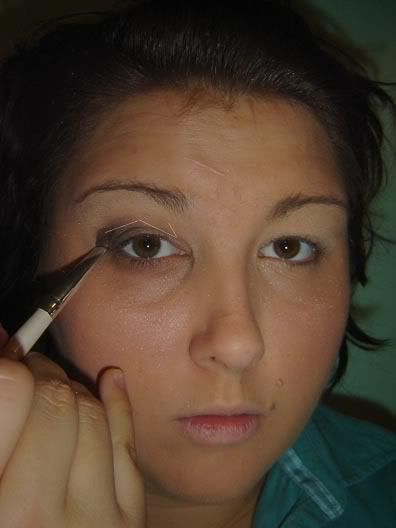
Apply the colour slightly above the crease.
Get the shape and shade you want by blending (little circles) and adding more layers of shadow.
Once you're happy with the shape take your darkest shade, Inglot 980 (black) in my case.
Using you e/s brush again, place the colour in the vary bottom of your outer v.
Try to blend it out and up.
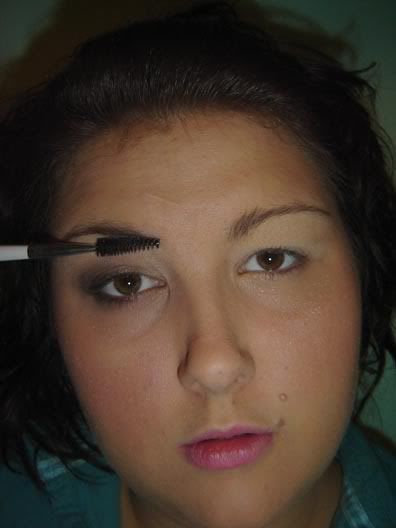
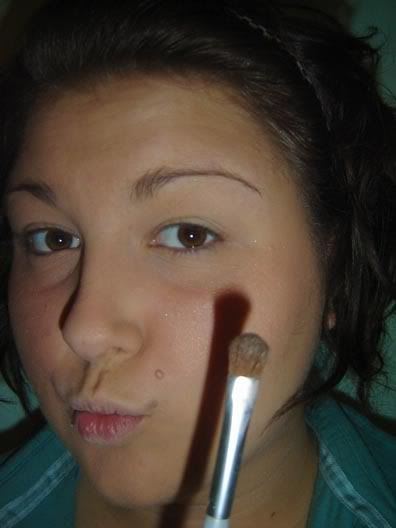
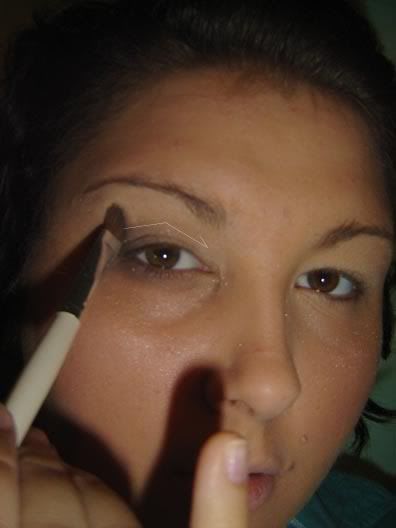
Now use your ELF eye defining brush with some brown.
Place it in the outermost part of your crease.
Drag through your crease quickly.
Using the same brush pick up a very small amount of black shadow. Blend it in your crease starting from the outer corner again.
Go back and forth over it several times to blend
(don't pick up any new shadow).
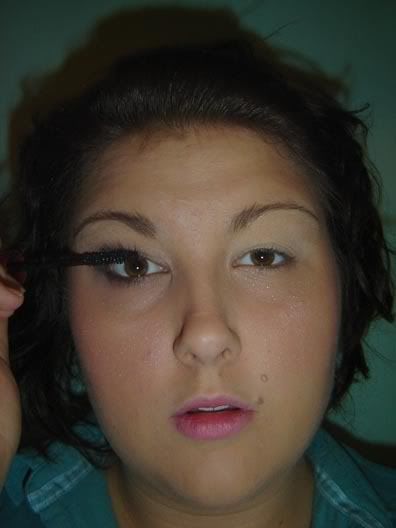
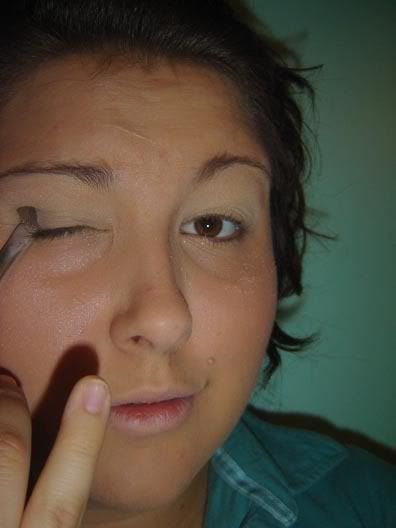
Take the same brush and some brown or black shadow and swipe it along your lower lash line.
Use the darker shadow for a little more drama.
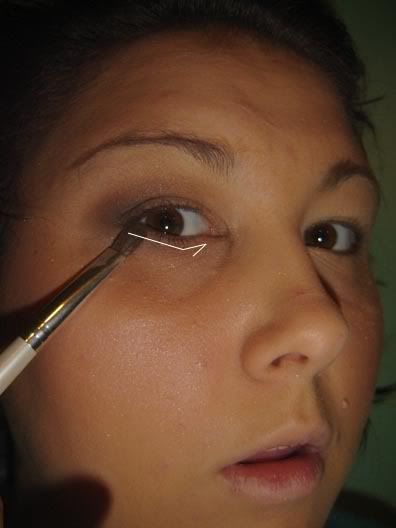
Take either brush, I use the defining brush again.
Pick up some more Provence and blend it into the top of your crease.
Blending makes it look more natural as there will be no harsh line from where colour starts and stop.
You can end now by going to step 5, or for extra drama and glamour continue on.
Hope you enjoy this, and I hope there isn't too many photos and such.
I hope you guys understand my arrows...
I'm in Architecture so that's how I learned to draw them.
The line that creates a 'v' is for direction purpose.
Please don't draw a line up, you'll just and up looking silly.
Here's what you need (variants allowed lol):

Brushes :
Mary Kay (MK) e/s brush
MK Blush brush
E.L.F. Eyelash/Brow wand
E.L.F. Defining eye brush
10/0 American Painter (AM) brush
Physician Formula (PF) e/s brush (it came in a random compact,
I didn't even know it was there till a few days ago)
Products :
MAC p/b in Springsheen
MAC MSF in Shimpagne
MAC e/s in Sketch
MAC pigment in Provence
MAC SSF in NW20
UD SSMM in Dream
ELF Brightening eyecolor in Luxe
Bonnebelle Eye definer in Espresso; Black Denim
Annabelle e/s in 218 (Not pictured)
Inglot e/s in 944; 980
Benifit Benitint Pocket Pal
-----------------------------------------------------------------
STEP 1 : FACE
Clean your face and moisturize. I use Aloe Vera Gel, if going outside use sunscreen.
Take your foundation, in my case SSF in NW20
Put in on your trouble spots to even out skin tone.
Blend with your choice of clean finger, sponge, or brush.
I personally just use my finger when it's not for something formal.
Tada. Even Skin.
Use UD SSMM to buff the skin.
I use this in the summer to look a little healthier and tanned.
You can skip this if you want.
I always do my face first including cheeks, I don't know why.
So take your blush, Springsheen for me, and your brush,
my MK blush brush.
Tap the pan once with the brush.
Put the brush just under your temple and drag downwards towards
your nose, end at the apples of your cheeks.
Buff it into you skin by moving the brush in circles.
Do this on the other side of you face, duh.
Next take your highlighter, Shimpagne.
Tap your brush (same as before) once in the pan.
Start on the top of your apples, right under your eye,
and bring it up to your temple.
Buff again (it's my secret to awesome cheeks lol)
Add a little highlight to your nose and brows.
Your now done with your face.
-----------------------------------------------------------------
Step 2 : EYES -- Highlight.
You can use a base if you want like UD PP or MAC prep and prime (allergic).
I only use them if I'm going out at night or on formal occasions.
Take your lightest shadow, I always use Provence pigment.
I adore this.
Place a wash all over your eyes from lash line to brows, and underneath the eye too.
I use my MK e/s brush for this.
Don't worry about fallout yet, it's bound to happen.
Now take your highlight powder, I use ELF's EBC in Luxe (the lightest colour).
It's a cream colour.
Use the same brush as before and place your highlight under your brow.
Use the same colour and brush and place the colour on the very inner corner of your eye.
Drag and blend it towards the centre.
You're done highlighting.
You could stop here and head straight to step 5, or continue onto step 3.
-----------------------------------------------------------------
Take your e/s brush and dip it in your medium brown/neutral colour.
I use Inglot 944, it's brown with gold flecks.
Place colour on the most outer corner of your eye.
Blend in towards the middle.
You may have to do this a few times.
Apply the colour slightly above the crease.
Get the shape and shade you want by blending (little circles) and adding more layers of shadow.
Once you're happy with the shape take your darkest shade, Inglot 980 (black) in my case.
Using you e/s brush again, place the colour in the vary bottom of your outer v.
Try to blend it out and up.
Now use your ELF eye defining brush with some brown.
Place it in the outermost part of your crease.
Drag through your crease quickly.
Using the same brush pick up a very small amount of black shadow. Blend it in your crease starting from the outer corner again.
Go back and forth over it several times to blend
(don't pick up any new shadow).
Take the same brush and some brown or black shadow and swipe it along your lower lash line.
Use the darker shadow for a little more drama.
Take either brush, I use the defining brush again.
Pick up some more Provence and blend it into the top of your crease.
Blending makes it look more natural as there will be no harsh line from where colour starts and stop.
You can end now by going to step 5, or for extra drama and glamour continue on.