Ithica
Well-known member
This is my first tutorial so please be gentle  My freckles have decided to some out and say hi since its been so sunny here *curses* I was waiting for my mac order to arrive
 Decided i'd better do something and stop staring out the window, hoping the mac man arrives
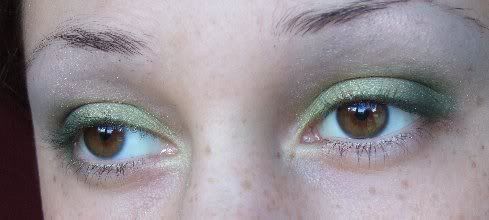
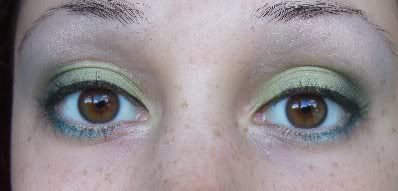
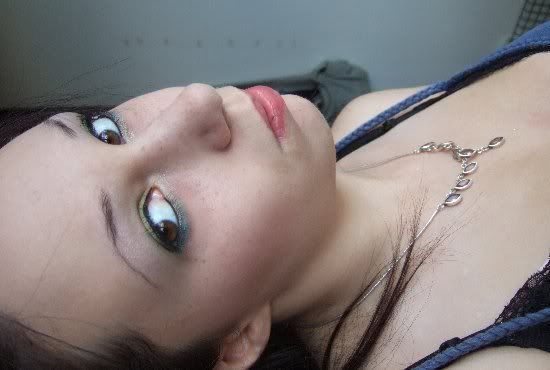
Here’s the look we are aiming for:

Here is what we will be using :
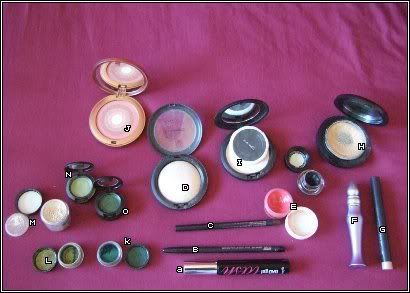
A. Benefit bad gal lashes mascara
B. Smoulder eye kohl
C. Brow finisher - wheat
D. MSF – Lightscapade (bad picture,sorry)
E. Lip conditioner – petting pink
F. UD - PP
G. Beige-ing Shadestick
H. Studio Tech foundation
I. Blot powder - medium
J. Pout – Shimmer swirls in pink lustre
K. Teal pigment
L. Vanilla pigment
M. Golden olive pigment
N. Juxt e/s
O. Humid e/s
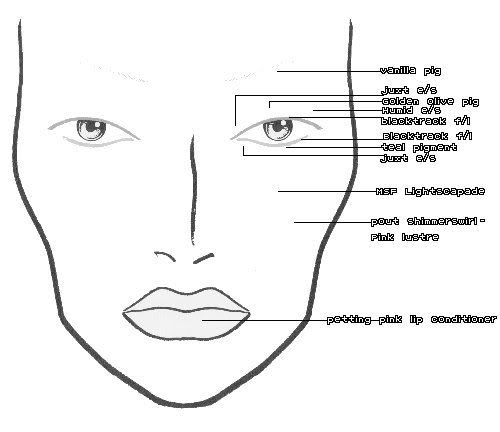
And here’s a rough guide to where everything is going.
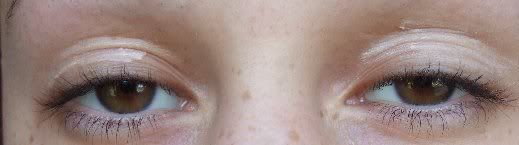
1.If you can manage the first step then congratulations! This is how unhappy having no make up makes me! In this picture I’ve taken care of my skin by cleansing and moisturising.

2.I apply the urban decay primer potion to the crease of my eyelids, then with my fingers blend it all in, I don’t go right to the brow bone, but just a little above the crease.
3.I then dip my 217 (mylove!) brush into Juxt and carefully pat rather then sweep it onto the inner corner of my lids. Don’t apply it all over! I’ve recently discovered (duh) that its easier for me to blend where the colour meets, rather then layering it over another colour – if that makes sense.

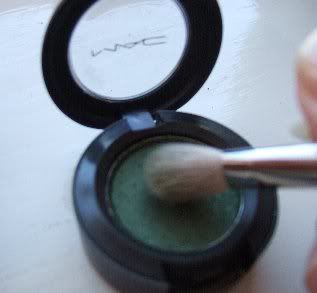
4.Now, dab your brush into the golden olive pot, I am only using a sample but same-as. Once again pat this into the middle of your lids.Do not go into the outer corners. Where the Juxt and Golden olive meet buff your brush there, Small circular motions. I find this easier. Dragging the colours back and forth can sometimes lead to a mess/move colours you didn’t want to – so try circular motion.
5.Now its time to heat things up with humid! Load up your brush and apply it in the outer corners of the lid and just past the crease.
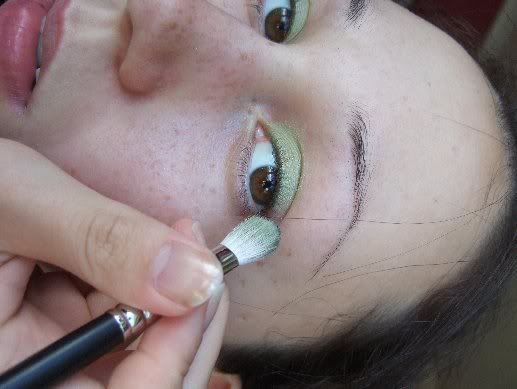
6.Heres how it will look unbleded! Urrghh. So now, use the circular motion to blend the humid into the golden olive, don’t worry too much about the browbone/crease atm.
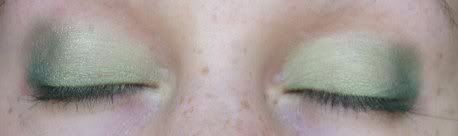
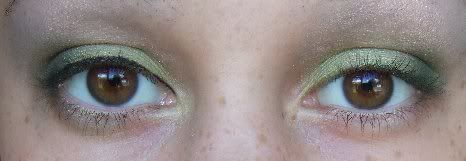
7.Here it is blended, however I have not touched the brow bone, none of that is blended yet.
8.Now load a little vanilla pigment onto you’re brush and start blending into any harsh lines above the brow bone/crease.
9.Now! With that done, take your 209 or which ever brush makes you happy to line with and blacktrack fluidline.
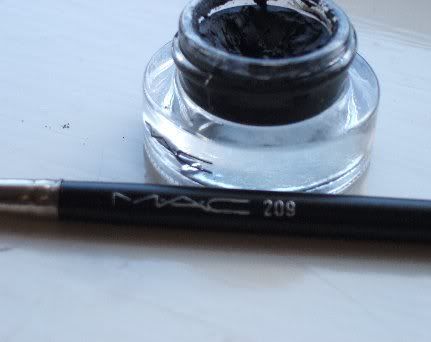
10.Line the upper lid, as close to the lashes as you can. If you can’t do this in one go, don’t worry. It can help to do a ‘dot to do’ slowly to mark where you are going – this is how I learnt and now I can do it easily without that method *yay* You should be able to tell which eye has now been lined and which hasn’t!
11.With both eyes lined on the upper lid, take your shadestick and line the underneath of your eyes. This is going to act as a base for the pigment we are about to use.
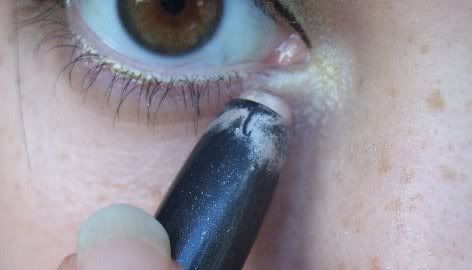
12.Now with your smoulder Kohl, line the underneath of your eye, NOT the waterline, but just the outer corner to the middle.
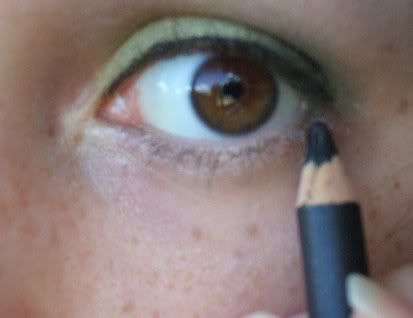
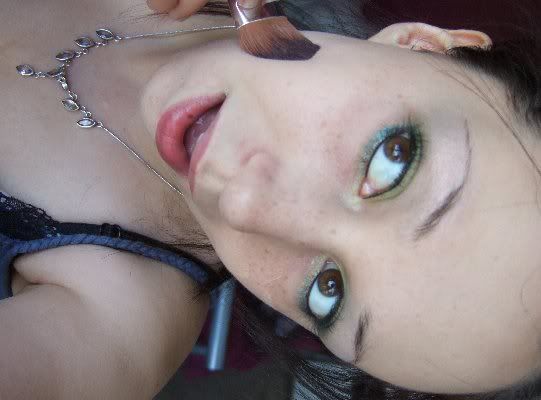
13.Now, with an angled brush, take a small amount of wet teal pigment and go over the smoulder liner you’ve just created, it should look like this:
14.In the last part we’ve left clear, apply some juxt close to the lash line and sweep it into the teal pigment.Blend it well.
15.Apply your mascara and then take your 209 brush and fluidline again, This time use it to line the waterline, ‘Pat’ it on slowly, rather then dragging it across the waterline.
16.Now! Lets get to the face! Take your foundation brush and dab it into your foundation, I am using a body shop brush – I don’t recommend it XD I apply it randomly, I don’t need a lot of coverage so I dab some on my cheeks, forehead, chin, jaw line etc. Don’t forget the area between your brows! A lot of people do! Lets not forget to blend and go out like this! :S
17.Use circular motions again to gently buff the foundation, pay attention to where it meets the jawline/neck, You don’t want to look like your wearing a mask!
18.I then take my blot powder and dash a little on my cheeks, nose and whever I feel insecure about oil!
19.Using a small powder brush I sweep a small amount of MSF- lightscapade across the high’s of my cheekbones, I then apply my pout shimmer swirls bronzer/blush. I swirl the brush and the apply it to the apple of my cheeks, just under the msf!
20.I go back and fill in my eyebrows with the wheat brow finisher (sorry I forgot to take photos >.<)
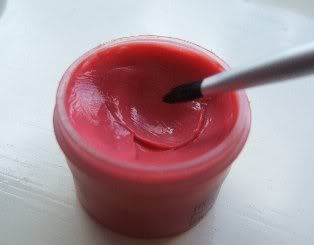
21.Using a small lip brush I pick up some petting pink lip conditioner and apply it to the lips, Be sure to enhance your cupids bow as much as possible

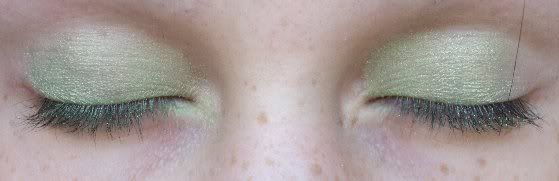
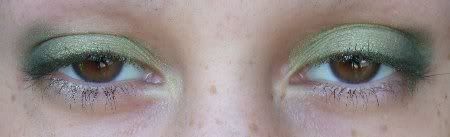
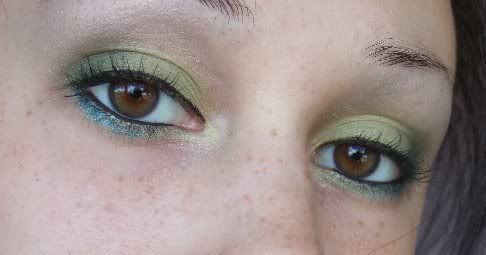
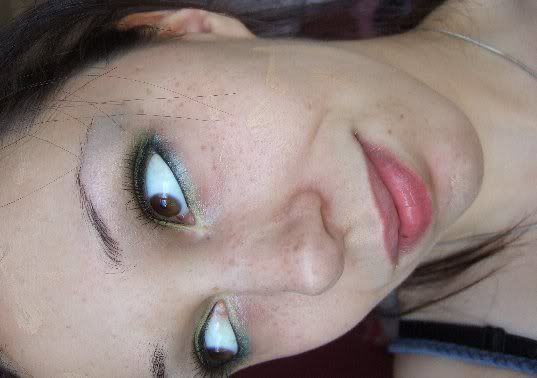
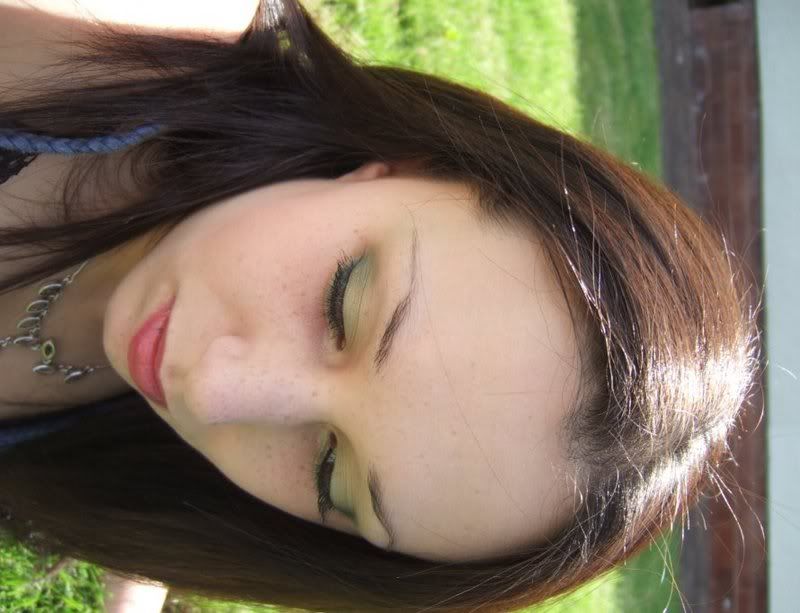
Your finished! Im sorry if that was painfully long or not explained well! Heres some photos I took of this look outside in decent light.

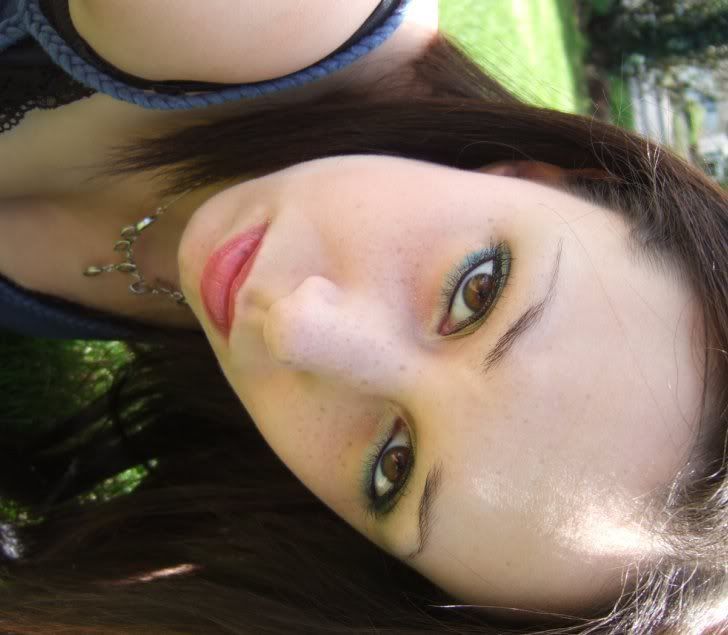
Thankoo for looking ^_^
My freckles have decided to some out and say hi since its been so sunny here *curses* I was waiting for my mac order to arrive
Here’s the look we are aiming for:
Here is what we will be using :
A. Benefit bad gal lashes mascara
B. Smoulder eye kohl
C. Brow finisher - wheat
D. MSF – Lightscapade (bad picture,sorry)
E. Lip conditioner – petting pink
F. UD - PP
G. Beige-ing Shadestick
H. Studio Tech foundation
I. Blot powder - medium
J. Pout – Shimmer swirls in pink lustre
K. Teal pigment
L. Vanilla pigment
M. Golden olive pigment
N. Juxt e/s
O. Humid e/s
And here’s a rough guide to where everything is going.
1.If you can manage the first step then congratulations! This is how unhappy having no make up makes me! In this picture I’ve taken care of my skin by cleansing and moisturising.
2.I apply the urban decay primer potion to the crease of my eyelids, then with my fingers blend it all in, I don’t go right to the brow bone, but just a little above the crease.
3.I then dip my 217 (mylove!) brush into Juxt and carefully pat rather then sweep it onto the inner corner of my lids. Don’t apply it all over! I’ve recently discovered (duh) that its easier for me to blend where the colour meets, rather then layering it over another colour – if that makes sense.
4.Now, dab your brush into the golden olive pot, I am only using a sample but same-as. Once again pat this into the middle of your lids.Do not go into the outer corners. Where the Juxt and Golden olive meet buff your brush there, Small circular motions. I find this easier. Dragging the colours back and forth can sometimes lead to a mess/move colours you didn’t want to – so try circular motion.
5.Now its time to heat things up with humid! Load up your brush and apply it in the outer corners of the lid and just past the crease.
6.Heres how it will look unbleded! Urrghh. So now, use the circular motion to blend the humid into the golden olive, don’t worry too much about the browbone/crease atm.
7.Here it is blended, however I have not touched the brow bone, none of that is blended yet.
8.Now load a little vanilla pigment onto you’re brush and start blending into any harsh lines above the brow bone/crease.
9.Now! With that done, take your 209 or which ever brush makes you happy to line with and blacktrack fluidline.
10.Line the upper lid, as close to the lashes as you can. If you can’t do this in one go, don’t worry. It can help to do a ‘dot to do’ slowly to mark where you are going – this is how I learnt and now I can do it easily without that method *yay* You should be able to tell which eye has now been lined and which hasn’t!
11.With both eyes lined on the upper lid, take your shadestick and line the underneath of your eyes. This is going to act as a base for the pigment we are about to use.
12.Now with your smoulder Kohl, line the underneath of your eye, NOT the waterline, but just the outer corner to the middle.
13.Now, with an angled brush, take a small amount of wet teal pigment and go over the smoulder liner you’ve just created, it should look like this:
14.In the last part we’ve left clear, apply some juxt close to the lash line and sweep it into the teal pigment.Blend it well.
15.Apply your mascara and then take your 209 brush and fluidline again, This time use it to line the waterline, ‘Pat’ it on slowly, rather then dragging it across the waterline.
16.Now! Lets get to the face! Take your foundation brush and dab it into your foundation, I am using a body shop brush – I don’t recommend it XD I apply it randomly, I don’t need a lot of coverage so I dab some on my cheeks, forehead, chin, jaw line etc. Don’t forget the area between your brows! A lot of people do! Lets not forget to blend and go out like this! :S
17.Use circular motions again to gently buff the foundation, pay attention to where it meets the jawline/neck, You don’t want to look like your wearing a mask!
18.I then take my blot powder and dash a little on my cheeks, nose and whever I feel insecure about oil!
19.Using a small powder brush I sweep a small amount of MSF- lightscapade across the high’s of my cheekbones, I then apply my pout shimmer swirls bronzer/blush. I swirl the brush and the apply it to the apple of my cheeks, just under the msf!
20.I go back and fill in my eyebrows with the wheat brow finisher (sorry I forgot to take photos >.<)
21.Using a small lip brush I pick up some petting pink lip conditioner and apply it to the lips, Be sure to enhance your cupids bow as much as possible
Your finished! Im sorry if that was painfully long or not explained well! Heres some photos I took of this look outside in decent light.
Thankoo for looking ^_^

