kattybadatty
Well-known member
After the positive feedback from my FIRST FOTD this evening, I decided it would be helpful to share my tricks and tips with the SPECKTRA world in a tutorial ")
Here I go!
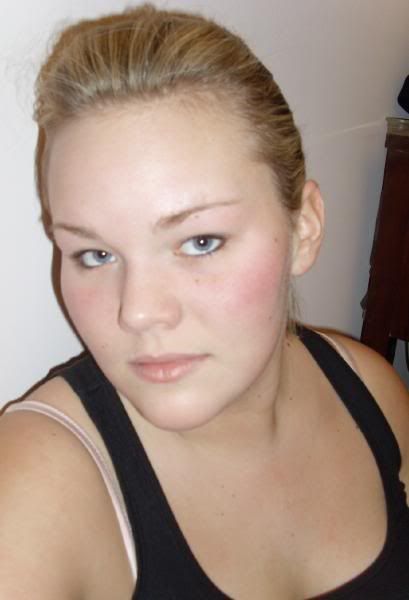
First, I started off with a clean, fresh face.
Then, I applied MAC's Oil Control Lotion to my cheeks and T-zone. *T-zone = forehead, nose, and chin*
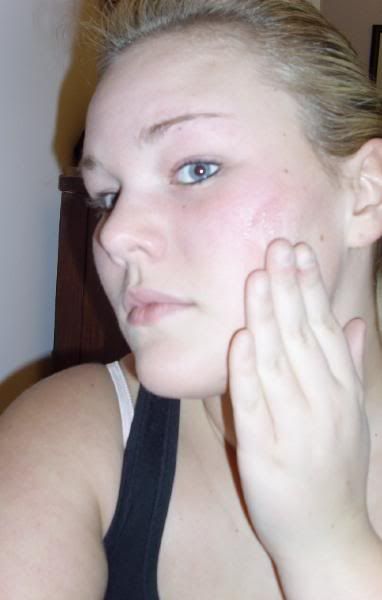
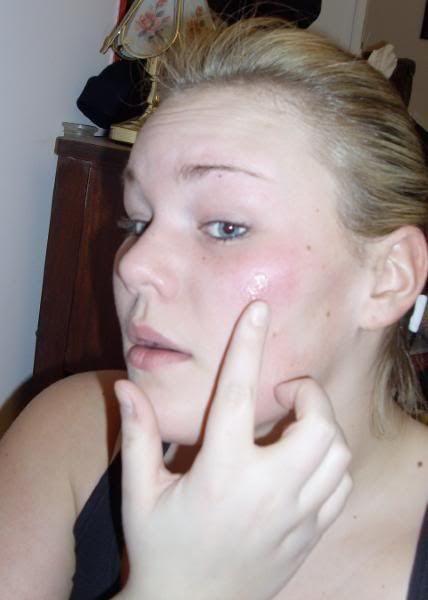
I then applied a small amount of Smashbox Photofinish to my cheeks, forehead, and chin. This rids any fine lines or wrinkles for a flawless finish.
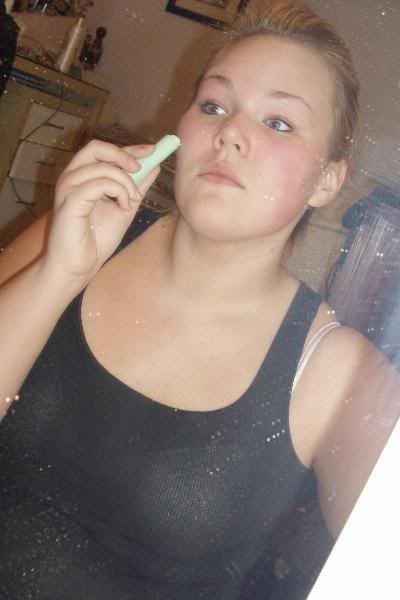
Then, because I have Excema(sp) on my cheeks, I applied the Maybelline color-correcting green stick on my cheeks and other areas that were red.
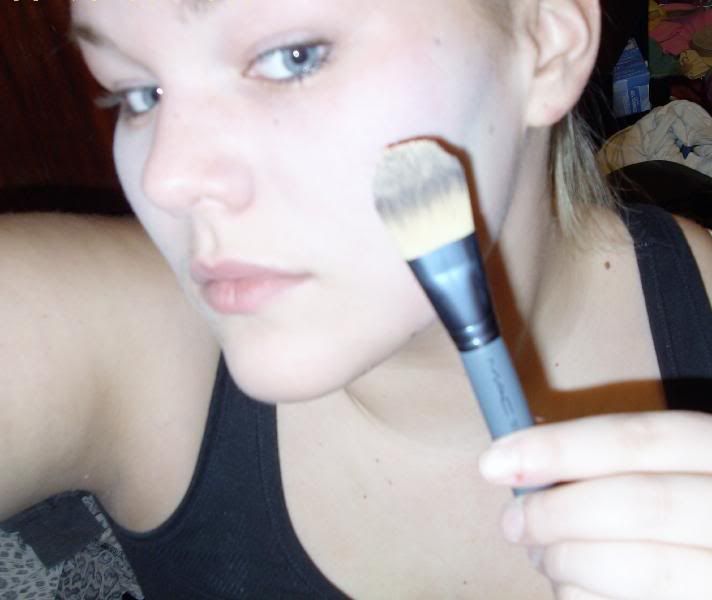
Then, with the MAC 190SE brush, I applied a fairly decent amount of Select SPF Foundation in NC 37 to my entire face, starting with the cheeks, then working around the nose area, forehead, chin, and under the chin, blending onto the collar bones.
Concealor comes next, being applied under the eyes, around the nose, and above my left eye where I have a scar from a past accident.
Then I apply powder all over the place! I try not to go too heavy, so it doesn't look caked on. I use MAC's 134 brush to apply MAC select sheer pressed powder in NC 40. Apply in circular motions, covering every crevice on the face down to the collar bones.
One of my FAVE parts! EYEBROWS!
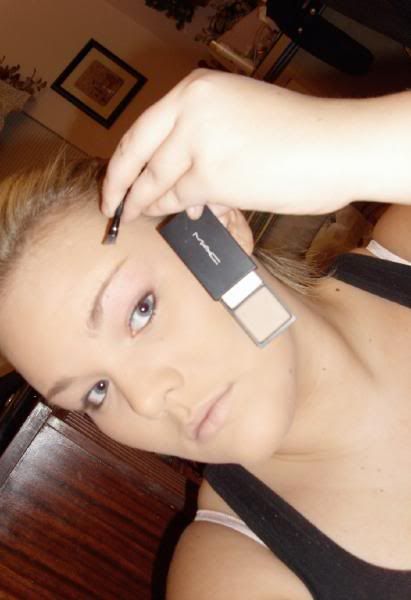
I feel that eyebrows can make or break a person's face, so I use MAC Brow Shader in Buttery/Blonde Taupe. I apply with Smashbox liner/brow brush, lightly covering the hair and making sure to get even coverage over the entire brow.
On to the NEXT best part - the eyes

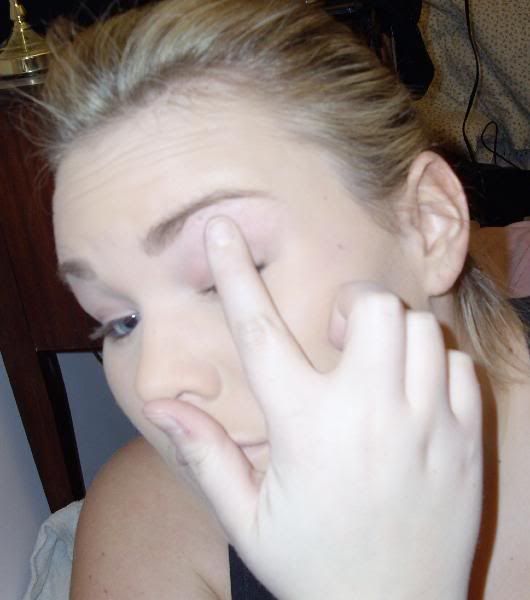
I start with applying a tiny tiny bit of MAC paint in Bare Canvas all over the entire eye, with my finger tip.
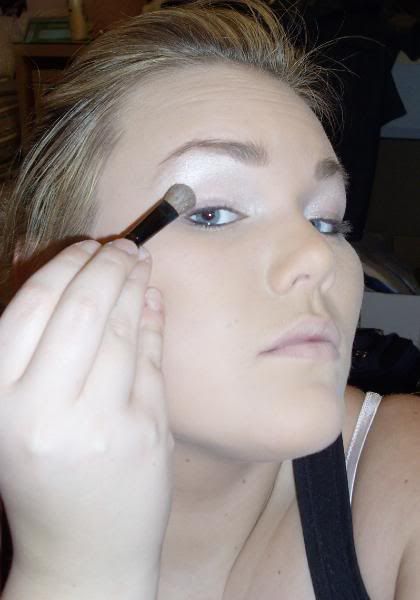
Then, with Smashbox 26 shadow brush, I apply MAC's Nylon shadow under the brow bone, and in the inner crease and corner of the eye.
Sometimes, I even add some to the outside of the eye, for a little extra shimmer.
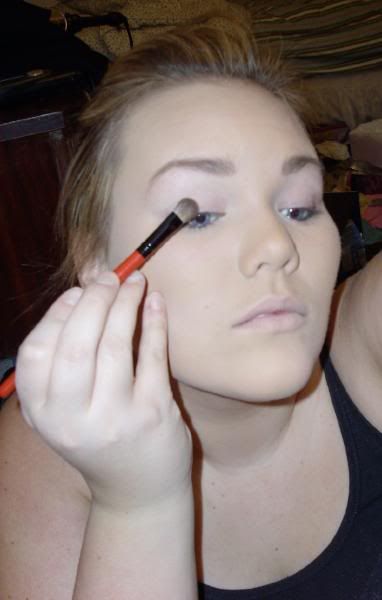
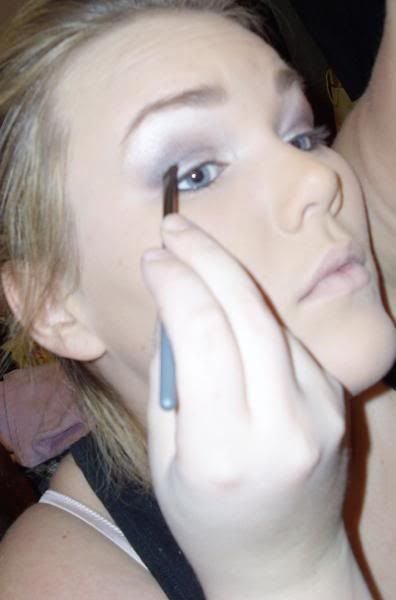
Next, we add a bit of color. Apply MAC's Folie shadow to the outer corner of the eye, directing upward and inward, following the eyebrow's natural shape. It is SO important to not lose the shape of your eye, so make sure to follow the direction of your eyebrow, and to move upward and inward.
To add a bit more of a dramatic look, add a touch of MAC's Carbon eyeshadow to the outter crease and corner of the eye to make it POP!
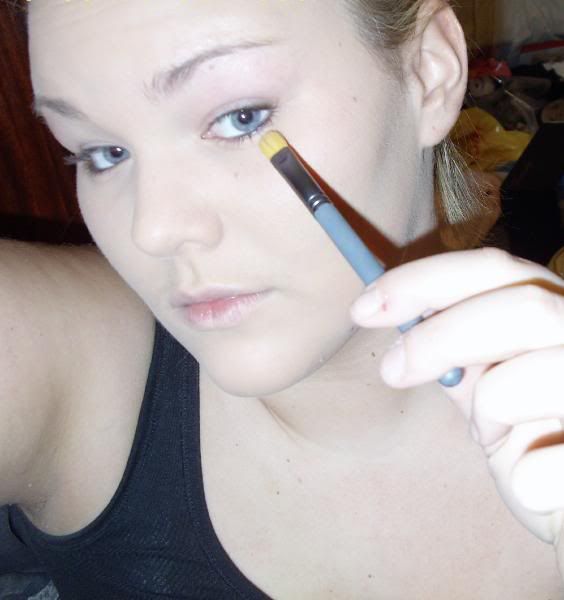
To add definition to the eye, apply MAC fluidline liner with a 266SE brush from the middle/inner of the eye line to the outer edge, and "wing" outward slightly. This gives a more dramatic effect, and makes the eye more noticible.
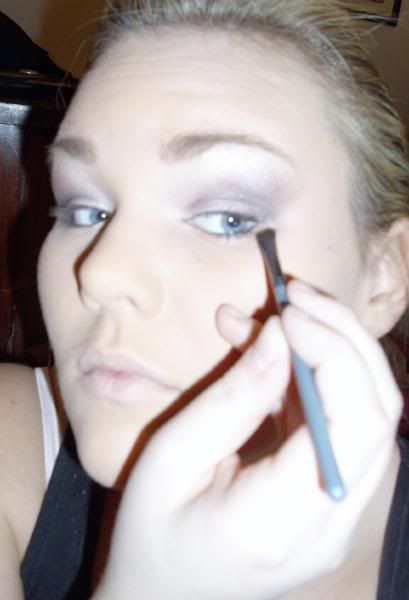
Apply under the eye as well for a smoky, sultry look.
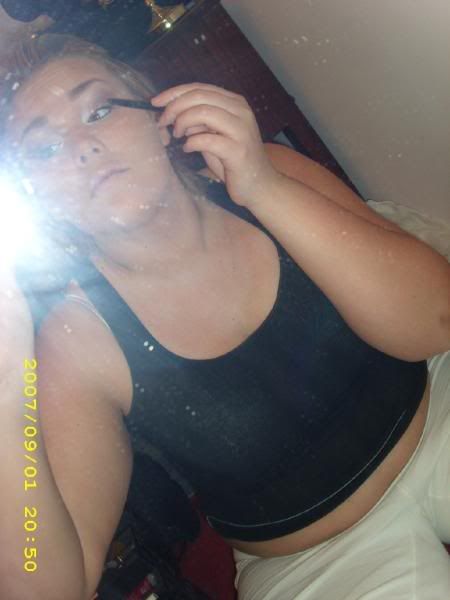
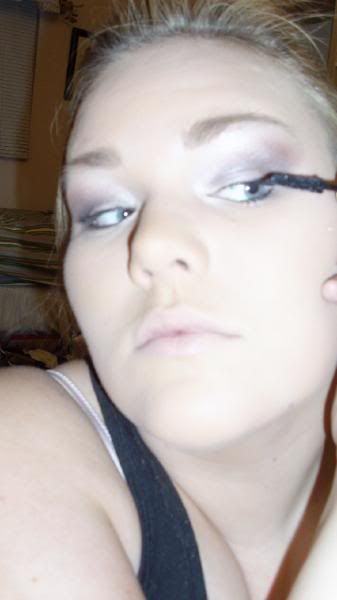
Now, as we all know, one can NEVER wear enough mascara! So apply a good 2-3 coats of Maybelline NY Intense XXL mascara in VERY BLACK to the upper and lower lashes. (I LOVE and HIGHLY recommend this mascara, btw!)
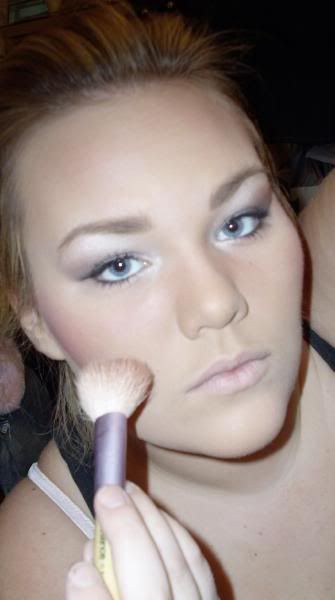
Now for the part EVERYONE is asking for - Cheeks!
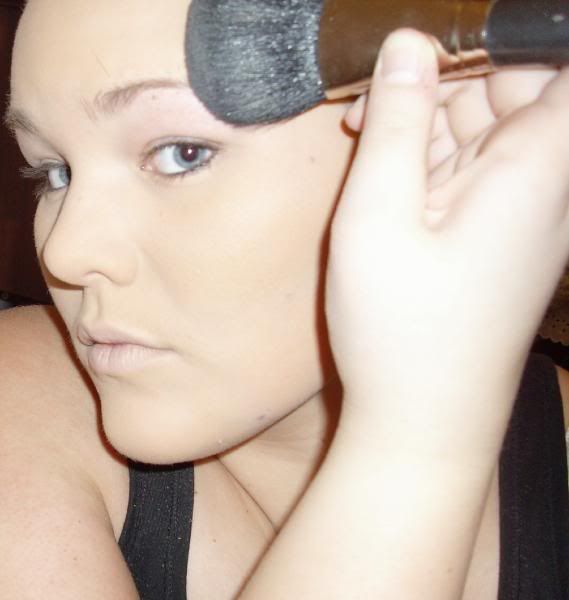
Start by using a Kabuki brush to apply a good amount of Smashbox Bronzer under the cheek bone, under the jawline and chin, temples, apples of the cheeks, and to the right and left of your nose. This will make the nose appear smaller, it will lose any sign of double chins, and make you look like you have the worlds HOTTEST and HIGHEST cheekbones

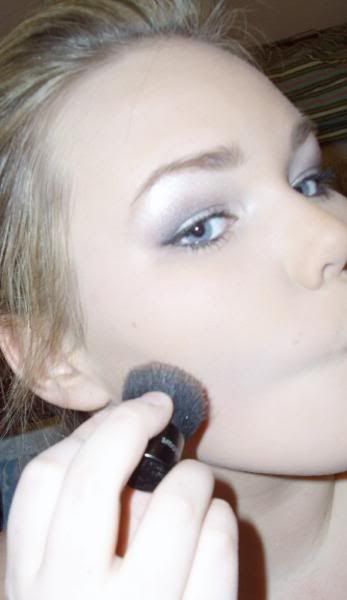
With a standard blush brush, apply a small amount of Revlon Golden Affair blush in 435 to the apples of the cheeks, sides of nose, and under chin. (I say use a SMALL amount, only because the color that I use is VERY vibrant,m so be careful not to overdo it! We don't want Ronald McDonald faces!)
Last step- LIPS!
Apply MAC's Spice lip liner, starting at the inner "dip" of the lip (upper) and apply outward. Apply to bottom as well, starting from left and moving to the right.
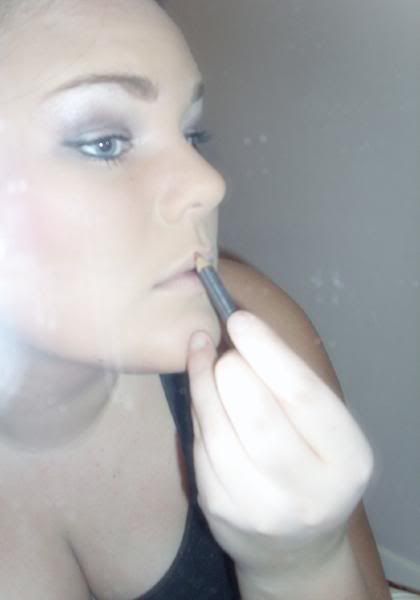
BAM! RED LIPS!
Apply 1-2 coats of MAC's Ruby Woo Lipstick to upper and bottom lip, making sure to cover any sign of lip liner, so we do not look like 98 yr. old women trying to pull off red lipstick
You wouldn't BELIEVE the students I have who cannot apply lipstick properly! It's all OVER the place!!
http://i26.photobucket.com/albums/c1...y/DSCI0045.jpg
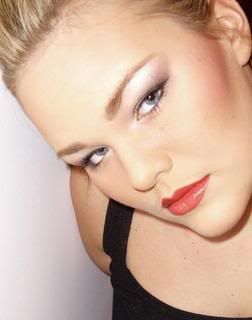
YAY!
You're good to go! Any questions, feel free to ask! Hope this helped! Let me know how my first Tut went!

Here I go!
First, I started off with a clean, fresh face.
Then, I applied MAC's Oil Control Lotion to my cheeks and T-zone. *T-zone = forehead, nose, and chin*
I then applied a small amount of Smashbox Photofinish to my cheeks, forehead, and chin. This rids any fine lines or wrinkles for a flawless finish.
Then, because I have Excema(sp) on my cheeks, I applied the Maybelline color-correcting green stick on my cheeks and other areas that were red.
Then, with the MAC 190SE brush, I applied a fairly decent amount of Select SPF Foundation in NC 37 to my entire face, starting with the cheeks, then working around the nose area, forehead, chin, and under the chin, blending onto the collar bones.
Concealor comes next, being applied under the eyes, around the nose, and above my left eye where I have a scar from a past accident.
Then I apply powder all over the place! I try not to go too heavy, so it doesn't look caked on. I use MAC's 134 brush to apply MAC select sheer pressed powder in NC 40. Apply in circular motions, covering every crevice on the face down to the collar bones.
One of my FAVE parts! EYEBROWS!
I feel that eyebrows can make or break a person's face, so I use MAC Brow Shader in Buttery/Blonde Taupe. I apply with Smashbox liner/brow brush, lightly covering the hair and making sure to get even coverage over the entire brow.
On to the NEXT best part - the eyes
I start with applying a tiny tiny bit of MAC paint in Bare Canvas all over the entire eye, with my finger tip.
Then, with Smashbox 26 shadow brush, I apply MAC's Nylon shadow under the brow bone, and in the inner crease and corner of the eye.
Sometimes, I even add some to the outside of the eye, for a little extra shimmer.
Next, we add a bit of color. Apply MAC's Folie shadow to the outer corner of the eye, directing upward and inward, following the eyebrow's natural shape. It is SO important to not lose the shape of your eye, so make sure to follow the direction of your eyebrow, and to move upward and inward.
To add a bit more of a dramatic look, add a touch of MAC's Carbon eyeshadow to the outter crease and corner of the eye to make it POP!
To add definition to the eye, apply MAC fluidline liner with a 266SE brush from the middle/inner of the eye line to the outer edge, and "wing" outward slightly. This gives a more dramatic effect, and makes the eye more noticible.
Apply under the eye as well for a smoky, sultry look.
Now, as we all know, one can NEVER wear enough mascara! So apply a good 2-3 coats of Maybelline NY Intense XXL mascara in VERY BLACK to the upper and lower lashes. (I LOVE and HIGHLY recommend this mascara, btw!)
Now for the part EVERYONE is asking for - Cheeks!
Start by using a Kabuki brush to apply a good amount of Smashbox Bronzer under the cheek bone, under the jawline and chin, temples, apples of the cheeks, and to the right and left of your nose. This will make the nose appear smaller, it will lose any sign of double chins, and make you look like you have the worlds HOTTEST and HIGHEST cheekbones
With a standard blush brush, apply a small amount of Revlon Golden Affair blush in 435 to the apples of the cheeks, sides of nose, and under chin. (I say use a SMALL amount, only because the color that I use is VERY vibrant,m so be careful not to overdo it! We don't want Ronald McDonald faces!)
Last step- LIPS!
Apply MAC's Spice lip liner, starting at the inner "dip" of the lip (upper) and apply outward. Apply to bottom as well, starting from left and moving to the right.
BAM! RED LIPS!
Apply 1-2 coats of MAC's Ruby Woo Lipstick to upper and bottom lip, making sure to cover any sign of lip liner, so we do not look like 98 yr. old women trying to pull off red lipstick
http://i26.photobucket.com/albums/c1...y/DSCI0045.jpg
YAY!
You're good to go! Any questions, feel free to ask! Hope this helped! Let me know how my first Tut went!


