mello
Well-known member
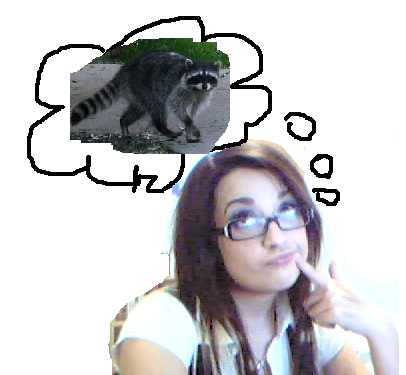
If you're anything like me, you've sat at home on countless occasions and pondered on the subject of raccoons. Their beady little eyes, scrawny little paws and best of all, their beautifully ringed tails. Well guess what, you too can experience the joys of having a lovely pattern found in nature, but IN YOUR HAIR! Woo.
You will need:
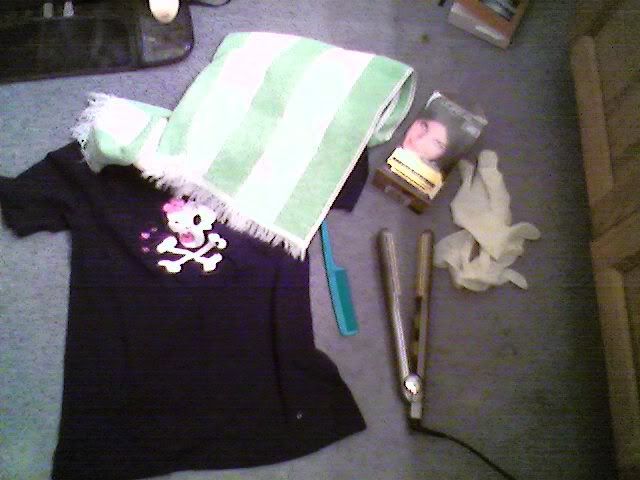
- An old shirt you can wear whilst dying your hair [trust me, it gets EVERYWHERE]
- A towel, if necessary
- A comb to seperate your hair
- Hairclips + pony tails (not pictured)
- TAPE ! (not pictured, but it's clear tape. it's pictured later on)
- Your choice of hair dye. I used purple.
- Gloves
- Straightener, which is crucial. You'll see why.
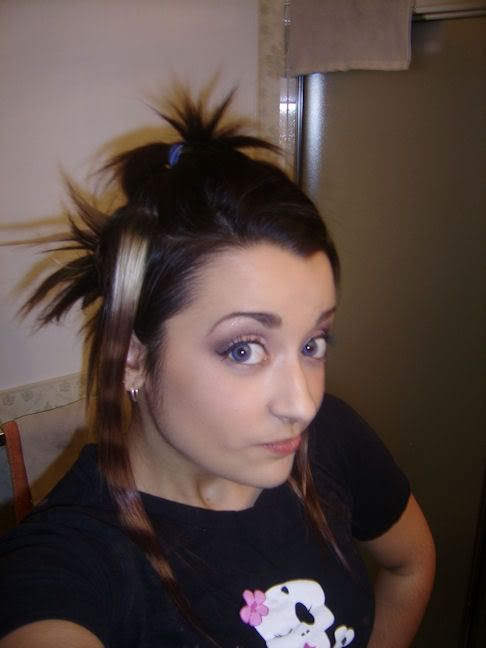
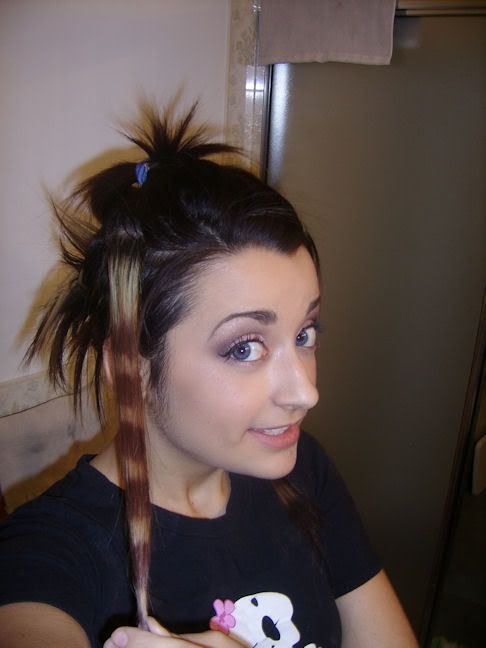
- And of course, someone who wants coontails:
DISCLAIMER: If this doesn't turn out quite the way you wanted, then you did something wrong and can't blame me. Do this at your own risk! It's fairly fool proof, believe me, I can mess up on some of the simpliest things. But seriously it's not my fault if you mess it up. Just sayin'.
Step One: Pick your strands

Use your comb to pick out the pieces you want to dye. I already bleached strands of my hair to dye, and you can do the same. It's actually the best thing to do if you really want your colour to show up (if you have dark hair, that is). It's best that you pick a chunk about an inch or so thick, depending on your tastes.
Step Two: Get the rest of your hair out of the way!
Once you've got your strands all picked out, put the rest of your hair up using your hair clips and pony tails.
Step Three: Straighten your strands

This is important! You need to straighten your hair so that it sticks together and will dye more evenly.
All done!
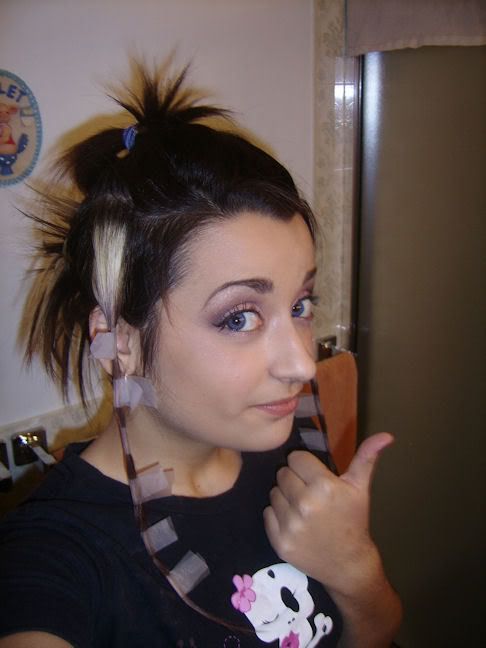
Step Four: TAPE THEM UP!
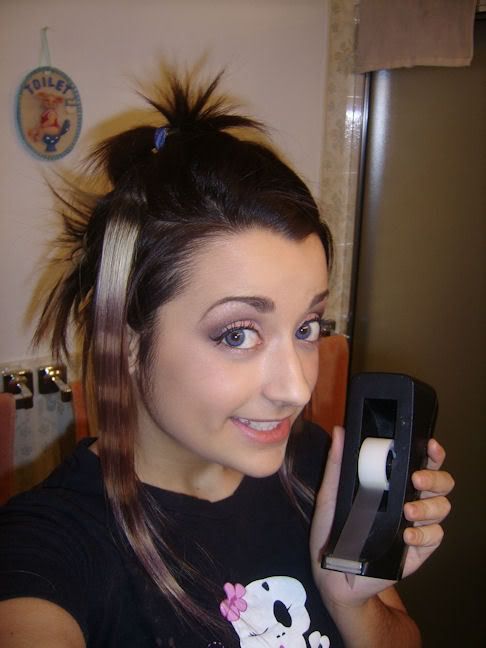
Okay I know what you're thinking. 'Wtf, tape!?' but trust me, it's a cheap and effective way of achieving this look. I promise you, when you wash your hair the tape will come right off!
Sooo what you do is, wrap the tape around the area that you want to stay your hair colour.
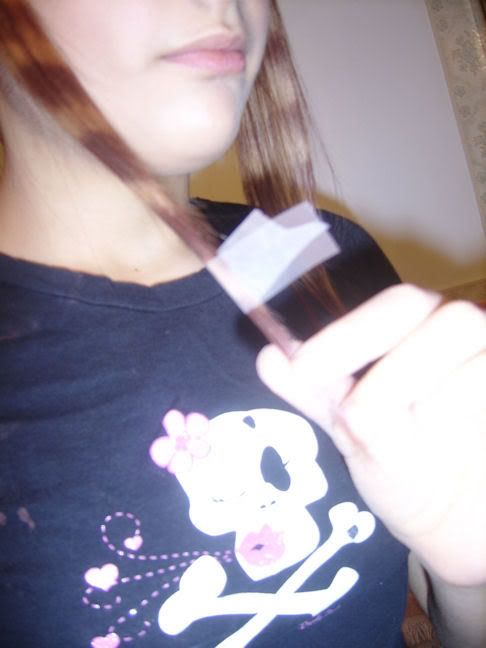
Get them spaced as evenly as possible, and you will be putting the hair dye in the gaps. You want to make sure you have the tape on pretty tight, pinching where it attaches together to make sure no dye will seep in. You might also want to pull the chunk of hair you're dying, so that all the hair is bunched together, if you know what I mean. It makes it easier to put the tape on.
Finished product:
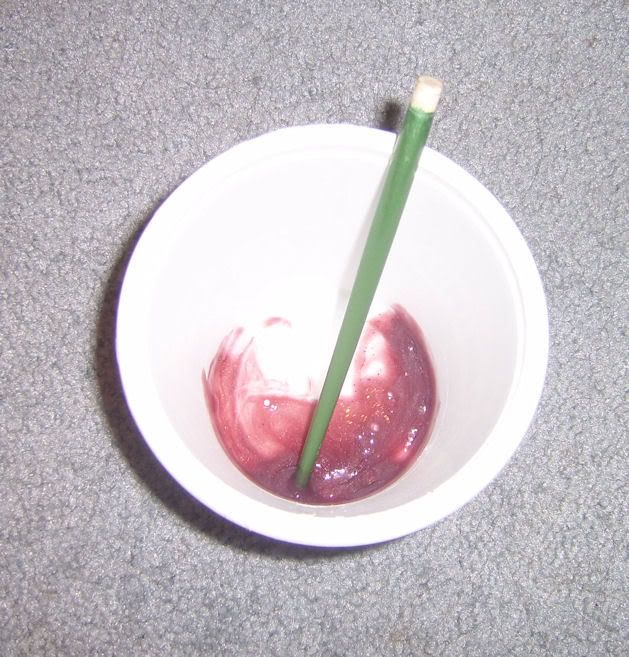
Step Five: Mix your dye

Mix up your hair dye according to the instructions. YOU DO NOT NEED A LOT. The first time I did this, I mixed about half the bottle and ended up throwing most of it away. It was a huge waste.
I mixed about this much:
Step six: Snap on those gloves!
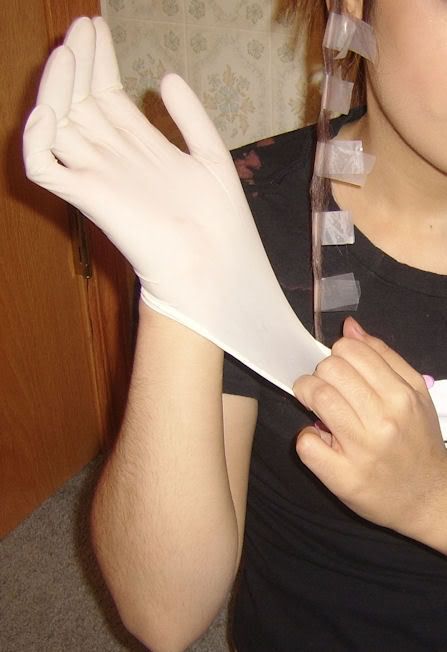
awww yeyuhhh, now we're talkin
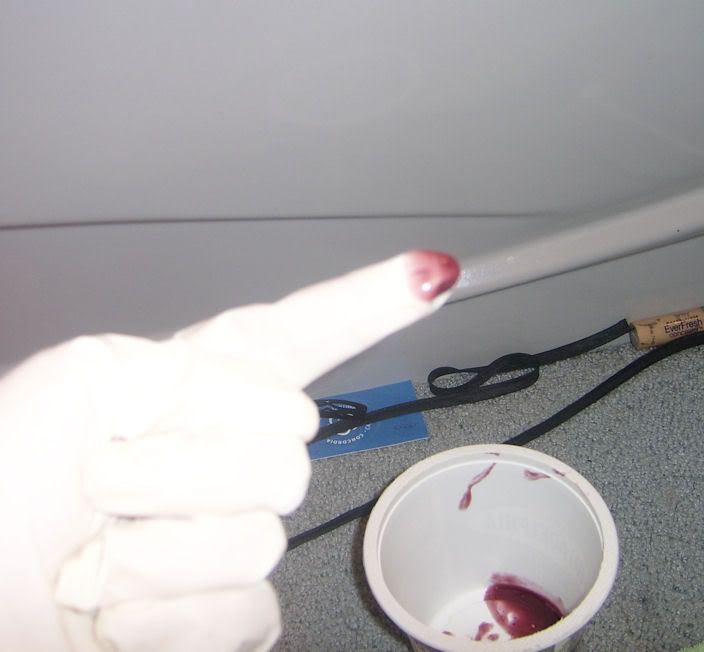
Step Seven: DYE YO HURRR
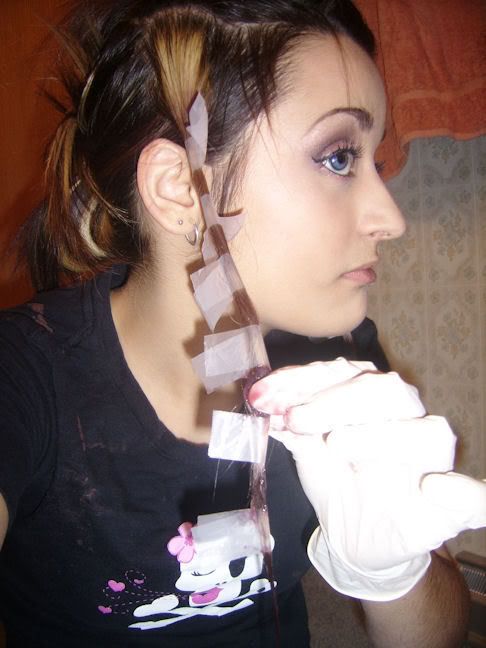
So when you're dying, you only need a teeny tiny bit of hair dye. Get a little bit on your finger tip:
and work it into your hair, like so
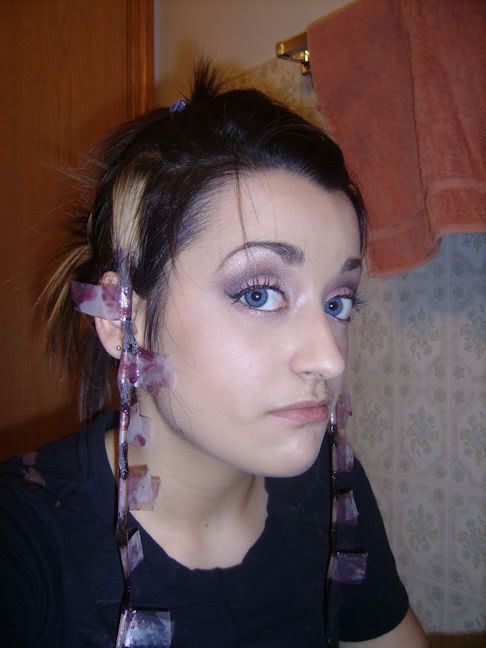
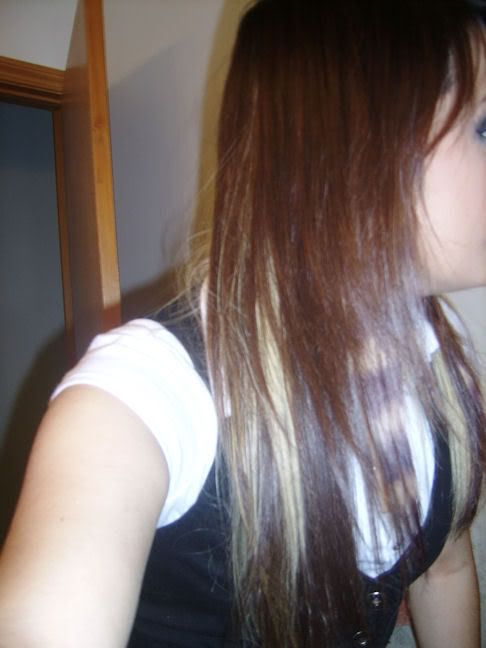
Now do both sides and you should have this
Step eight: WAIT 30 MINS [or however long it says to]

Step Nine: RISE, WASH, CONDITON, etc etc
Wash everything out. Like I said, once the tape gets wet it should lose it's sticky-ness and fall out or slide out really easily. Shampoo your hair, condition it and then dry it.
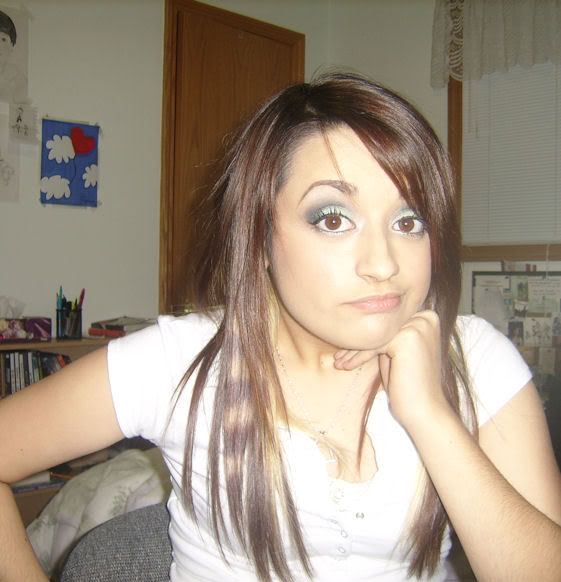
FINISHED PRODUCT!
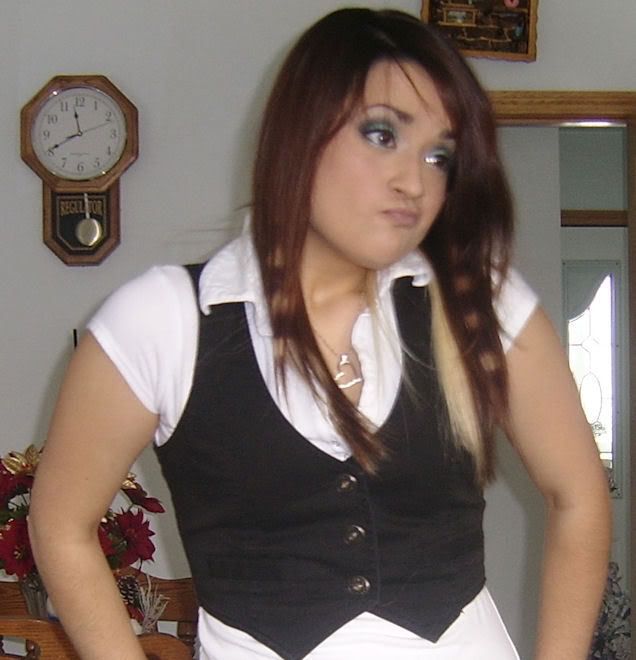
Of course, it is always necessary to take a picture of yourself making a stupid face. I don't even know what I was thinking here

Pictures aren't too great, but what can you do! Have fun going wild with colour combos and things like that, go crazy!
Post pics if you do it, i'm interested in seeing how they turned out.
You will need:
- An old shirt you can wear whilst dying your hair [trust me, it gets EVERYWHERE]
- A towel, if necessary
- A comb to seperate your hair
- Hairclips + pony tails (not pictured)
- TAPE ! (not pictured, but it's clear tape. it's pictured later on)
- Your choice of hair dye. I used purple.
- Gloves
- Straightener, which is crucial. You'll see why.
- And of course, someone who wants coontails:
DISCLAIMER: If this doesn't turn out quite the way you wanted, then you did something wrong and can't blame me. Do this at your own risk! It's fairly fool proof, believe me, I can mess up on some of the simpliest things. But seriously it's not my fault if you mess it up. Just sayin'.
Step One: Pick your strands
Use your comb to pick out the pieces you want to dye. I already bleached strands of my hair to dye, and you can do the same. It's actually the best thing to do if you really want your colour to show up (if you have dark hair, that is). It's best that you pick a chunk about an inch or so thick, depending on your tastes.
Step Two: Get the rest of your hair out of the way!
Once you've got your strands all picked out, put the rest of your hair up using your hair clips and pony tails.
Step Three: Straighten your strands
This is important! You need to straighten your hair so that it sticks together and will dye more evenly.
All done!
Step Four: TAPE THEM UP!
Okay I know what you're thinking. 'Wtf, tape!?' but trust me, it's a cheap and effective way of achieving this look. I promise you, when you wash your hair the tape will come right off!
Sooo what you do is, wrap the tape around the area that you want to stay your hair colour.
Get them spaced as evenly as possible, and you will be putting the hair dye in the gaps. You want to make sure you have the tape on pretty tight, pinching where it attaches together to make sure no dye will seep in. You might also want to pull the chunk of hair you're dying, so that all the hair is bunched together, if you know what I mean. It makes it easier to put the tape on.
Finished product:
Step Five: Mix your dye
Mix up your hair dye according to the instructions. YOU DO NOT NEED A LOT. The first time I did this, I mixed about half the bottle and ended up throwing most of it away. It was a huge waste.
I mixed about this much:
Step six: Snap on those gloves!
awww yeyuhhh, now we're talkin
Step Seven: DYE YO HURRR
So when you're dying, you only need a teeny tiny bit of hair dye. Get a little bit on your finger tip:
and work it into your hair, like so
Now do both sides and you should have this
Step eight: WAIT 30 MINS [or however long it says to]
Step Nine: RISE, WASH, CONDITON, etc etc
Wash everything out. Like I said, once the tape gets wet it should lose it's sticky-ness and fall out or slide out really easily. Shampoo your hair, condition it and then dry it.
FINISHED PRODUCT!
Of course, it is always necessary to take a picture of yourself making a stupid face. I don't even know what I was thinking here
Pictures aren't too great, but what can you do! Have fun going wild with colour combos and things like that, go crazy!
Post pics if you do it, i'm interested in seeing how they turned out.


